Posted on 2 Comments

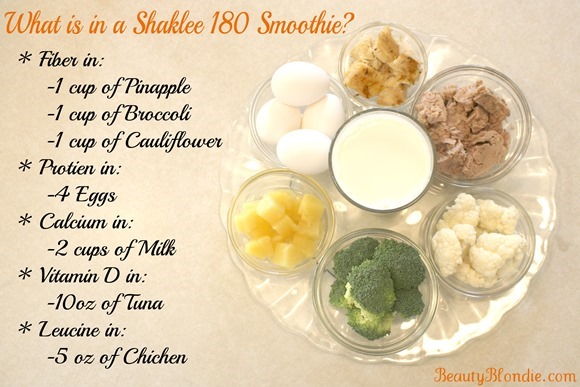
What is in a Shaklee 180 Smoothie?

If you can’t tell by now, I LOVE drinking Smoothies for breakfast! I love trying new recipes and sharing good ones with all of you. Well in doing so, I have been getting so many people asking me for more information about the Shaklee 180 Weigh Management Program.

I only like to talk about the things that I love and I would never share anything with any of you if I didn’t think it was amazing! I used the entire Shaklee 180 line and it completely changed my life forever and I never want to go back to how I was. In fact, in 2010 I lost 28 lbs and 19 1/2 inches!

I dropped 5 dress sizes, I went from a size 16 to a size 6!!

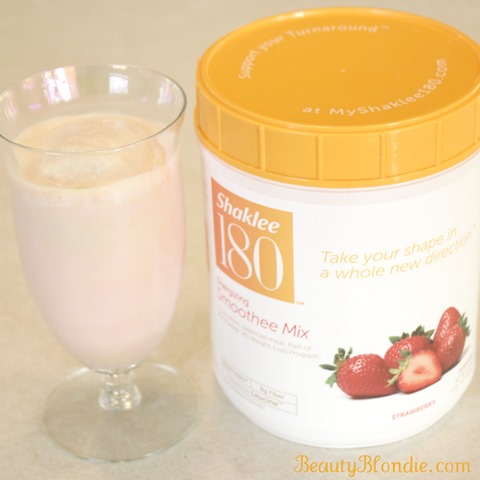
So how does this have anything to do with the smoothies? Well, these are Shaklee 180 Smoothies. These smoothies are pretty much amazing. You have heard me time and time again telling you how great they taste, although I don’t tell you about all of the good stuff in them. They are packed with nutrition and protein!    

Just take a look for yourself:

Want to know what is in a Shaklee 180 smoothie!

I explain to you in this video just what you get in a Shaklee 180 Smoothie!

Besides, it doesn’t get much easier than mixing this with milk!

I love the Shaklee 180 smoothies, they are so good!!

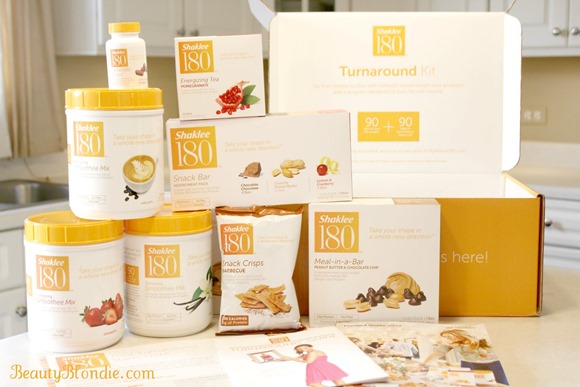
The smoothies are just one of the products that you get when you start on the Shaklee 180 Turnaround grogram.

Here is everything you need to get started in your 180 with Shaklee's Turnaround kit!

Does this help as far as knowing what you get in a Shaklee 180 Smoothie and how it keeps you full? Not to mention how it helps you t lose weight!

Join Free, don

Shop Here Now!

Are you anything like me and enjoy having a delicious and refreshing smoothie in the morning?
From the Dest of Elisabeth Heasley soon to be Elisabeth Johnson

Posted on 2 Comments

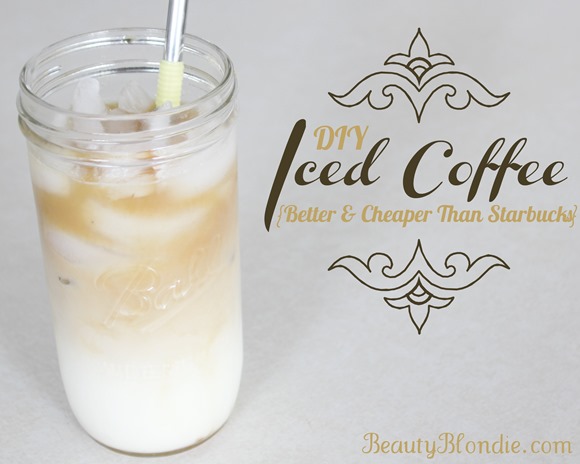
2 Minute Iced Coffee for Less Than 1 Dollar {Better & Cheaper than Starbucks}

I come to you once again with another one of my favorite drinks. I shared with you the most amazing pomegranate lemonade and my favorite smoothies. Today I am going to share with you an iced coffee that is better than Starbucks!!

As most of you know, have had a lot on my plate the last few months. I am planning a wedding working as a stylist, running my own business and buying a house! Therefor I have needed a little pick me up every once in a while. I love to drink tea and I am not much of a coffee drinker although I don’t mind it every once in a while. Mainly when we have left over that we can’t let go to waste.  So… Here it is: English Toffee Iced Coffee!

DIY Iced Coffee that is better than Starbucks and Cheaper too!

This is a very easy recipe that you can alter at any time. This one is my favorite although you can change the flavor of stevia and have a different flavor drink everyday!

Here is a short video showing you just how I make this Iced coffee!

You will need:

Ice

Milk

Cold Coffee

Maple Syrup

English Toffee Stevia

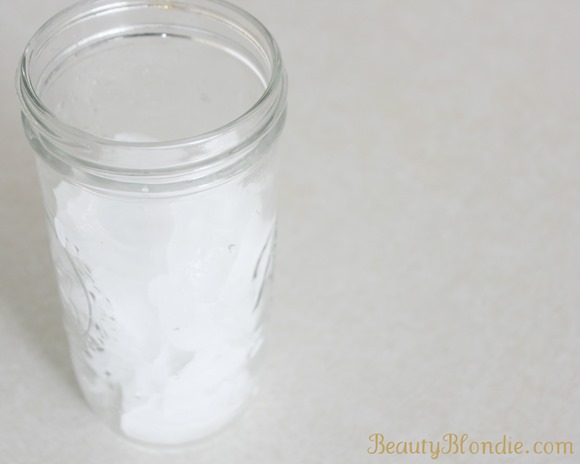
Fill your glass 3/4 of the way with ice.

Fill the Mason Jar three fourths of the way up with Ice

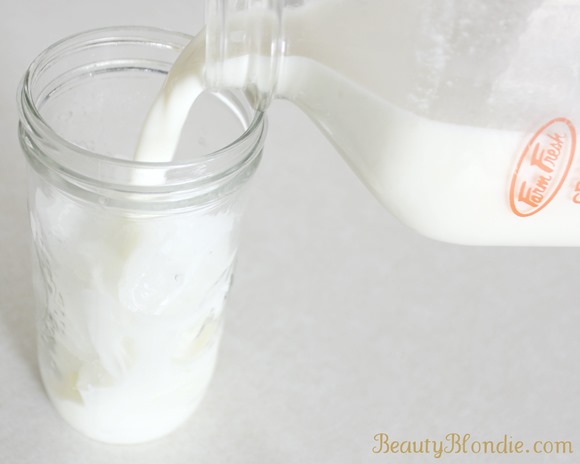
Pour your milk into your glass just until it covers the ice.

Iced Milk in a Mason Jar

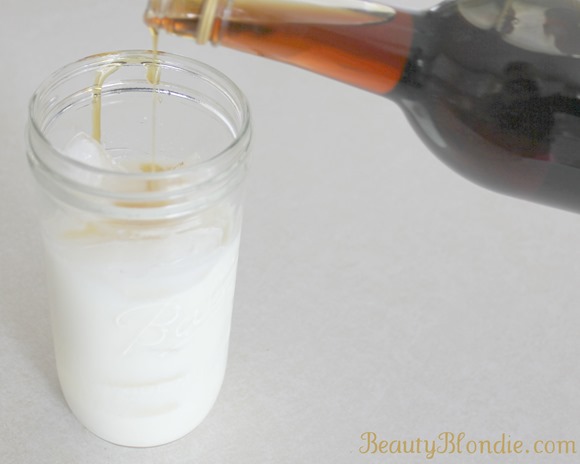
Drizzle the maple syrup over the ice milk.

Pour Maple Syrup on the Iced Milk in the Mason Jar

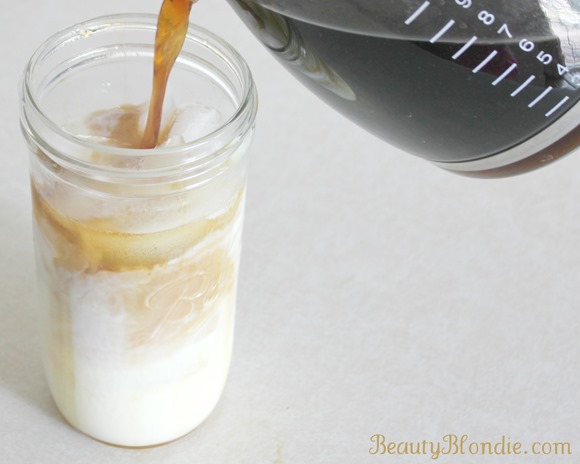
Then you fill the rest of your glass up with the cool coffee.

Pour Cilled Coffee on the Maple Iced Milk in the Mason Jar

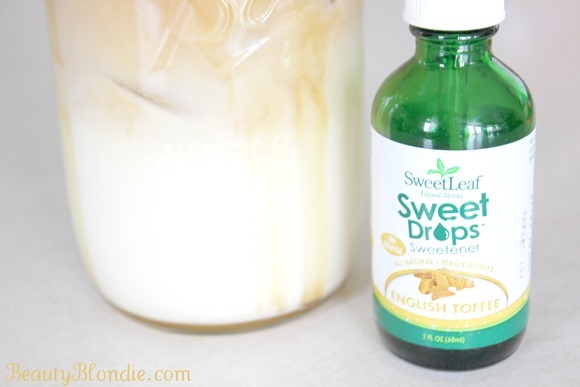
Last but certainly not least, add your favorite flavor of stevia. In this case I used English Toffee. Give it a little stir and you are set to go!

I love adding Stevias to your drinks to add different flavors

This really is a great treat that you don’t have to spend a fortune on. This whole drink cost less than $1.00. That is a lot better than the $4.00 something you would have spent at Starbucks and it only took 2 minutes.

Are you a coffee drinker?

Posted on 37 Comments

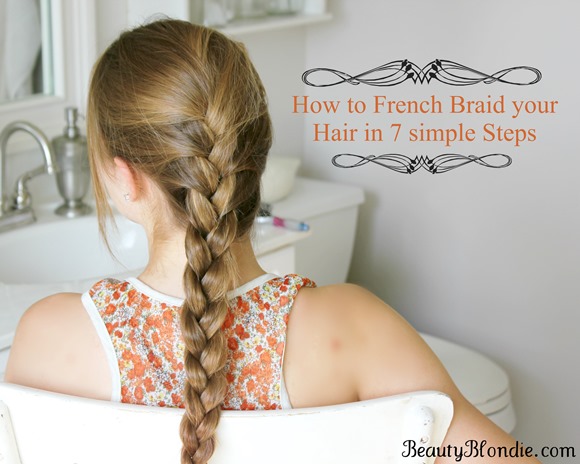
French Braid your hair in 7 Simple Steps {With a Video}

I am republishing this post because I realized that I didn’t make my video public on Youtube. So…. here it is!

Last week I showed you how to Master the art of Braiding so for this week I decided to show you how to turn that basic braid into a French Braid. It is easier than you might think. So many people get discouraged with a French braid and they shouldn’t.

If there is one thing that I would suggest to you it would be this. Make sure you feel completely comfortable with a regular braid before you go onto a French braid.  The motions are the same except you are picking up and adding hair to the French braid as you go along.

This is the easiest way to learn how to french braid

In this video I show you just how to take a basic braid and turn it into a French braid with only adding 2 steps.

1. Grab a good size section of hair on the top of your head

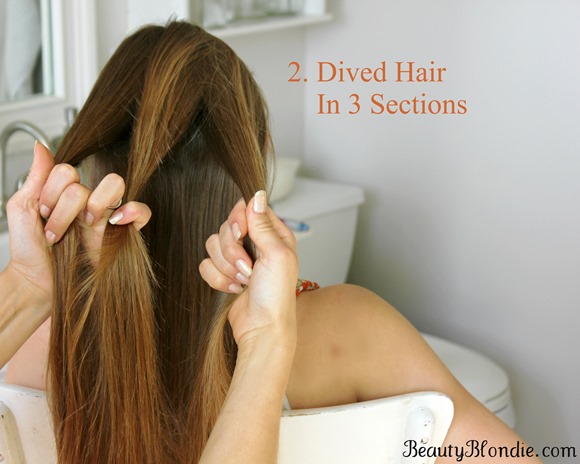
2. Dived Hair in 3 Sections

3. Take the Left Section and Place it Over the Center Section

4. Take the Right Section and Place it Over the Center Section

5. Add a Small Amount of Hair to the Left Section and Place it Over the Center Section

6. Add a Small Amount of Hair to the Right Section and Place it Over the Center Section

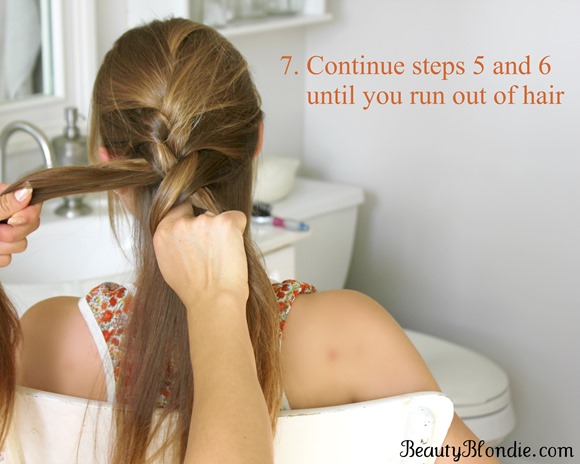
7. Continue steps 5 and 6 until you run out of hair

1.Grab a good size section of hair on the top of your head to start a French Braid2.Dived Hair in 3 Sections for a French Braid3.Take the Left Section and Place it Over the Center Section to achieve a French Braid 4.Take the Right Section and Place it Over the Center Section for a French Braid

Adding hair to your braid to make it a french braidAdd hair to your braid to make it a french braidContinue adding hair to your french braid until you run out of hair.

I remember when I first learned how to braid, I wouldn’t give up until I mastered it. Let me tell you, I was so excited once I finally got it and I know you will feel the same way.

I am confident that with a little practice you will be able to French braid in not time at all. I hope that this video is helpful for you.

Do you know how to French braid? Do you remember how you felt when you mastered it? I would love to hear about it.

Let me know how it goes for you!

From the Dest of Elisabeth Heasley soon to be Elisabeth Johnson


Posted on 2 Comments

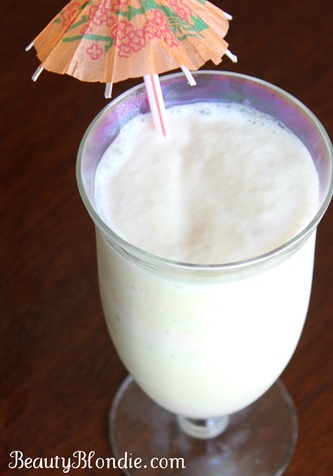
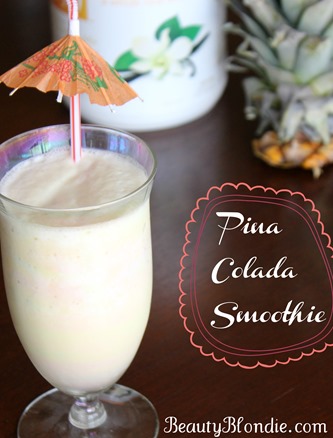
Pina Colada Smoothie

I couldn’t be happier that the weather is becoming warmer and warmer every day! I love to start my day with a nice and cold smoothie, they’re so refreshing and filling!

I have had people over on a few different accounts and all of them absolutely loved them and they had no idea that it was good for you. With it being filled with fresh fruit and 24 grams of protein it will keep you full all morning long!

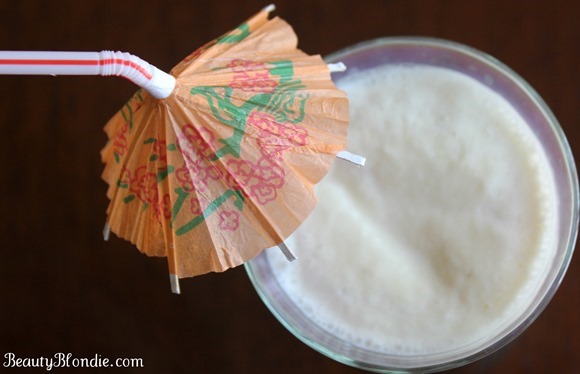
Pina Colata Smoothie! The perfect summer breakfast!

Here is a video showing you just how to make a Shaklee 180 Pina Colada Smoothie!

I honestly can’t believe that this taste like the real deal. It is absolutely amazing! 

I could totally go for a Pina Colada Smoothie, its health and yummy!

You will need:

2 scoops of Shaklee 180™ Vanilla Smoothee Mix

8 oz. non fat milk (low-fat soy milk can also be used)

1/2cup fresh or canned pineapple

1/2tsp of coconut extract

Ice (as needed)

Combine all ingredients in blender and blend until creamy.

297 calories, 41g carbohydrates, 24g protein, 3g fat,7g fiber

I am so going to try this Pina Colada Smoothie. Summer here I come!

I am so excited to hear how you like this smoothie!!! This is a favorite to so many and I know that you are going to love it too.

I know that this is going to be a crowd favorite and I would love for you to share with me just how everyone liked it!

From the Dest of Elisabeth Heasley soon to be Elisabeth Johnson

Related Posts Plugin for WordPress, Blogger...