Posted on 3 Comments

DIY Detangler / Leave-in-Conditioner (My Most Used Hair Product)

Imagine this: You get out of the shower put a comb through your hair and it actually go though your hair. Then you start to style your hair and it wants to corporate. Better yet, your daughter gets out of bath time and doesn’t scream when you comb through her hair any more. There are not more rats nests and life is simpler. Doesn’t that sound nice? Well… I have the solution, “The Prosante DYI Leave in Conditioner”.

I can’t tell you how many times a week I use this product not only on myself, my family members as well as every single one of my clients. For to many years I was spending a fortune on ready made leave in conditioners and detaglers. I personally think that everyone should use some sort of leave in conditioner everyday. It will truly make a huge difference in your life when it comes to styling your hair and the over all condition of your hair. Our hair really takes a beating from day to day, everything from the blow dryer, curling iron / flat iron to the sun, the wind to the harsh chemicals in the air. 

We really have to do everything we can to take care of our hair. Our hair is one of the things we are going to have to live with for the rest of our lives and we should start treating it that way.

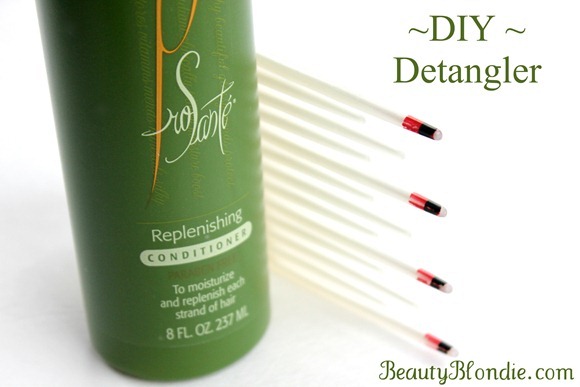
DIY Detangler using Shaklee Pro Sante's Repenishing Conditioner

Here is a short video showing you just how to I made this detagler!

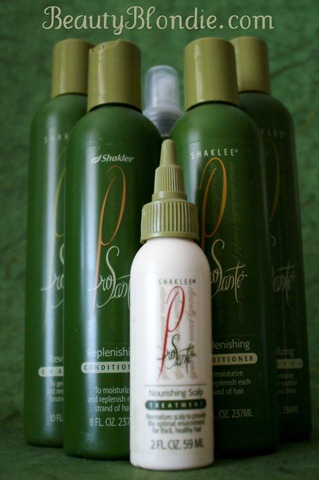
I love Shaklee’s ProSante Hair Care line and use all of these products everyday.

Shaklee's Prosante Hair Care Line, I love and Use this product every day

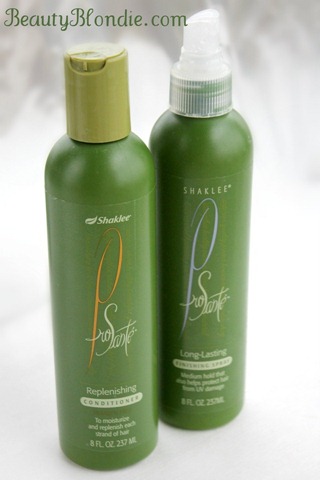
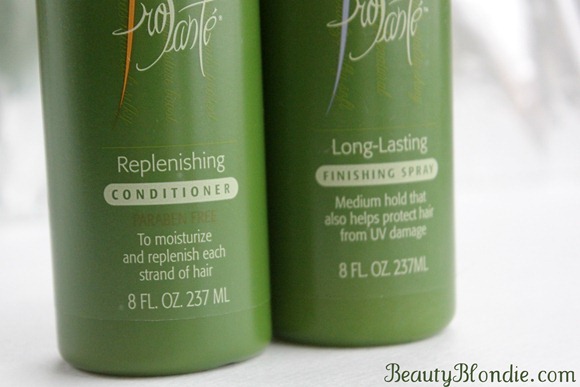
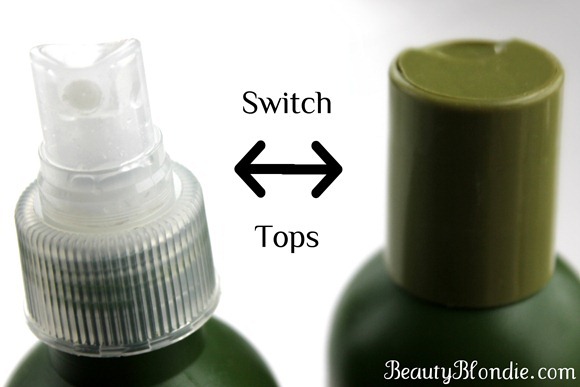
I used an almost empty Replenishing Conditioner bottle (With 1/8 cup to 1/4 cup of conditioner left in it.) Warm 7 oz. warm water and the top from an empty Long-Lasting Finishing Spray. Any spray bottle with work with all of the same proportions.

Home made, DIY all natural detanglerShaklee's Prosante Conditioner makes the best DIY detangler and leave in conditioner

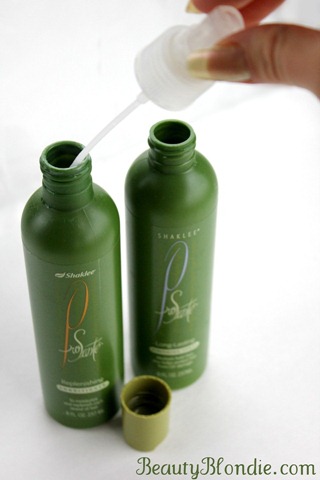
I took the top off my empty hair pray bottle, washed it out and put it into the new detagler.

DIY Home Made Detangler Using Shaklee's Prosante Hair Care Line! The Easiest Thing Ever!

It is truly that easy!

You can make your own home made detangler in a few simple steps

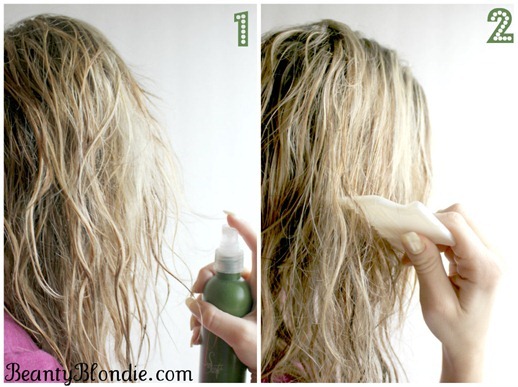
This is defiantly one of my top ten favorite products. You just spray and comb!

*Helpful Hint ~ Start combing from the bottom/ends and work your way up to the top/scalp.

The easiest DIY home made Leave in conditioner and detangler

Not only do I love the Replenishing Conditioner as a detagler but I absolutely love it as a regular conditioner as well.

Do you want to have soft and silky hair every single morning?  Are you looking to simply your life and make it a little easier?
From the Dest of Elisabeth Heasley soon to be Elisabeth Johnson

Posted on 8 Comments

Loose Beach Waves

When it comes to curling hair, there are so many different types of curly hair style you can do. It all depends on what type of curls you are looking for and what hair type you have. You also have to think about the length of your hair and decide if it will work with the curl you want to achieve. Not to mention what size curling iron you will need to achieve which curl.

I have a number of posts coming that will show you just how to answer all of those questions.


Although for today I am going to be showing you another type of curl that I absolutely love! This style is great for medium to long hair. It gives a very soft, more natural look. I love this look for everyday but I guarantee when you put on a little black dress you will blow people away.

Here is a short video showing you just how to create these beautiful waves!

I also love the simplicity of these curls.


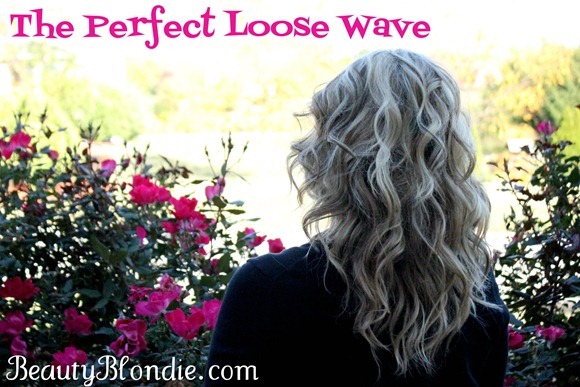
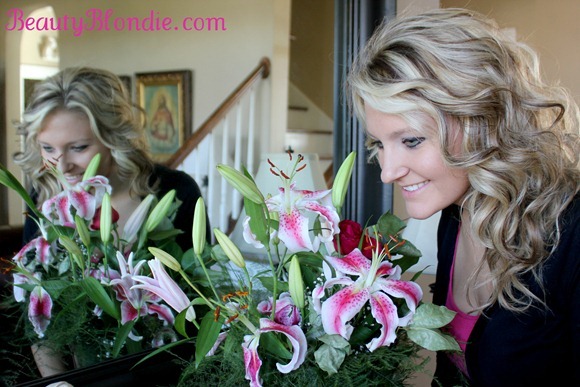
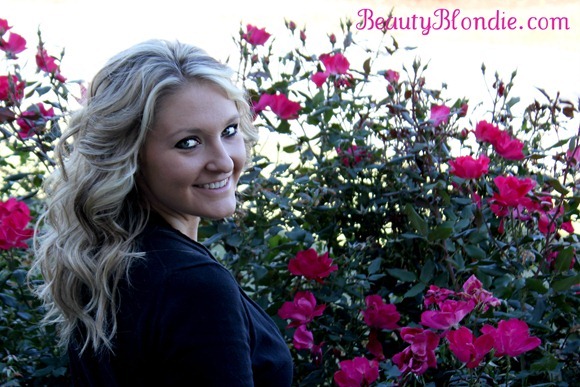
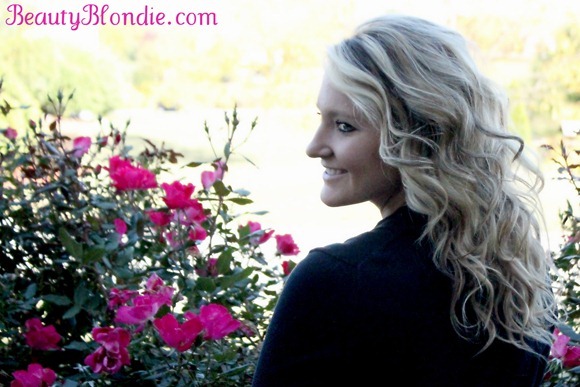
The Perfect Loose Wave at BeautyBlondie.comHow to get Fast and easy Beach Waves at beautyblondie.com while smelling beautiful flowersI am loving these fast and easy beach waves from BeautyBlondie.comThis is a great way to wear your hair in a loose wave. It looks like a big beach wave!

Do you like to wear your hair curly? Would you like more post about curling hair for all different hair types and finding styles that are more achievable for you?

I hope this help and I can’t wait to hear how you it turned out for you. So please share!

From the Dest of Elisabeth Heasley soon to be Elisabeth Johnson

Posted on 1 Comment

Wrapping Your Christmas Gifts!

I love the idea of the entire Christmas season, there is so much joy in the air. I love the smell of all of the freshly baked cookies, the sound of the Christmas music in the background and the beautifully wrapped gifts under the tree. Gifts are a great way to show someone just how much you care about them. What I love about wrapping a gift is the excitement on the persons face who you give it to. When a gift is wrapped nicely it almost makes the gift a little bit more than what is inside. I can’t tell you how many times people have complimented me about the wrapping on my gifts I give. Not only that, now people have been asking me to wrap their gifts for them.

Here is a video showing you just how I wrap a a Basic Box.  


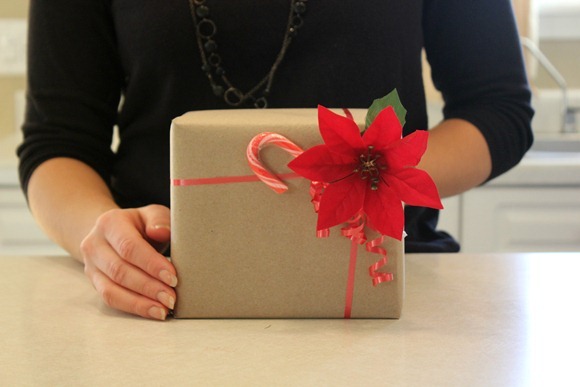
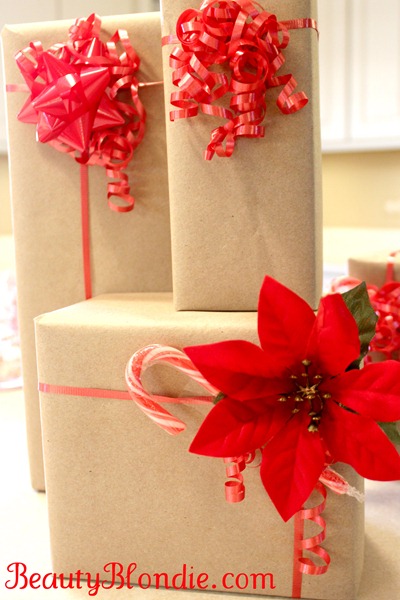
I love adding thing to the top of my gifts. It not only adds a pop of color but to make the gift look finish and complete.

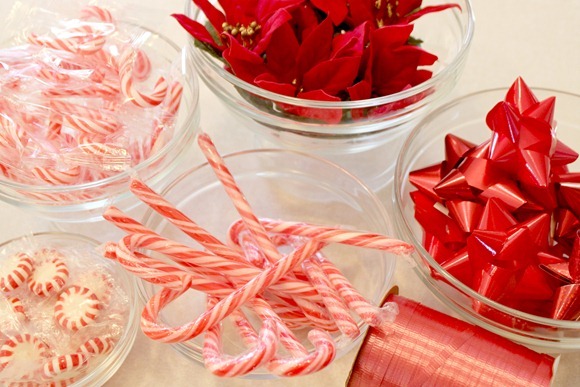
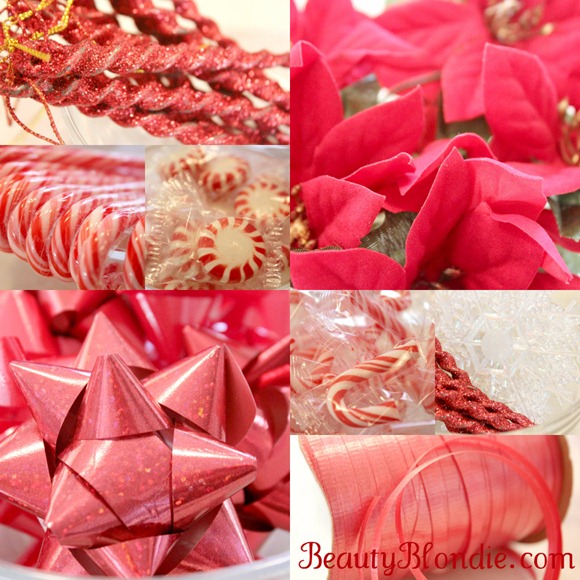
I love adding red accents to my gifts

This year I used different kinds of peppermints, bows, flowers and ornaments.

Dressing up your gifts with red Accents.

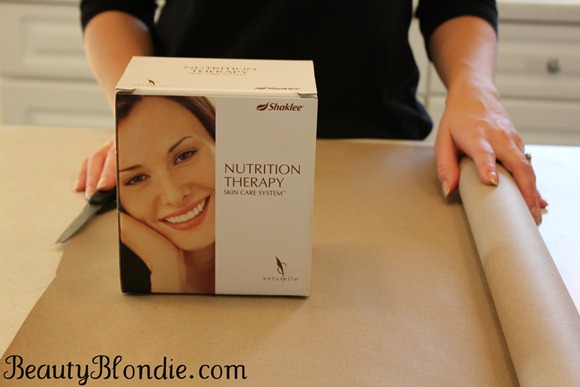
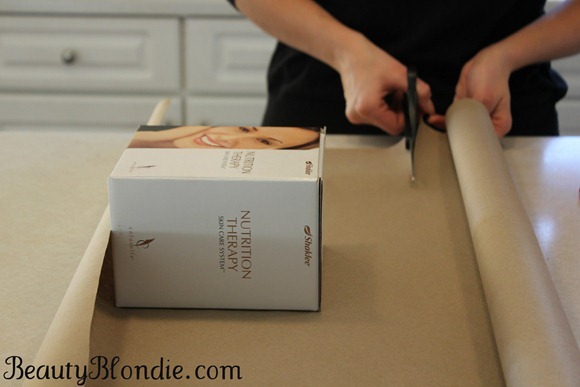
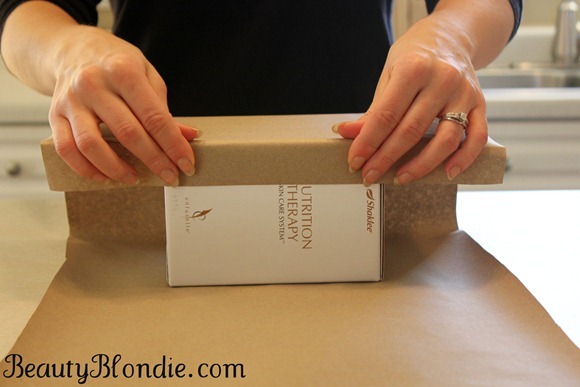
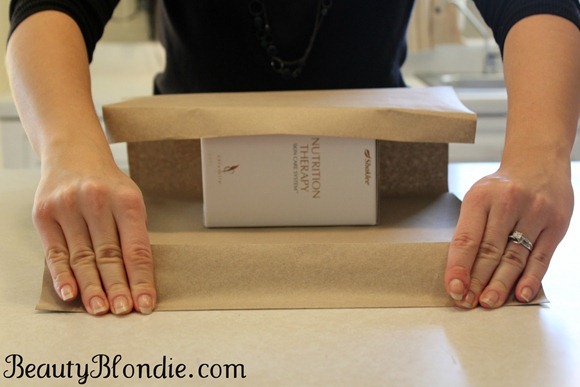
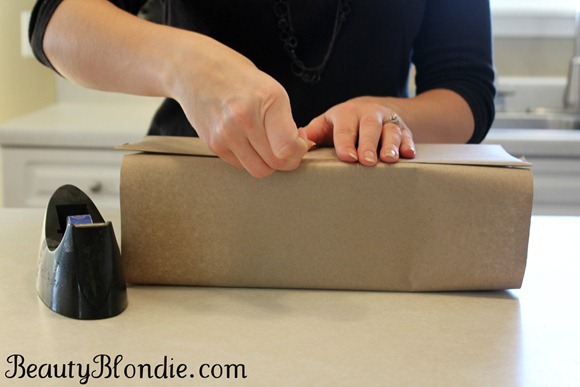
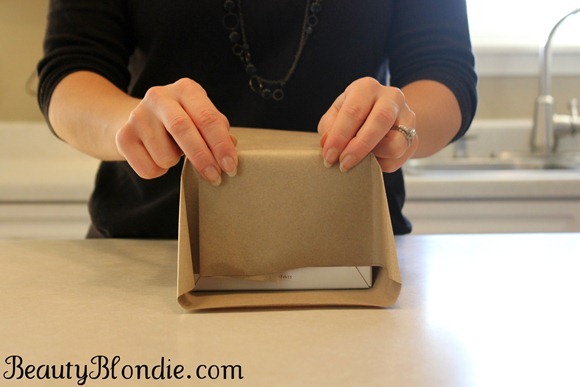
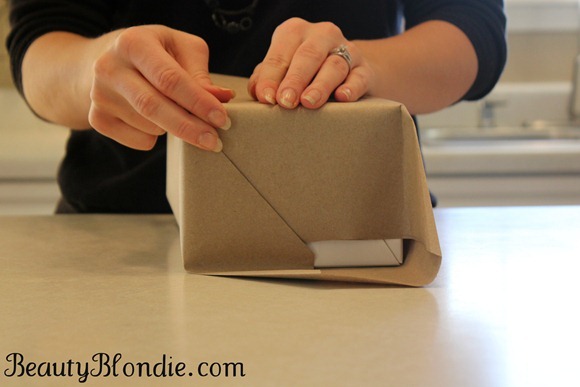
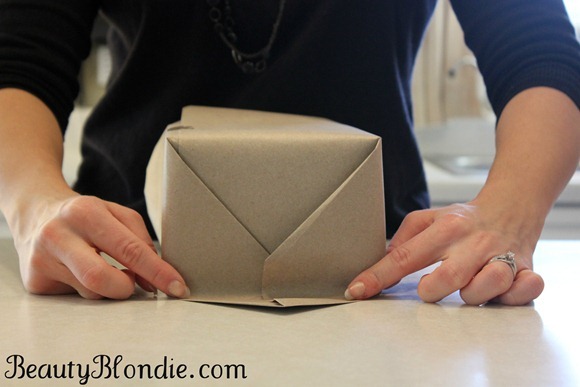
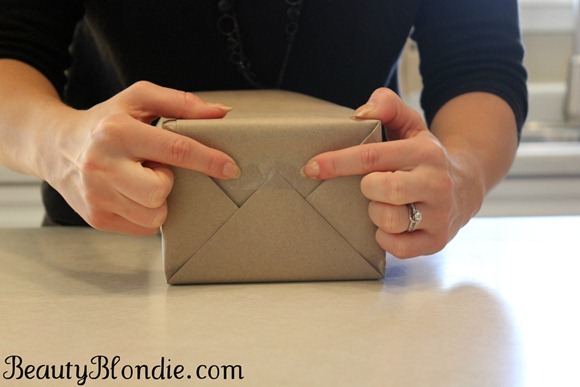
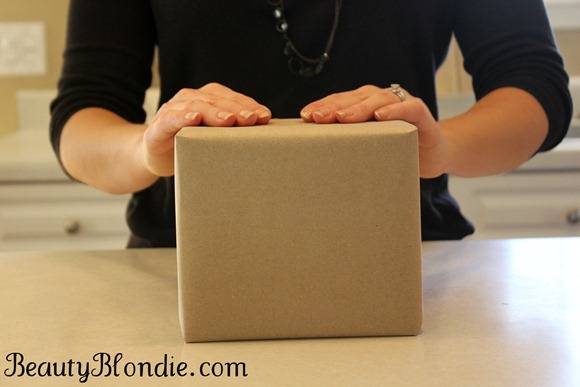
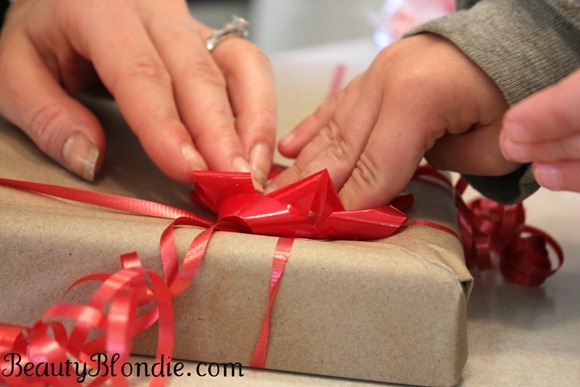
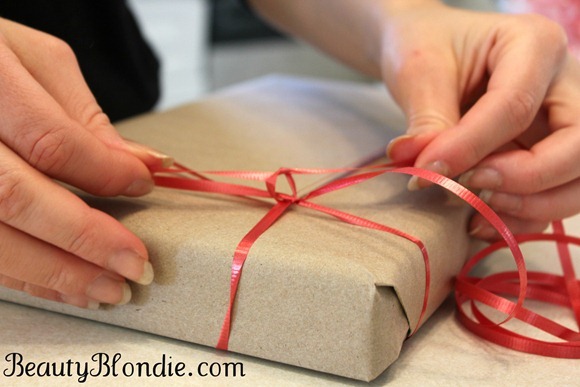
Here are step by step instructions on how to wrap your basic box.

Wrapping up Shaklee's Nutrition Therapy from Enfuselle1 Messure and Cut Wrapping Paper 2 Fold Paper over you gift 3 Fold the edge of the paper over for a perfectly smooth line.4 secure with a piece of tape.5 Push the Paper from the top of your gift down towards the bottom on the gift.6 Crease the corners of the paper on both ends making them into triangles.  7 Fold the other side in creating a triangle. 8 Fold the Bottom triangle up and secure with tape. 9 Continue the last 3 steps to the other side! Add your Accent color in ribbons a flower and a candy cane and you are done

My siblings love helping when it comes time to wrap.

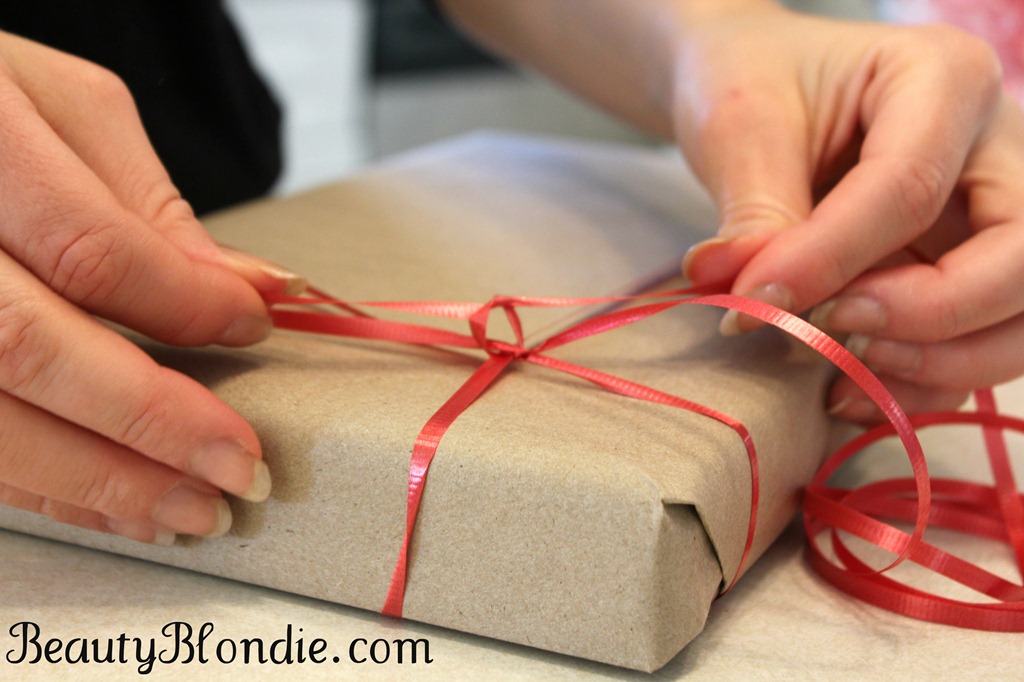
The kids love helping me wrap Tying Ribbin on my  gift.

I just love the end result.

Simple but elegant wrapping

How do you wrap your gifts for Christmas?

Do you have a favorite Christmas color this year?

I hope you are all done shopping and ready to wrap your gifts. I hope this helps!

Elisabeth at BeautyBlondie.com Signature


Parties I am at this week:

Some Day Crafts

The Thrifty Home

Seven Thirty Three

Posted on 5 Comments

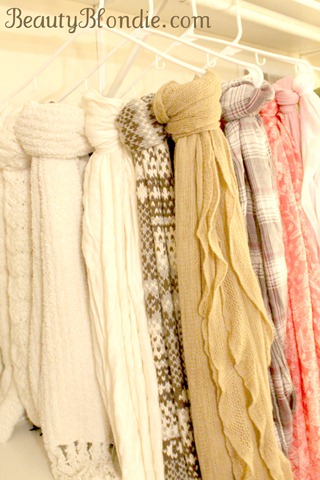
Organizing Your Scarfs on Clothes Hangers!

With the seasons changing and the whether getting colder it is time to bust out the scarfs. Over the past few winters I have built up quite the little collection of scarfs. I use to keep them in a bin in my room until I got sick of them always being wrinkled. I don’t even remember where I got this idea from but I am so glad that I found it. Now that I have started hanging my scarfs up on hangers I will not be going back to putting them in a drawer or a bin ever again.

Here is a short video showing you just how I organize my scarfs.


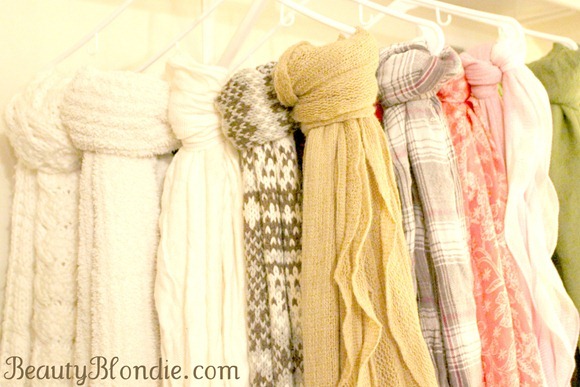
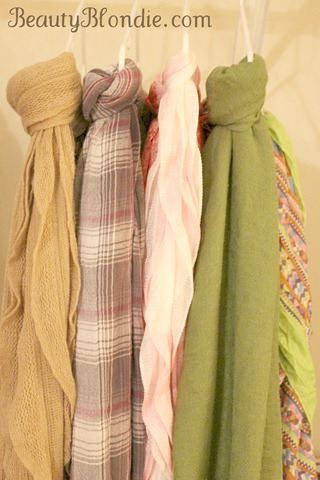
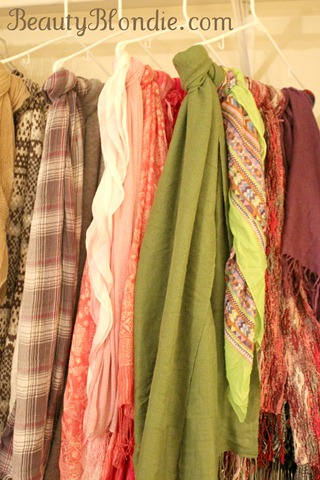
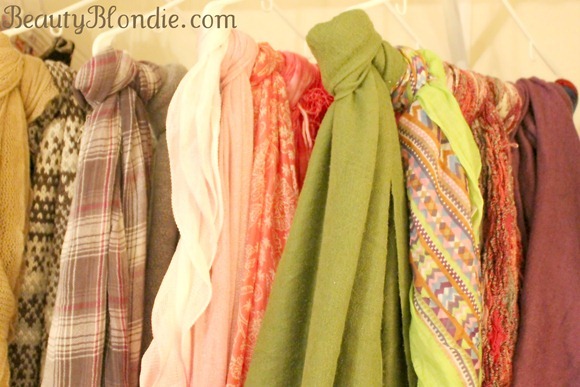
This is a great way to hang your scarfsI just love this idea about hanging your scarfs on a hanger This is a great way to save space and keep your scarfs organized! This is an amazing way yo keep scarfs organized and keep your closet cleanWhat I clever idea, I never would have thought to hang my scarf’s on a hanger like this


I love keeping my scarfs color coordinated and where I can see them. I not only feel like they stay more organized but I also wear them more than I use to because I can actually see what I have.

I love the idea of wearing scarfs. Please don’t forgot to subscribe to my blog to get my up come posts on how to tie your scarfs and how to pair them with your outfits.

How do you keep your scarfs organized?

Related Posts Plugin for WordPress, Blogger...