Posted on 5 Comments

Professional Side Ponytail {2 Minute Style with Video}

There are so many days out of the summer where I like to wear my hair up or off of my neck. This is one of the easiest and fastest styles that I know.

This is one of my go to styles that takes less than 2 minutes.  It is so easy that anyone could achieve this style.  
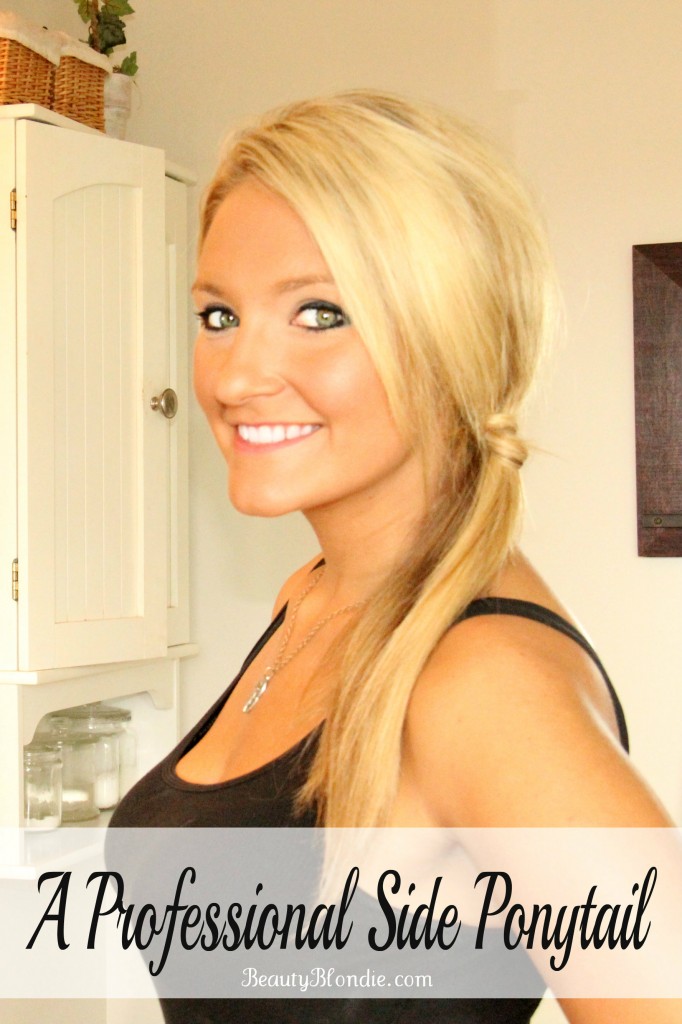
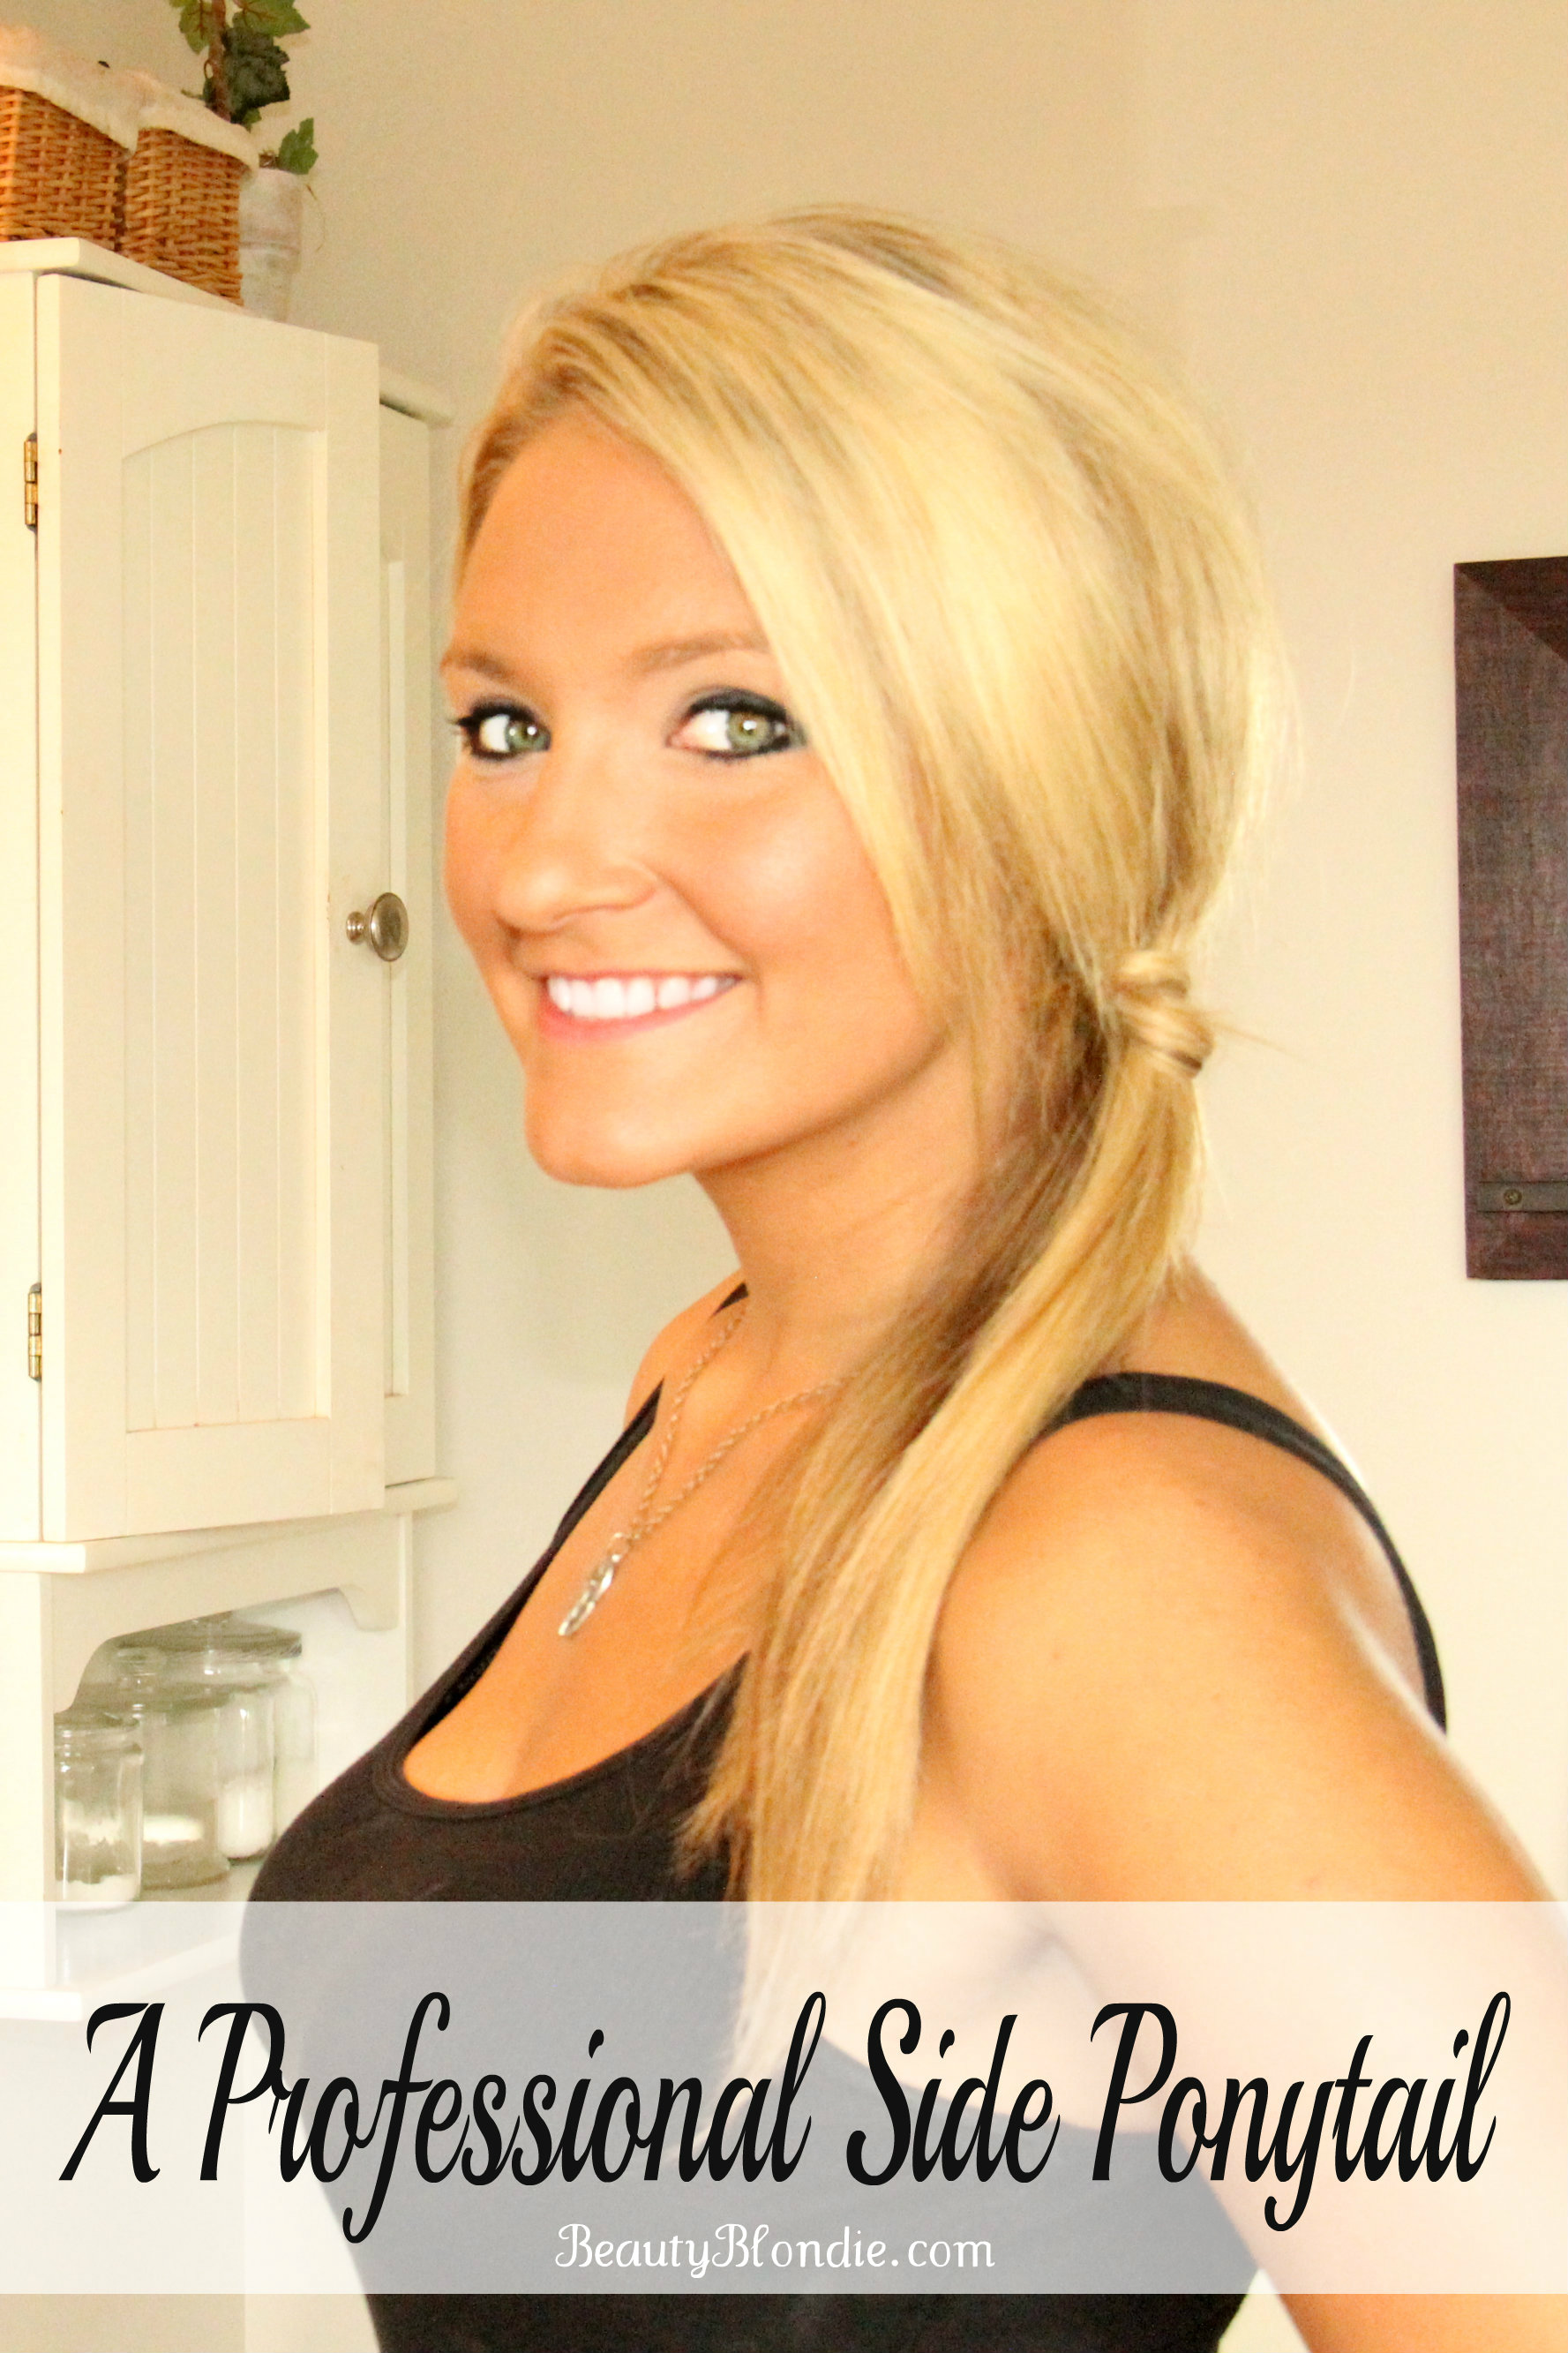
A Professional Side Ponytail

Here is a short video showing you just how I achieve this style in under 2 minutes.

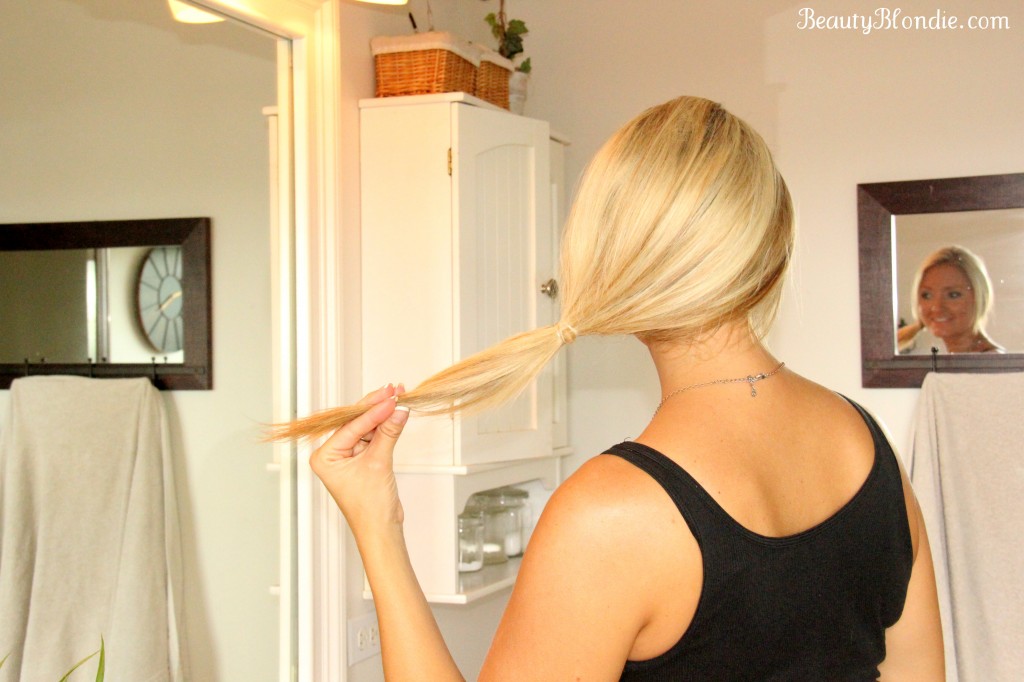
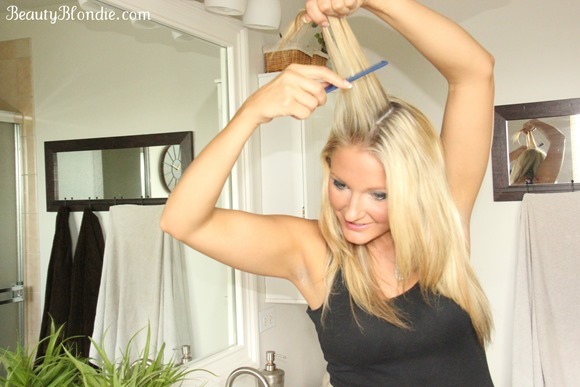
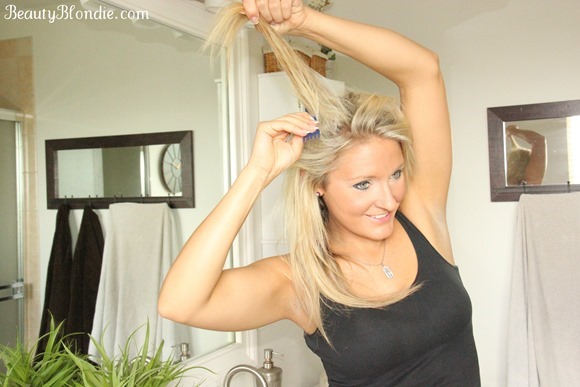
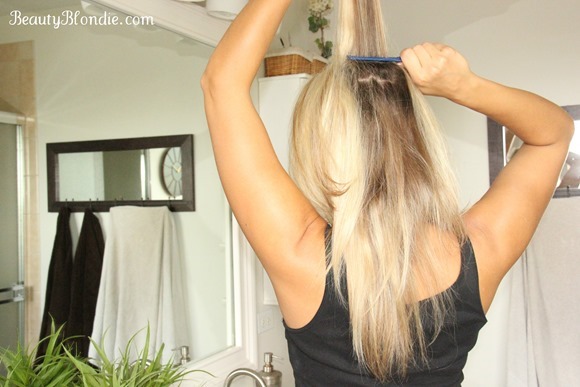
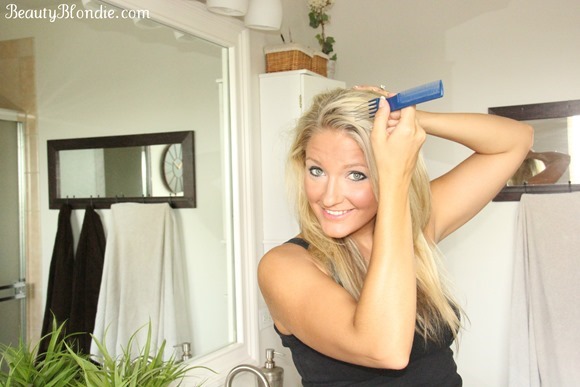
 You are only going to need 3 things to complete this hairstyle: A comb, a clear elastic and a bobby pin. First you need to tease your hair and pull it all off to one side. 
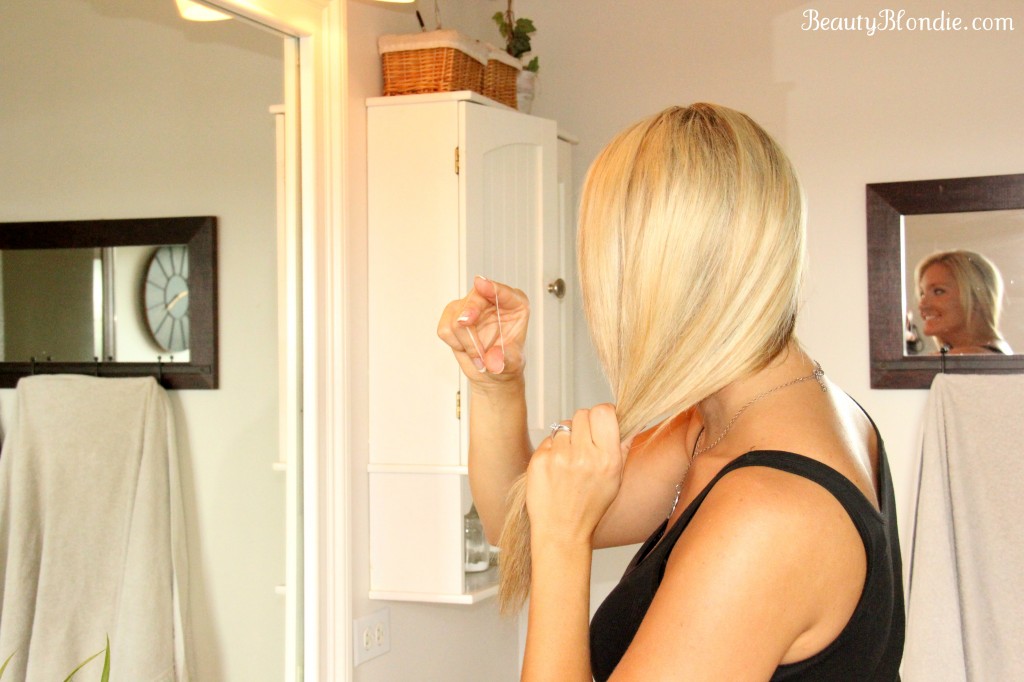
Take your clear elastic and secure your hair

Take your clear elastic and tie it around your hair.

Secure your hair with an elastic hair tie


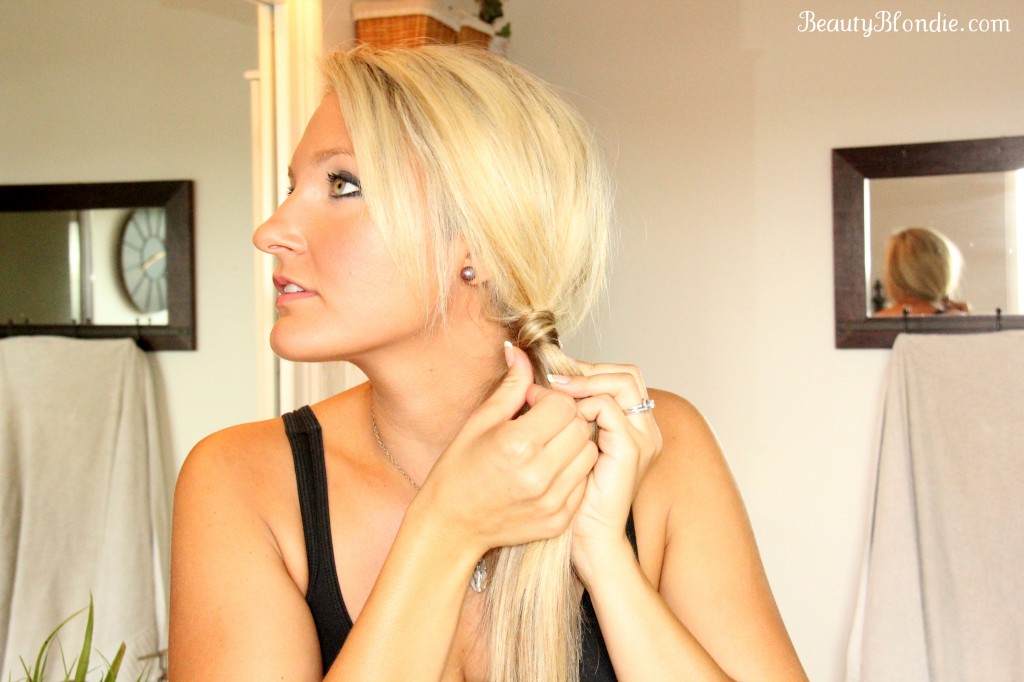
After it is secure, separate  the ponytail in half and pull them in opposite directions to tighten then ponytail.


ta da... you have a side ponytail


Once you have your hair pony in place, use the back of your teasing comb to lift up the hair away from the head.  I love to have extra volume!
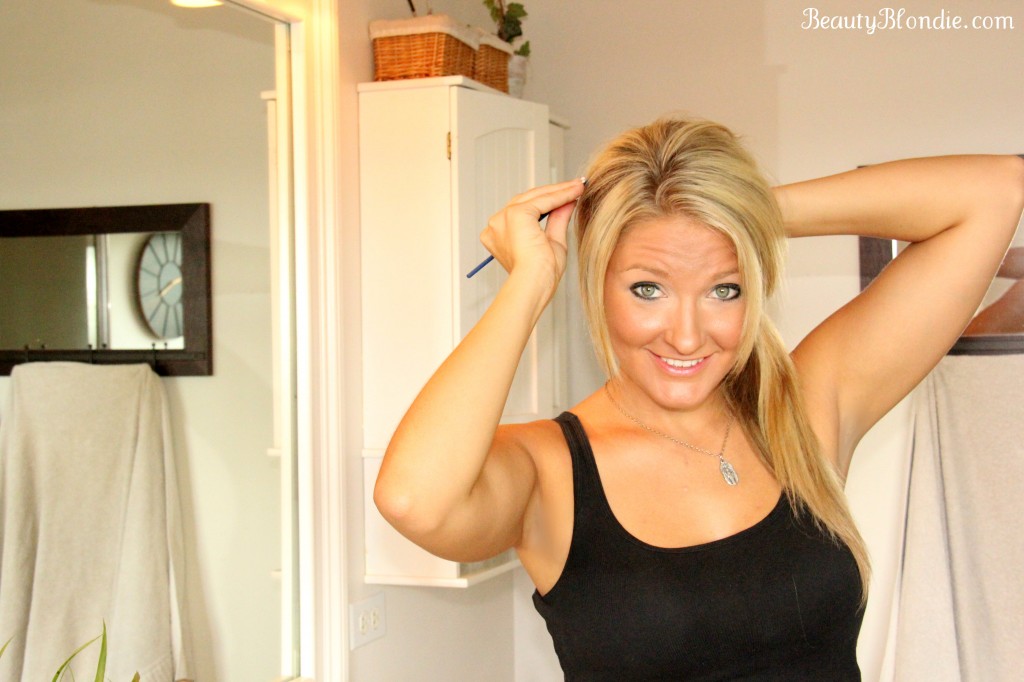


Pull some of your hair up for extra volmue

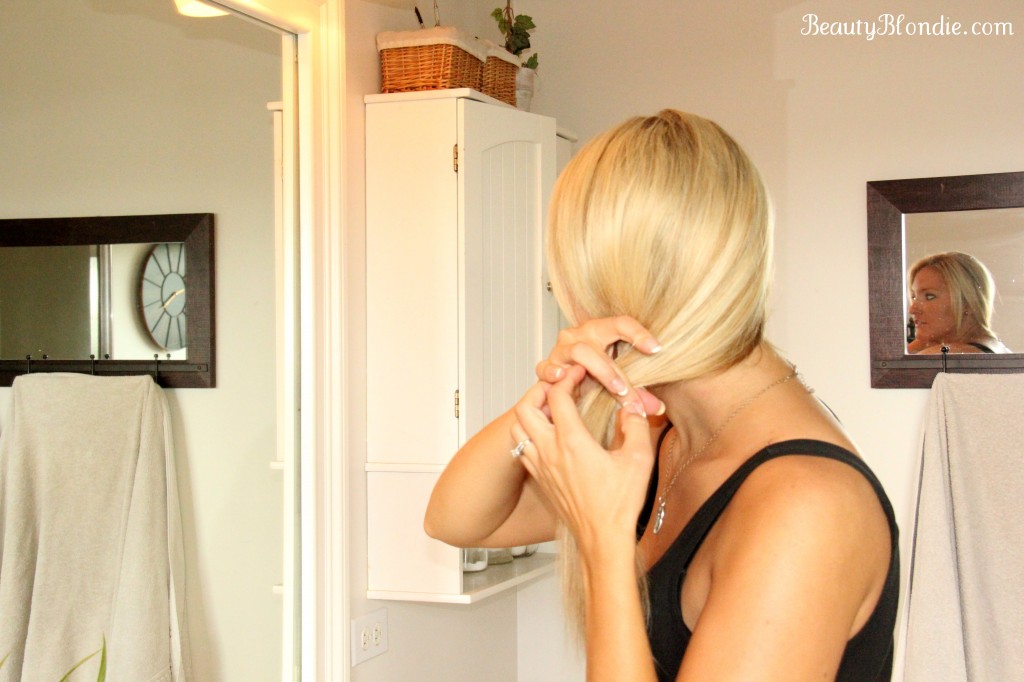
Last but not least, take a small section of hair from the ponytail, wrap it around the clear elastic and secure with a bobby pin.


Secure the hair with a bobby pin


I hope that this helps and that it makes sense. Do you find yourself running out of quick hair styles and end up wearing the same old ponytail every single day?

You can get more of my 2 minute styles here!
From-the-Dest-of-Elisabeth-Heasley-soon-to-be-Elisabeth-Johnson_thumb.jpg

Posted on 11 Comments

How to Tease Your Hair… The Proper Way! {Video}

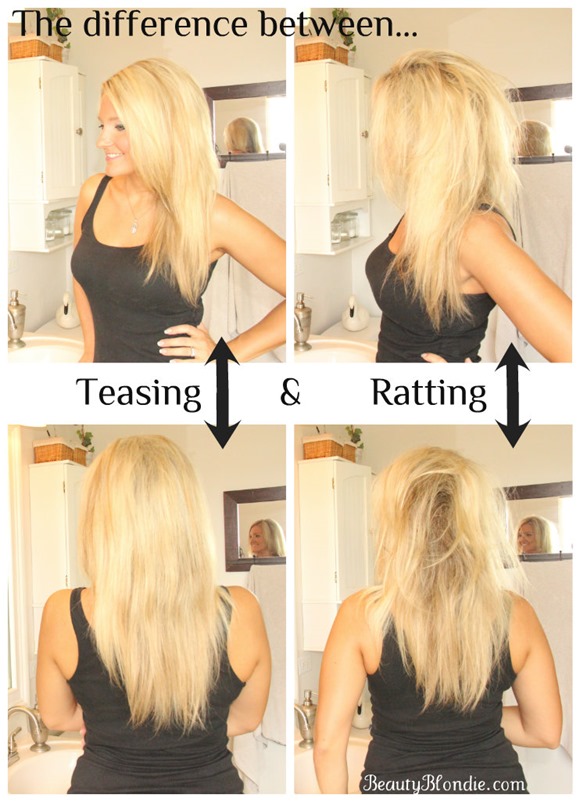
I can’t tell you how many people have asked me to teach them how to tease their hair. When it comes to adding a little height to your hair you want to make sure you don’t leave it looking messy. There is a big difference between teasing your hair and creating a rats nest. I really is a simple process of sectioning the hair, creating a cushion and smoothing it out.  

An Awesome Tutorial on how to teas your hair the right way!

Here is a video showing you how to tease your hair the proper way in under 4 minutes!

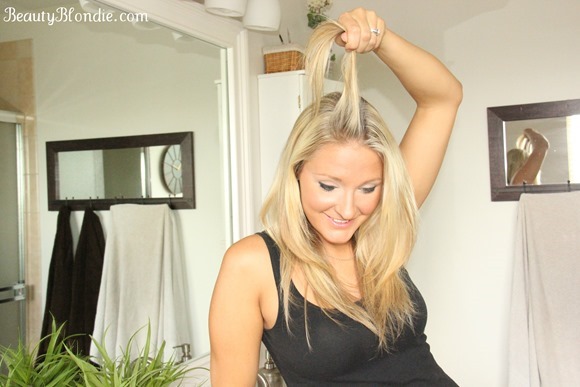
Take a section of hair around your part line that is about 1 inch wide and 3 inches long.

Take small sections oh hair

Insert your comb directly in the middle of your section of hair and comb downward.

Put the comb in the the hair half way and pul in down

Do this on both sides of your head.

Do the same to the other side of your hair

Don’t forget the back of your head. By now you should have teased the entire crown of the head. (Do you like my natural Ombre going on back there? I haven’t had a full highlight in, I don’t know how long But don’t worry I am getting a full before the wedding!)

Do the same with the back of your hair

As soon as you finish teasing to top of your head. Start to smooth out your hair with the end of your comb.

Smooth the hair with the back of your comb

Making sure you smooth out the top of your hair is one of the most important parts of teasing your hair. You want to make sure you don’t comb out all of your tease.

Teasing your hair

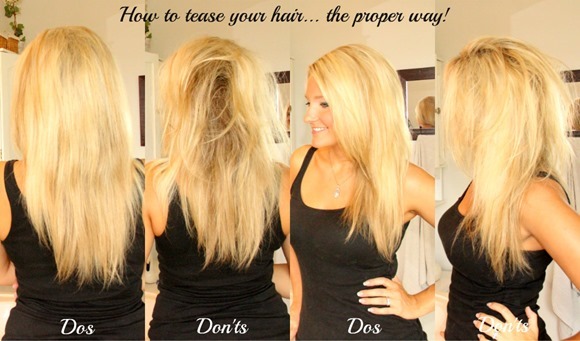
I personally think that with a proper tease you can not only create volume to your hair but you can also create fullness to thin or fine hair.

The dos and don'ts of teasing your hair


Have you ever had issues teasing your hair? Did you find this video helpful?

I would love to be able to make more videos on tutorials that you would like to see. So  please let me know anything that you would like me to share and I will put it at the top of the list to post.

Thank you so much for reading.

From the Dest of Elisabeth Heasley soon to be Elisabeth Johnson

Posted on 37 Comments

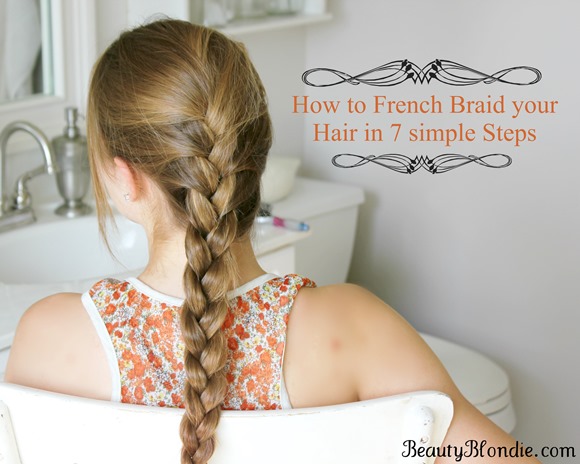
French Braid your hair in 7 Simple Steps {With a Video}

I am republishing this post because I realized that I didn’t make my video public on Youtube. So…. here it is!

Last week I showed you how to Master the art of Braiding so for this week I decided to show you how to turn that basic braid into a French Braid. It is easier than you might think. So many people get discouraged with a French braid and they shouldn’t.

If there is one thing that I would suggest to you it would be this. Make sure you feel completely comfortable with a regular braid before you go onto a French braid.  The motions are the same except you are picking up and adding hair to the French braid as you go along.

This is the easiest way to learn how to french braid

In this video I show you just how to take a basic braid and turn it into a French braid with only adding 2 steps.

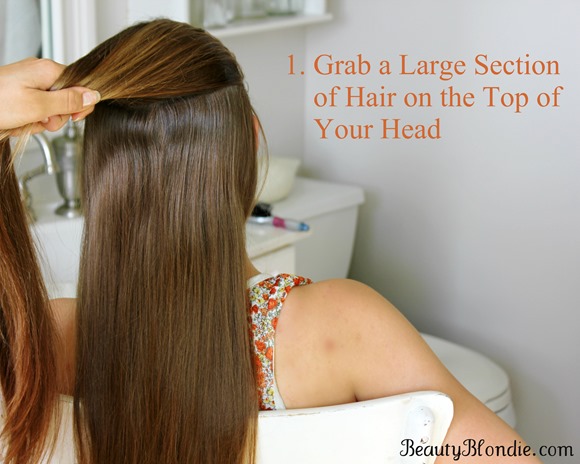
1. Grab a good size section of hair on the top of your head

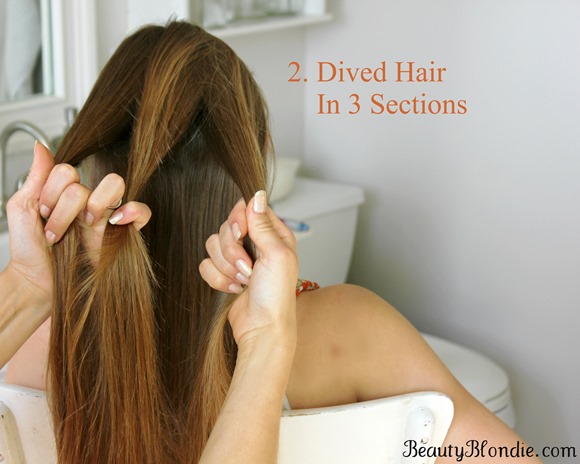
2. Dived Hair in 3 Sections

3. Take the Left Section and Place it Over the Center Section

4. Take the Right Section and Place it Over the Center Section

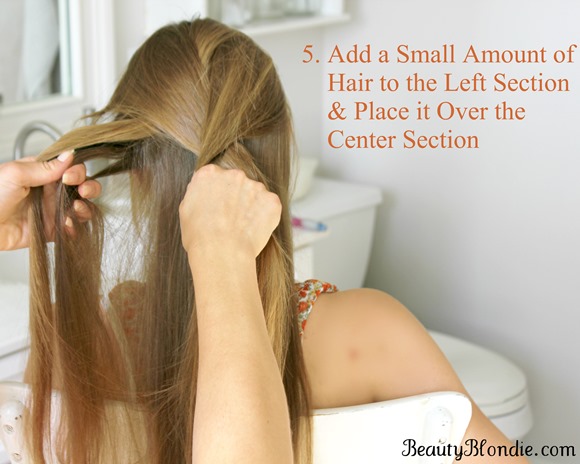
5. Add a Small Amount of Hair to the Left Section and Place it Over the Center Section

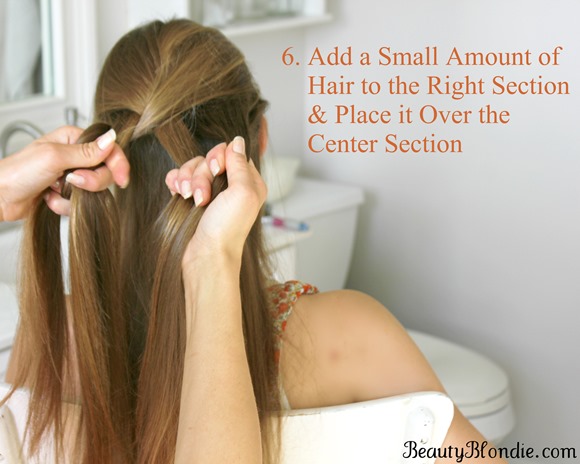
6. Add a Small Amount of Hair to the Right Section and Place it Over the Center Section

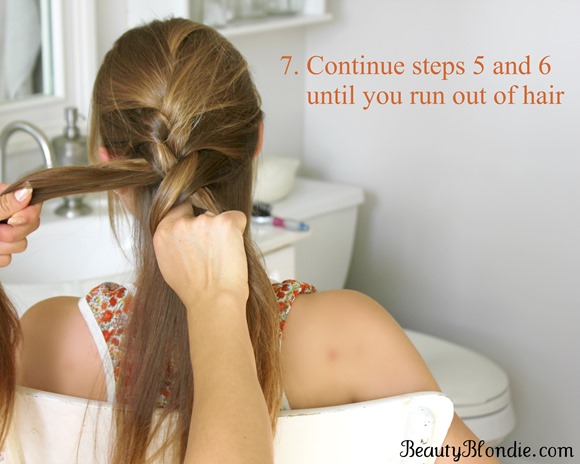
7. Continue steps 5 and 6 until you run out of hair

1.Grab a good size section of hair on the top of your head to start a French Braid2.Dived Hair in 3 Sections for a French Braid3.Take the Left Section and Place it Over the Center Section to achieve a French Braid 4.Take the Right Section and Place it Over the Center Section for a French Braid

Adding hair to your braid to make it a french braidAdd hair to your braid to make it a french braidContinue adding hair to your french braid until you run out of hair.

I remember when I first learned how to braid, I wouldn’t give up until I mastered it. Let me tell you, I was so excited once I finally got it and I know you will feel the same way.

I am confident that with a little practice you will be able to French braid in not time at all. I hope that this video is helpful for you.

Do you know how to French braid? Do you remember how you felt when you mastered it? I would love to hear about it.

Let me know how it goes for you!

From the Dest of Elisabeth Heasley soon to be Elisabeth Johnson


Posted on 2 Comments

Pina Colada Smoothie

I couldn’t be happier that the weather is becoming warmer and warmer every day! I love to start my day with a nice and cold smoothie, they’re so refreshing and filling!

I have had people over on a few different accounts and all of them absolutely loved them and they had no idea that it was good for you. With it being filled with fresh fruit and 24 grams of protein it will keep you full all morning long!

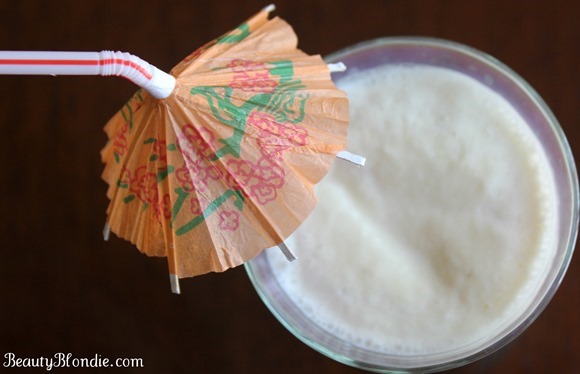
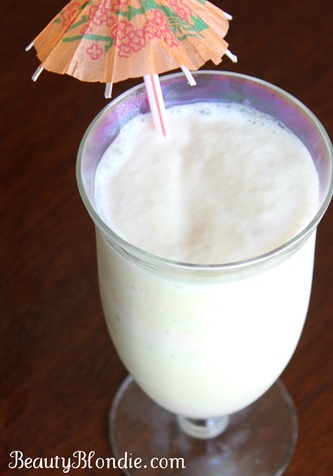
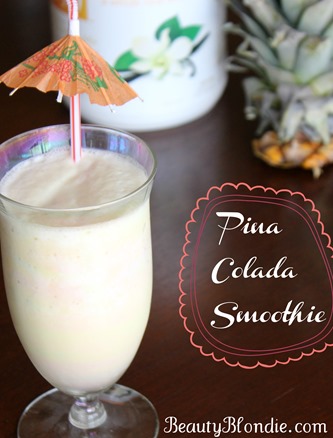
Pina Colata Smoothie! The perfect summer breakfast!

Here is a video showing you just how to make a Shaklee 180 Pina Colada Smoothie!

I honestly can’t believe that this taste like the real deal. It is absolutely amazing! 

I could totally go for a Pina Colada Smoothie, its health and yummy!

You will need:

2 scoops of Shaklee 180™ Vanilla Smoothee Mix

8 oz. non fat milk (low-fat soy milk can also be used)

1/2cup fresh or canned pineapple

1/2tsp of coconut extract

Ice (as needed)

Combine all ingredients in blender and blend until creamy.

297 calories, 41g carbohydrates, 24g protein, 3g fat,7g fiber

I am so going to try this Pina Colada Smoothie. Summer here I come!

I am so excited to hear how you like this smoothie!!! This is a favorite to so many and I know that you are going to love it too.

I know that this is going to be a crowd favorite and I would love for you to share with me just how everyone liked it!

From the Dest of Elisabeth Heasley soon to be Elisabeth Johnson

Related Posts Plugin for WordPress, Blogger...