Posted on

DIY Christmas Gift Tags

Christmas comes but once a year, which means it will come again next year.

Each and every year I get so many beautiful cards from all of my friends and family. I hate the thought of throwing them out after Christmas is over although I just can’t keep them all.

A few years ago I had the idea of reusing the cards by making them into gift tags. It worked out so nicely that I have been doing it ever since.

So naturally, I wanted to share my idea with you.
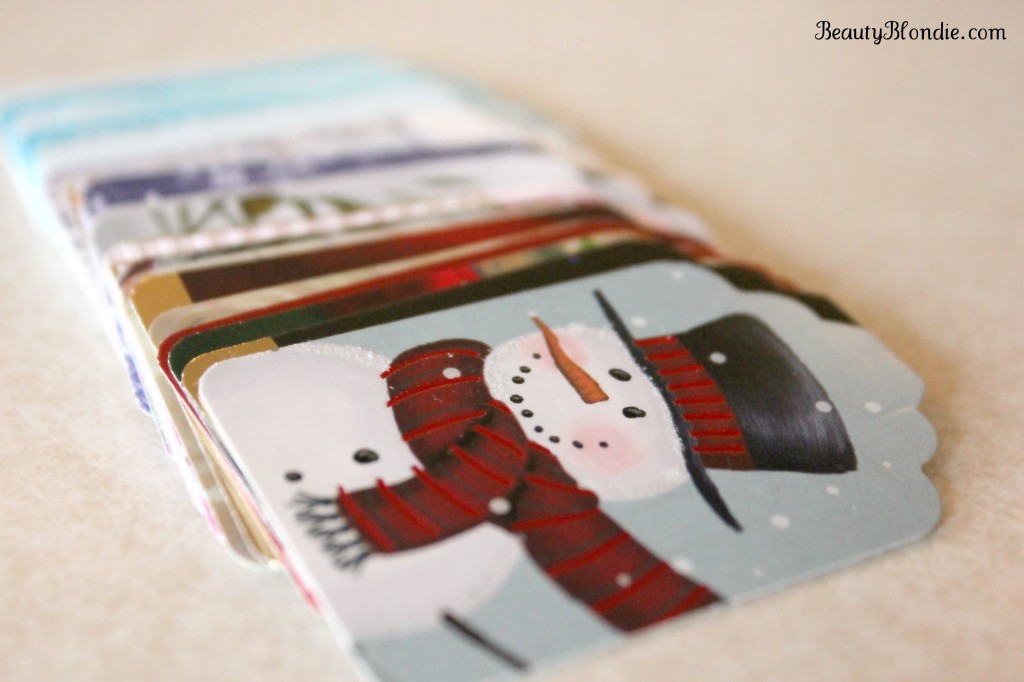
DIY Christmas Tags from old Christmas cards. Here are the some of the cards that I will use to turn into tags.
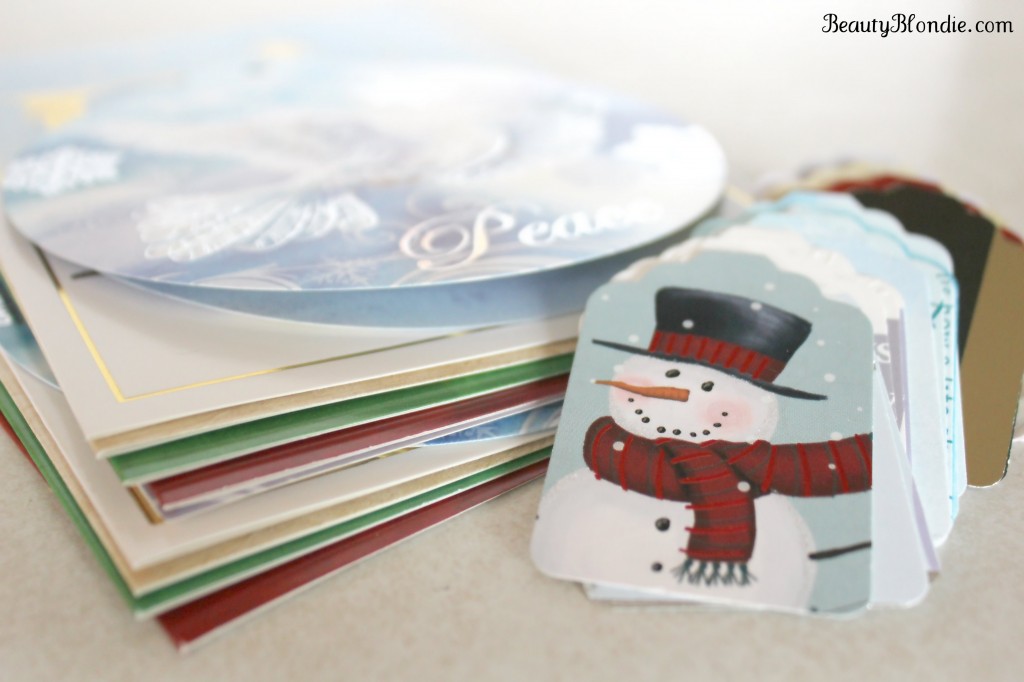
Turn your old christmas cards into gift tags
You will only need your old Christmas cards and a tag punch. (I got mine from Michael’s)
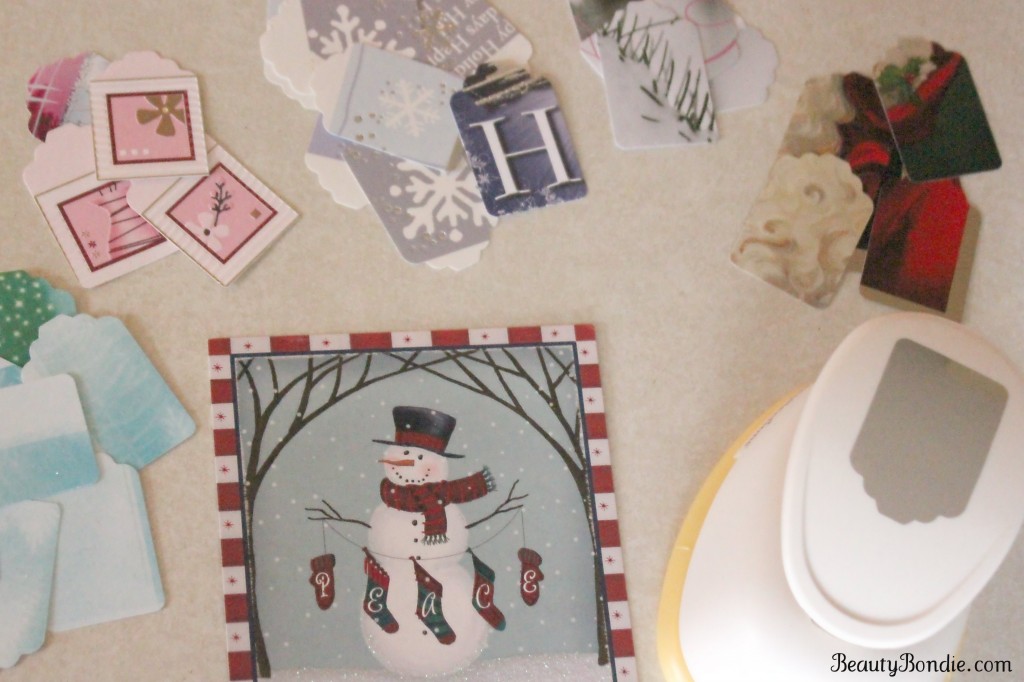
Make your own Christmas Tag from Last Years Cards
I love that you can use any card or color to get all different types of tags.
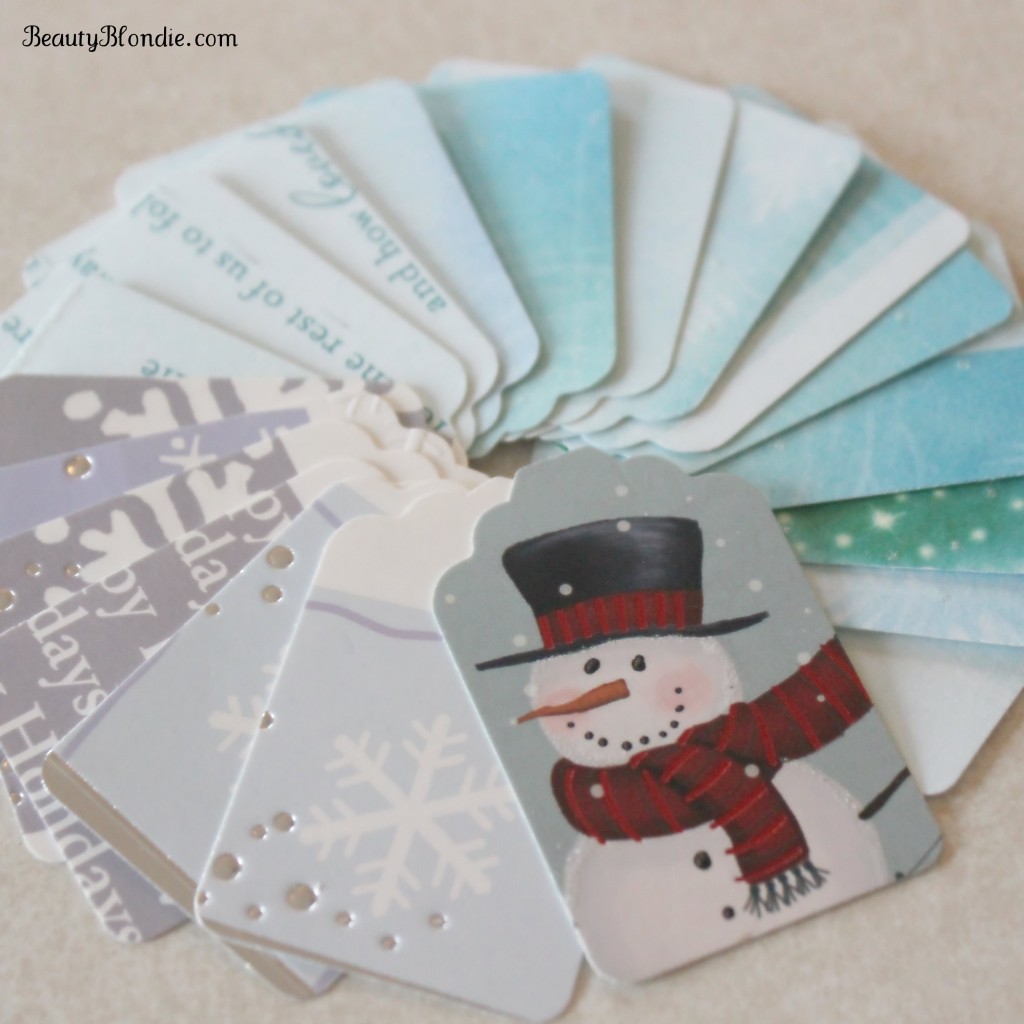
I love this idea of making your own Chrtisam Tags out of your old cards
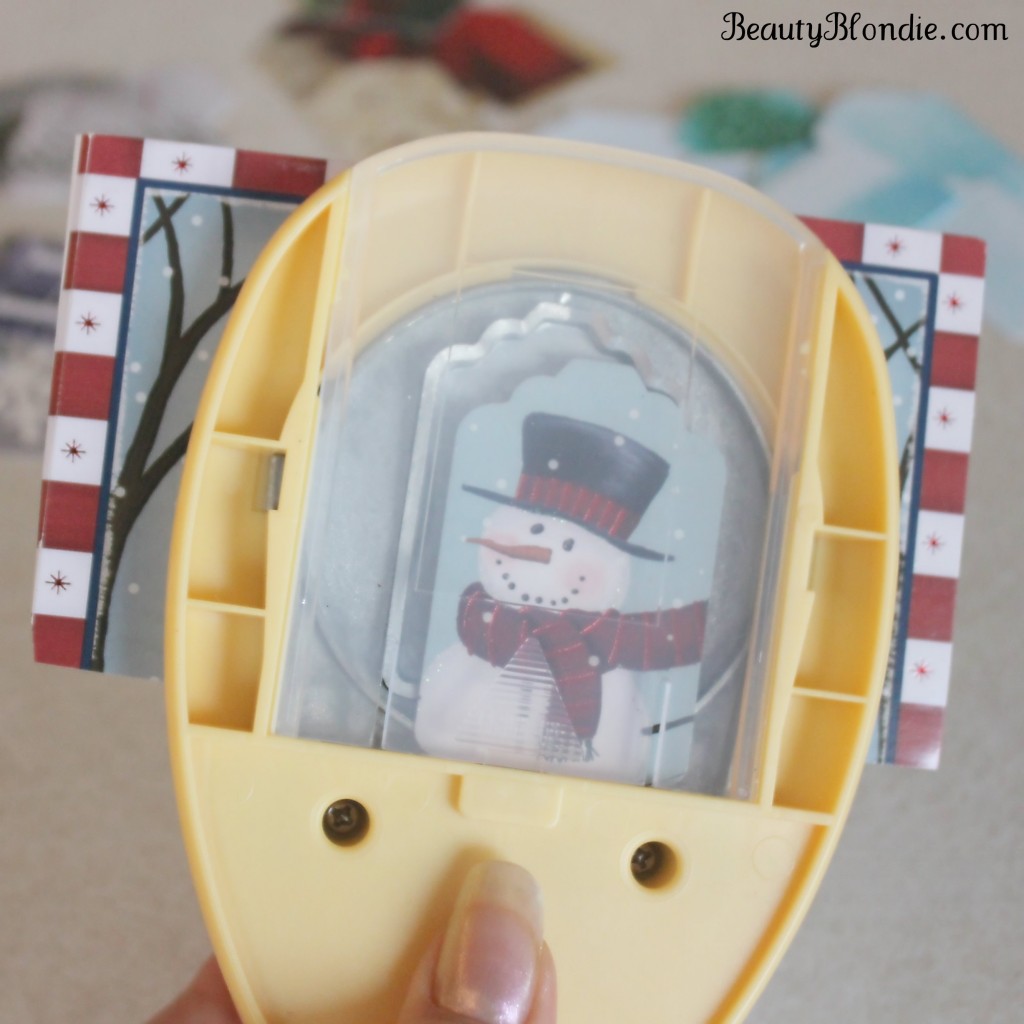
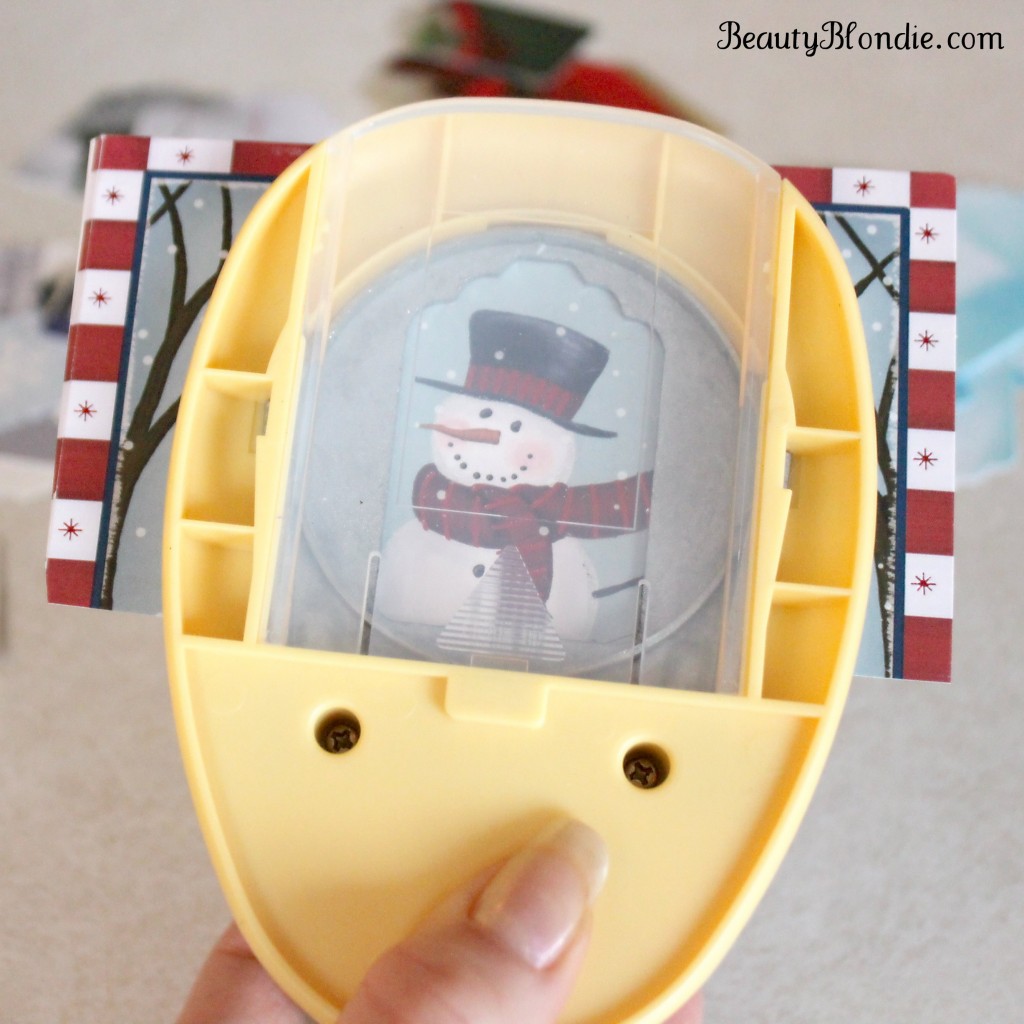
First you will need to line up your card in the center of your tag punch.

Center your card just the way your would like your tag.

When you have it lined up just the way you like it, press your fingers and thumb together.

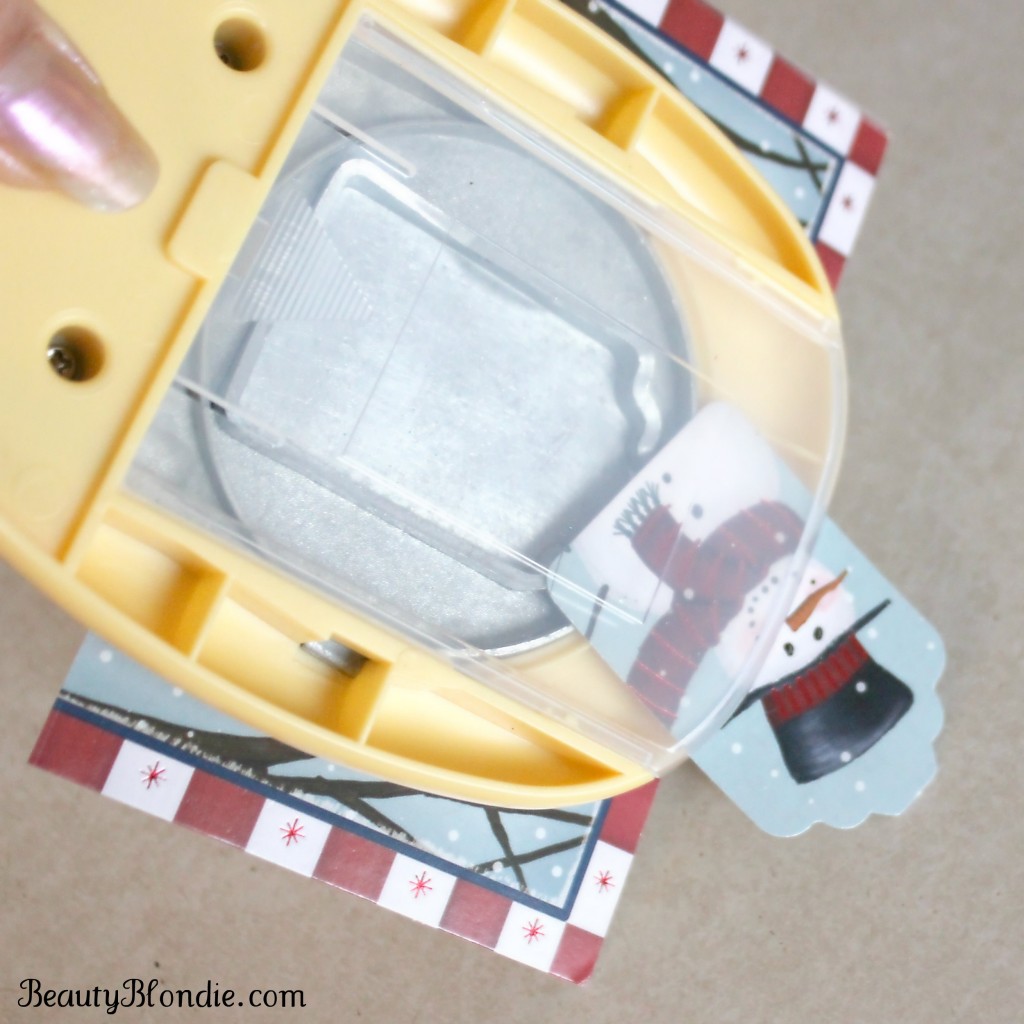
Once you have it centered, push the handle and punch the pard

The last thing you need to do is side the tag out of the punch.

Let the Tag slide out of the punch and you are done

It is as easy as 1, 2, 3. (Card, Cut, Tag.)
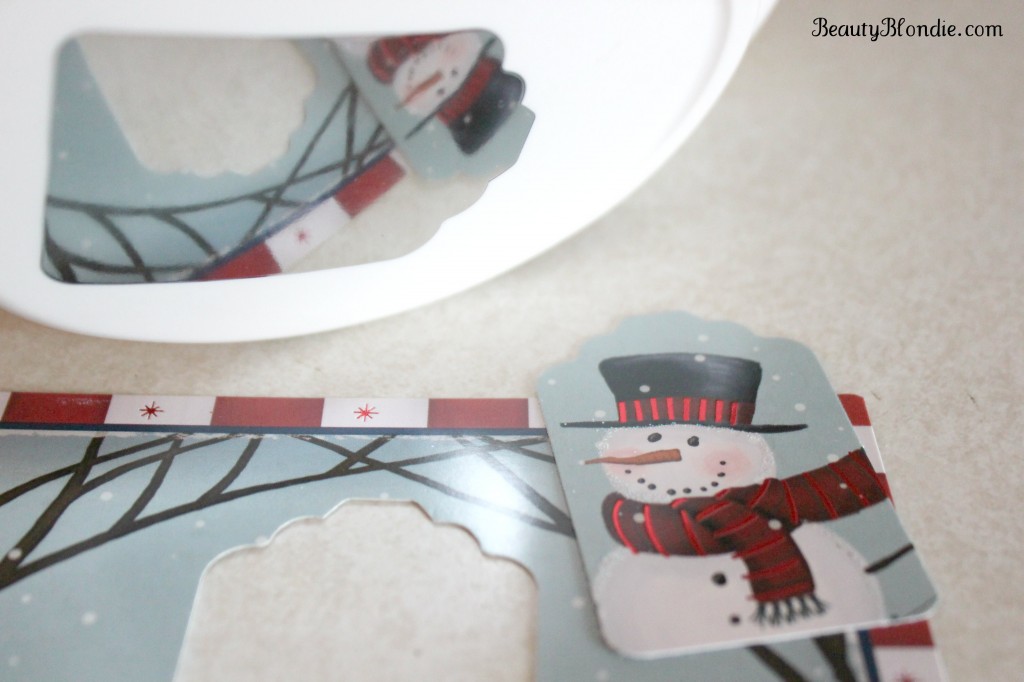
This is such a cool idea! I love it
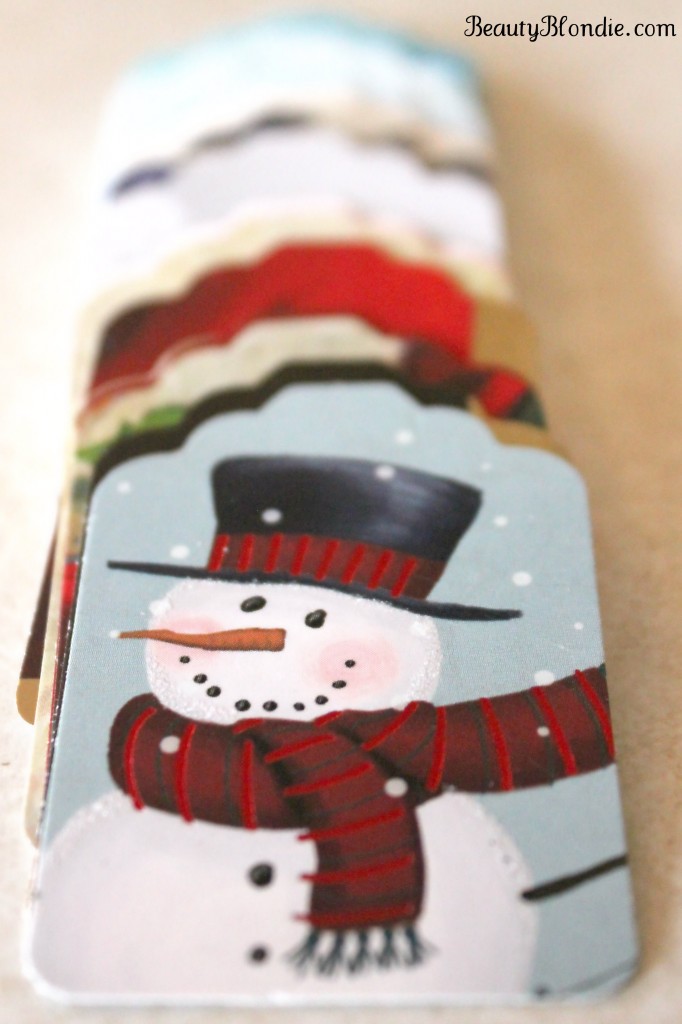
They turn out perfect every single time.

DIY Christmas Tags

This is one of the easiest and cheapest ways to make Christmas gift tags.

Does this seem like something that you would be able to do?

Now all I need to do is finish my wrapping!!
What is Shaklee 180

Posted on 2 Comments

Half-up Half-down, Upside Down French Twist Hair Tutorial {With Video}

You are probably starting to realize that lately I have been on a kick of wearing my hair half up and half down or all the way up. My life, like so many others, is busy beyond belief. If you have misses anything, you can get the recap of my last month here.

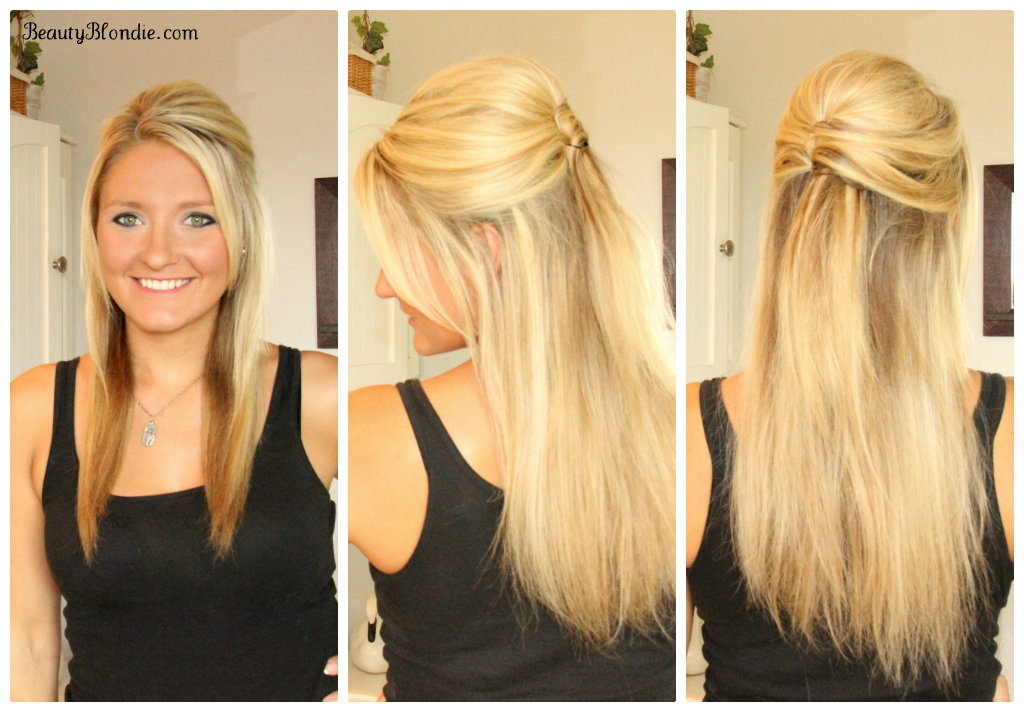
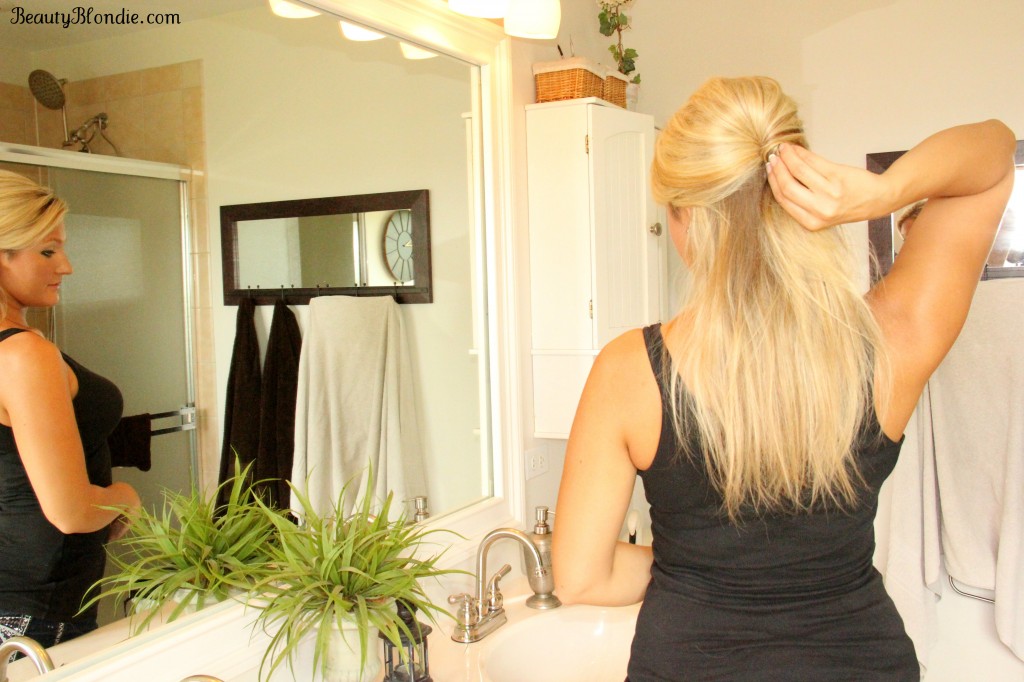
I would like to share with you one of my go to styles, one that I believe is one of the easiest hairstyles to achieve. I like to call this one, my half-up, half-down, upside-down french twist. (try saying that 10 times fast, lol)

For this style, you will only need a teasing comb, a few bobby pins and some hairspray.

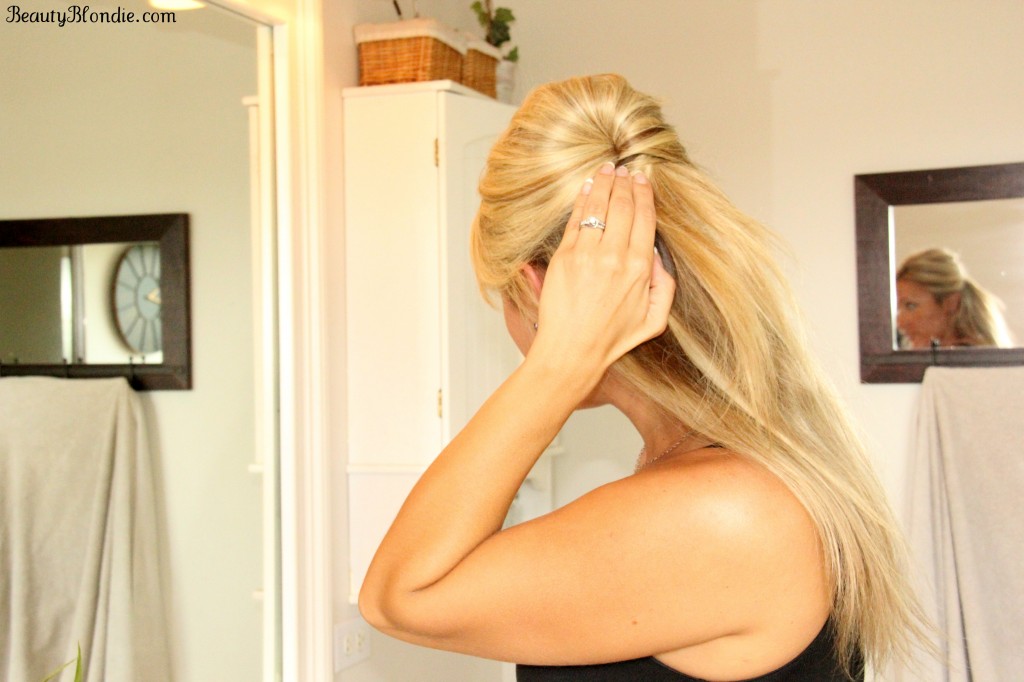
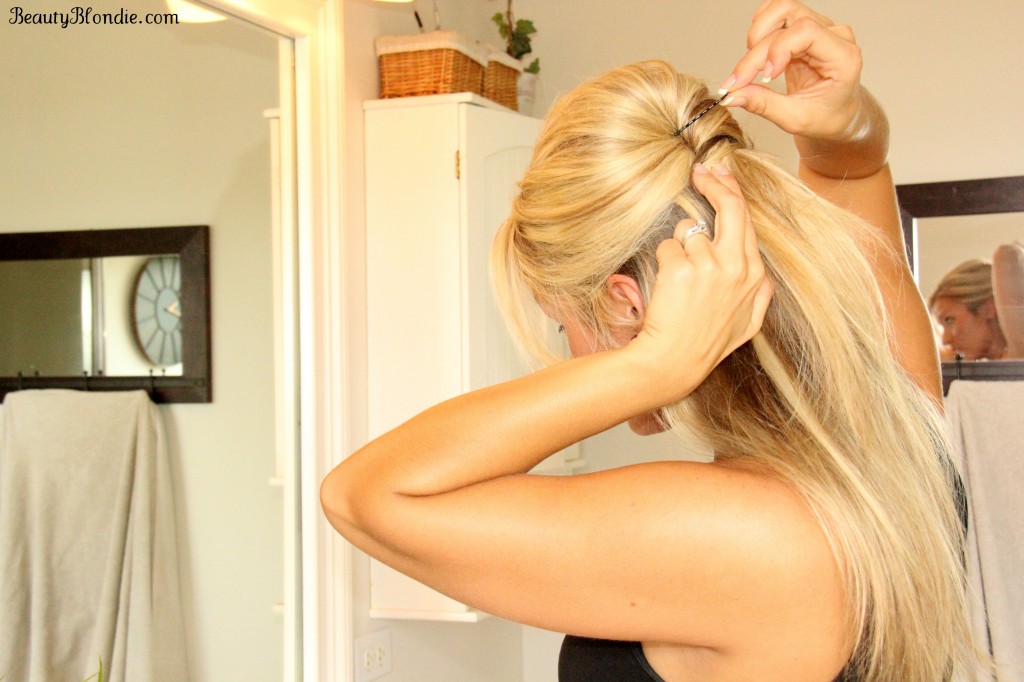
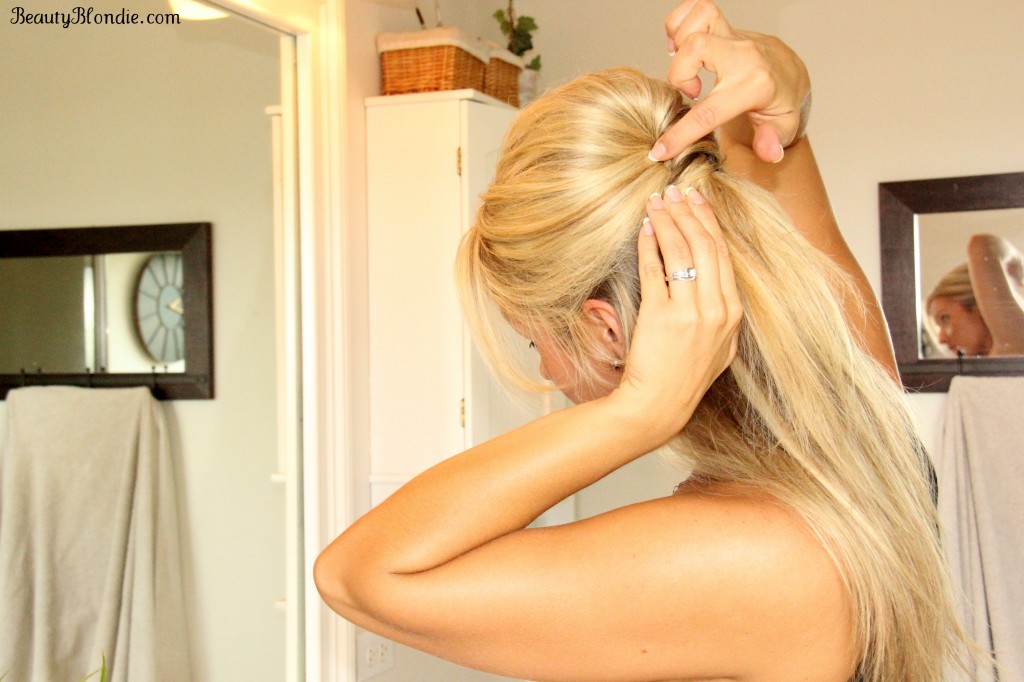
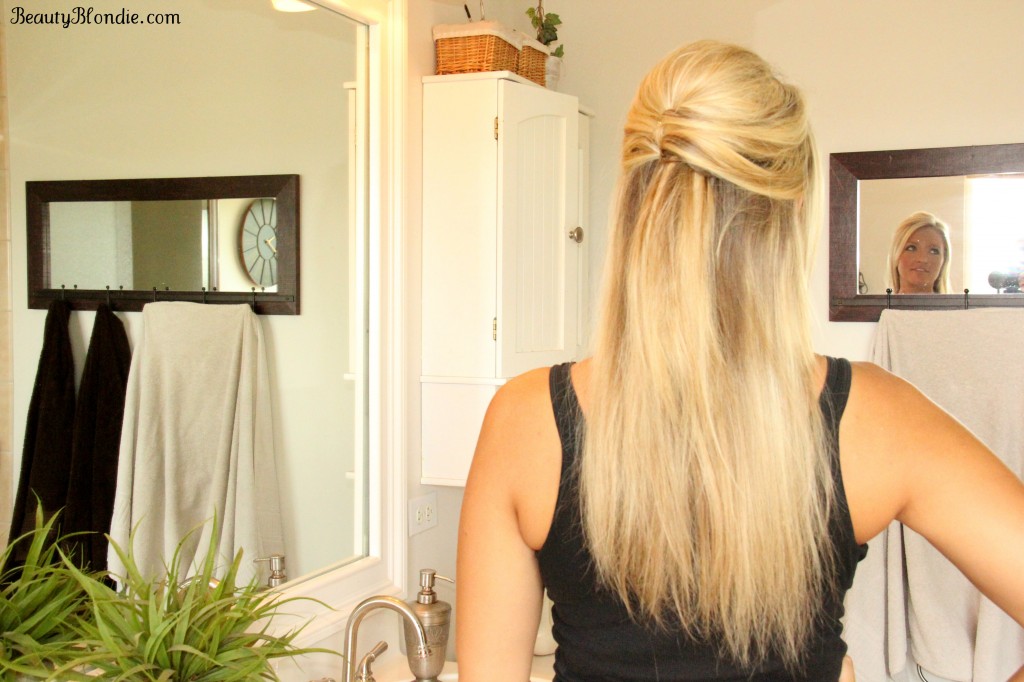
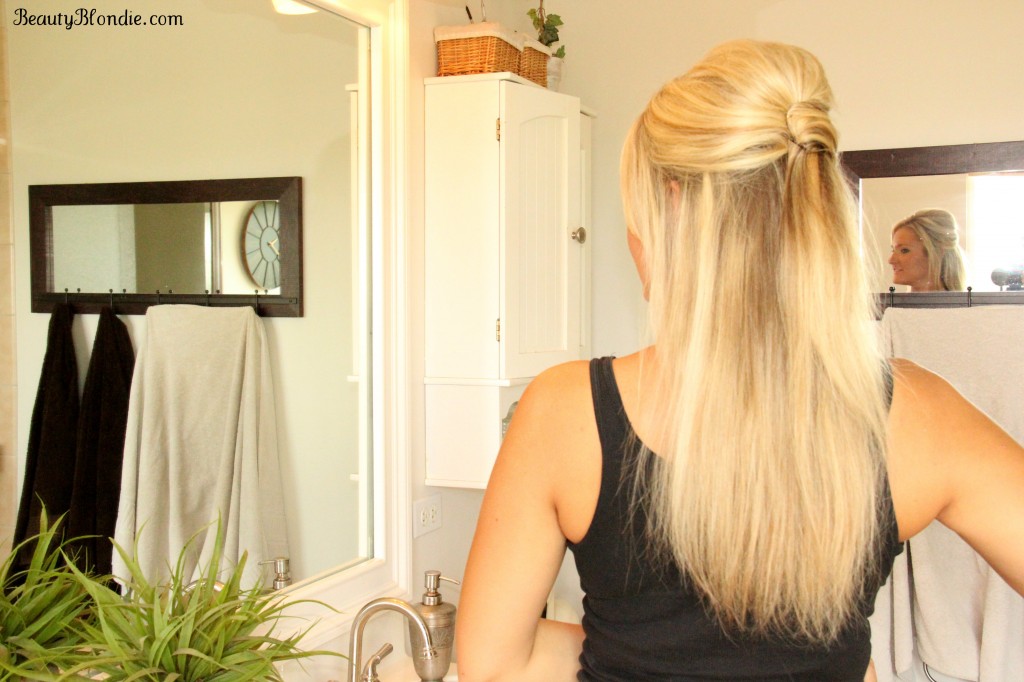
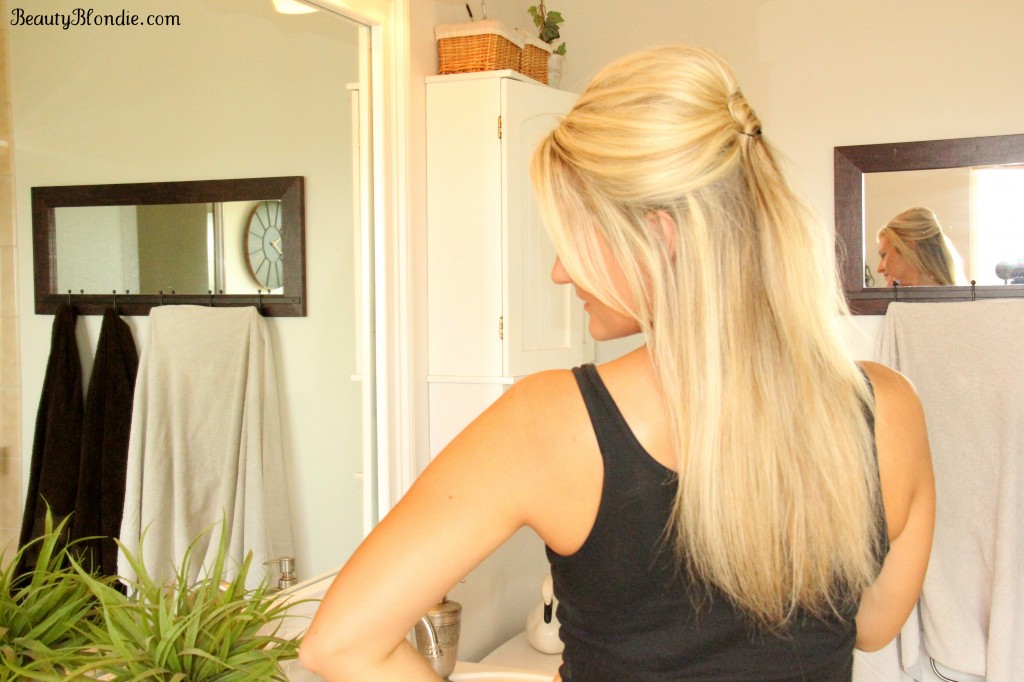
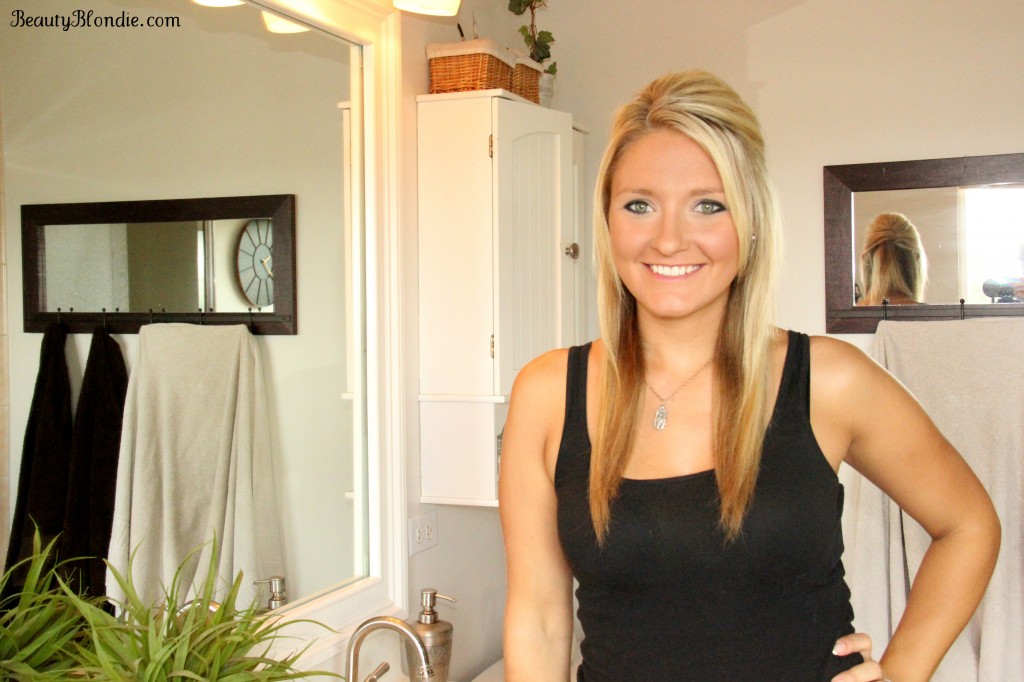
Half-up Half-down Upside Down Frech Twist Different Angles

For all of my email subscribers you can watch the video on how I achieved this style here!

To start, you will need your hair to be teased. It can be straight or curly for this style.
Start with teased hair

Section the hair in two sections, from the top of your ear to the top of your other ear.

Section Your hair from ear to ear.

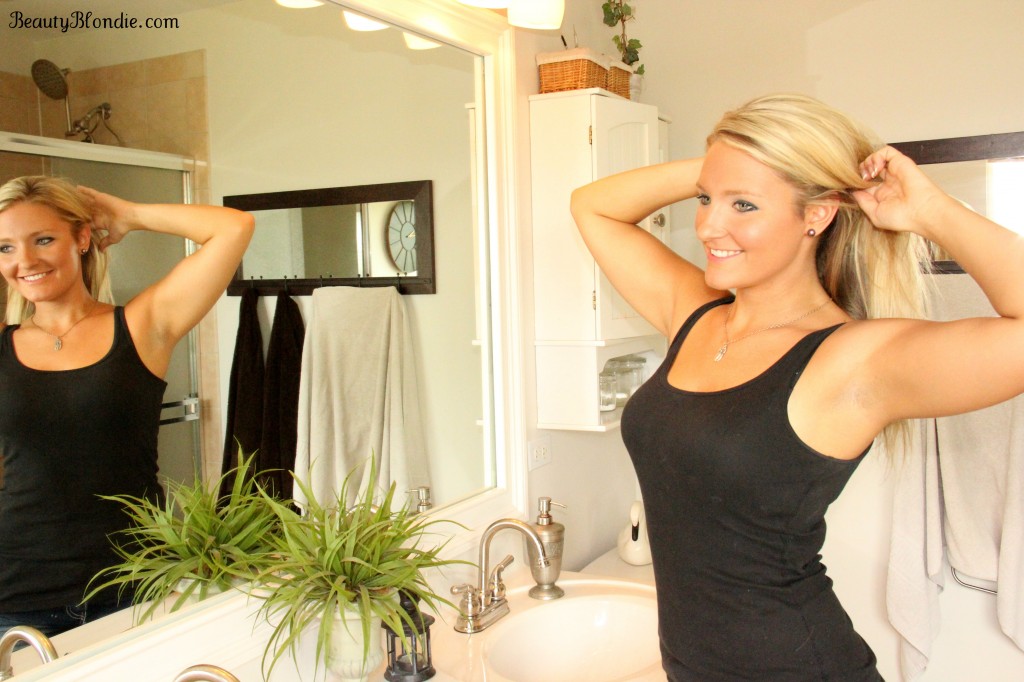
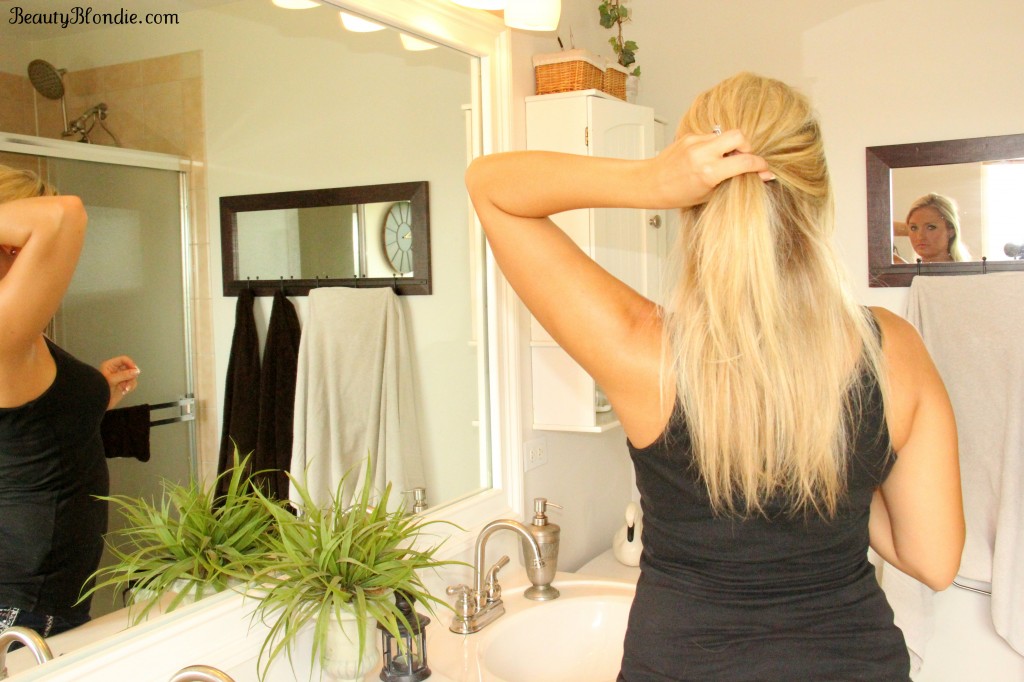
Grab the hair with one hand as if you were going to put it into a pony tail.

Hold on to your section of hair.

Take that section of hair and twist it just like you would a french twist.

Twist your section on hair

Hold the bottom part of the twisted hair with one hand.

Hold onto the swisted section with your left hand.

With your other hand open the bobby pin up and grab a section of the hair from the twisted hair whit the bobby pin.

Insert the Bobby pin into the crease of the twisted part of the hair

Than tuck the bobby pin into the fold of the hair.

Make sure the bobby pin is secure.

Use as many bobby pins as you need to secure your hair. I use between 3 and 5.

Half-up half-down upside down french twist Upside down half-up half-down french twist Half-up Half-down hair style Half-up half-down style

That is all there is to it. It is truly that easy. This style can be warn somewhere fancy or just for everyday.

Do you think that this is a style that you would be able to not only achieve but wear?

Are-you-ready-to-do-a-180.jpg

Posted on 5 Comments

Professional Side Ponytail {2 Minute Style with Video}

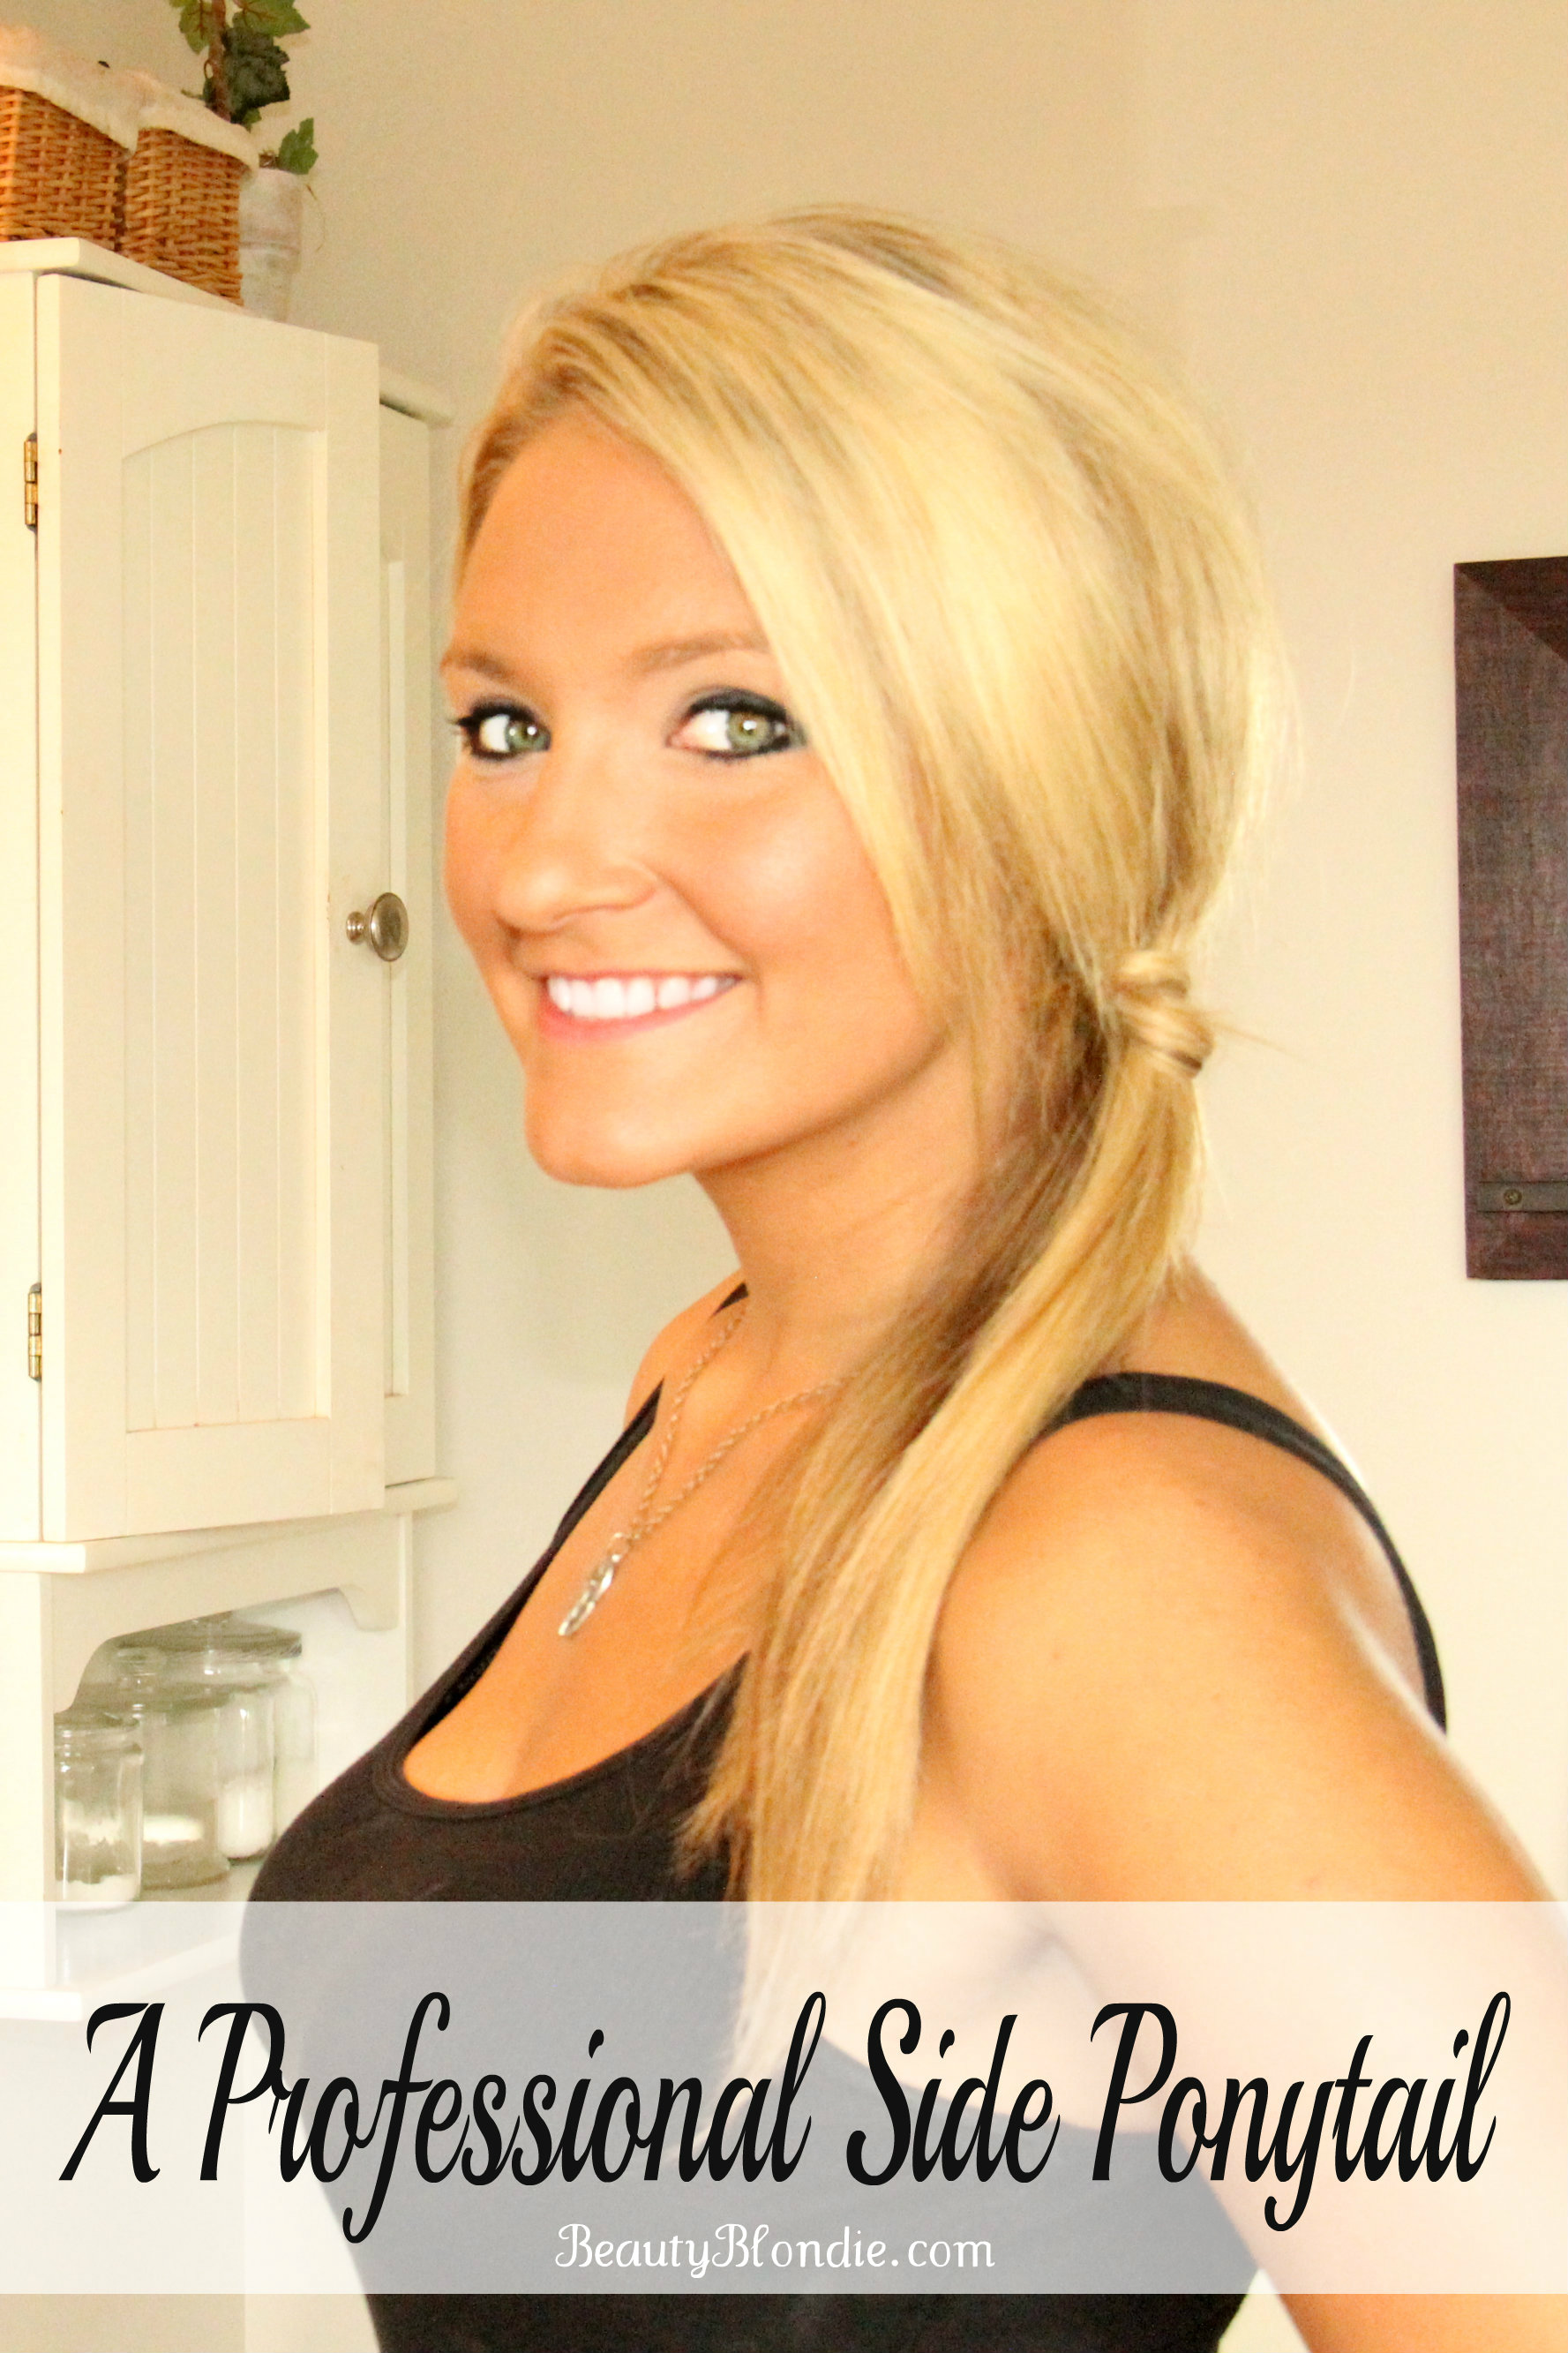
There are so many days out of the summer where I like to wear my hair up or off of my neck. This is one of the easiest and fastest styles that I know.

This is one of my go to styles that takes less than 2 minutes.  It is so easy that anyone could achieve this style.  

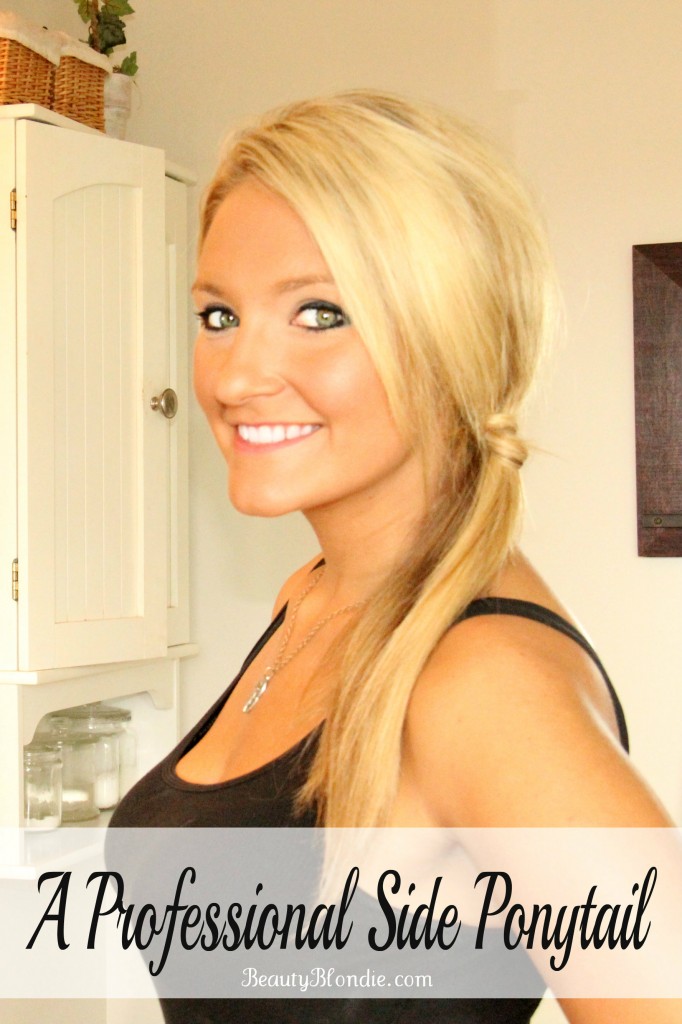
A Professional Side Ponytail

Here is a short video showing you just how I achieve this style in under 2 minutes.

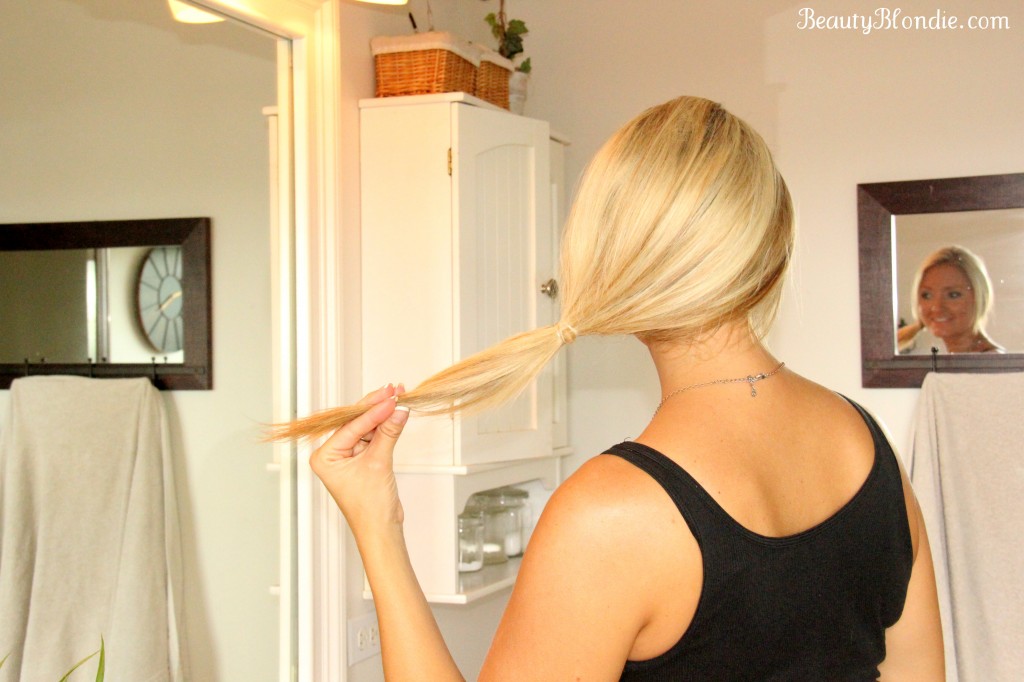
 You are only going to need 3 things to complete this hairstyle: A comb, a clear elastic and a bobby pin. First you need to tease your hair and pull it all off to one side. 

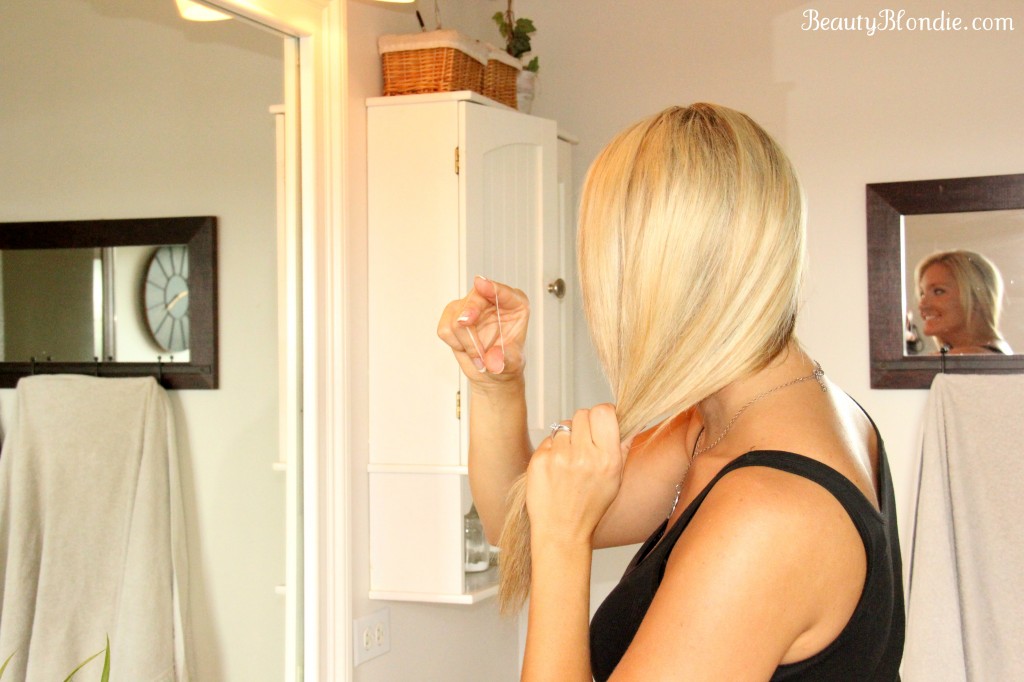
Take your clear elastic and secure your hair

Take your clear elastic and tie it around your hair.

Secure your hair with an elastic hair tie


After it is secure, separate  the ponytail in half and pull them in opposite directions to tighten then ponytail.


ta da... you have a side ponytail


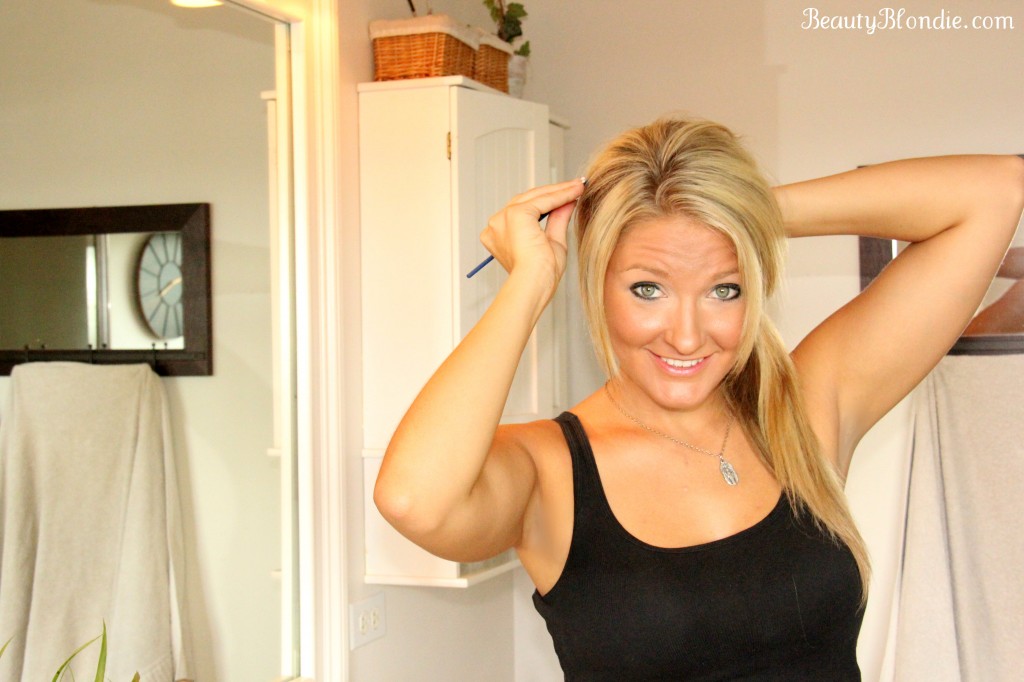
Once you have your hair pony in place, use the back of your teasing comb to lift up the hair away from the head.  I love to have extra volume!


Pull some of your hair up for extra volmue

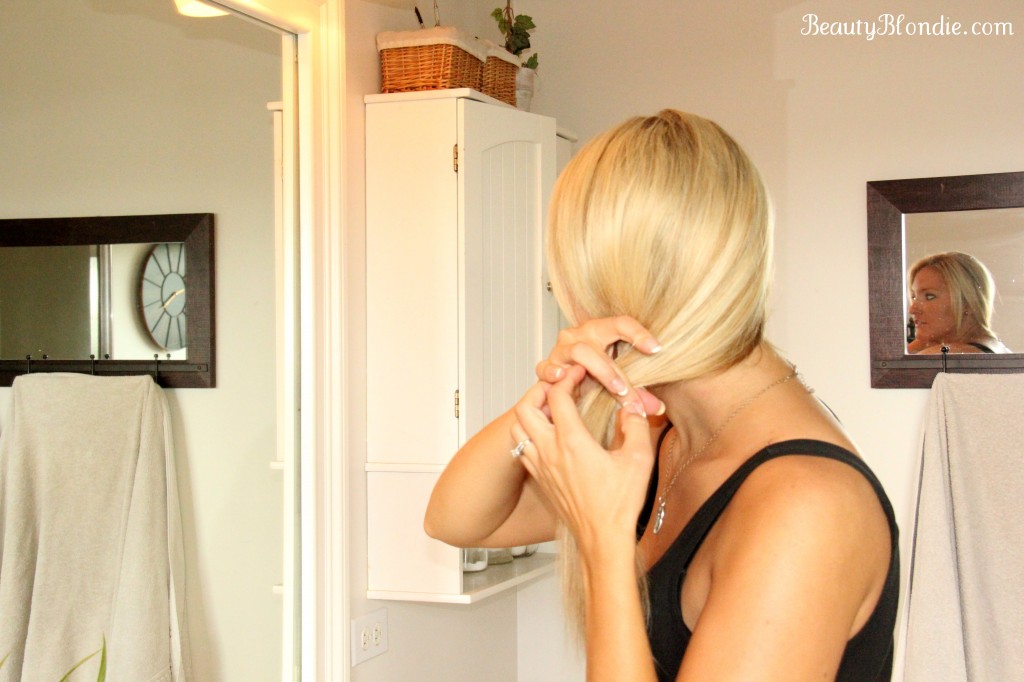
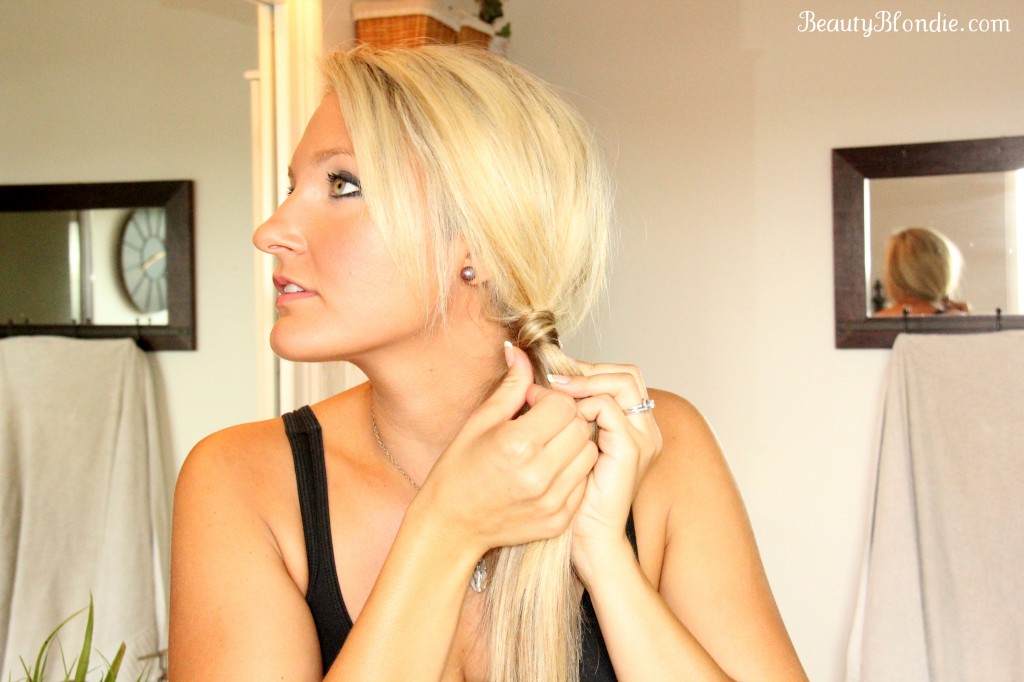
Last but not least, take a small section of hair from the ponytail, wrap it around the clear elastic and secure with a bobby pin.


Secure the hair with a bobby pin


I hope that this helps and that it makes sense. Do you find yourself running out of quick hair styles and end up wearing the same old ponytail every single day?

You can get more of my 2 minute styles here!

From-the-Dest-of-Elisabeth-Heasley-soon-to-be-Elisabeth-Johnson_thumb.jpg

Posted on 11 Comments

How to Tease Your Hair… The Proper Way! {Video}

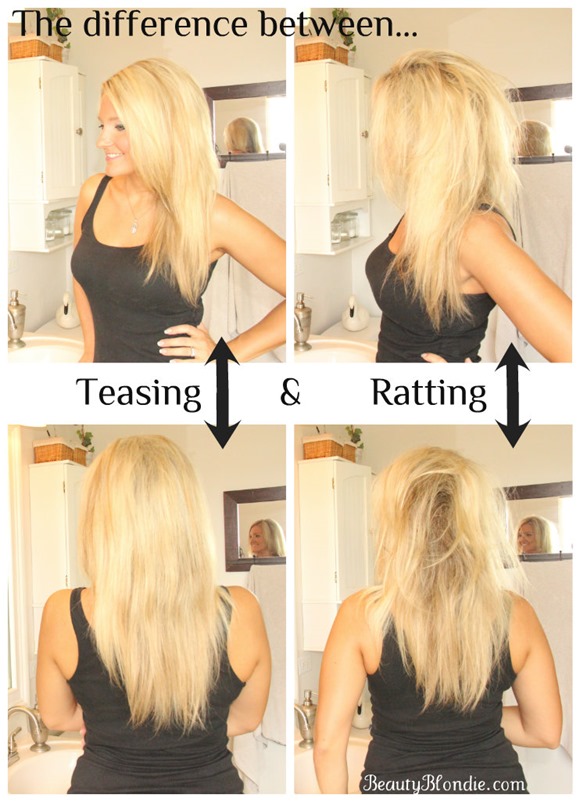
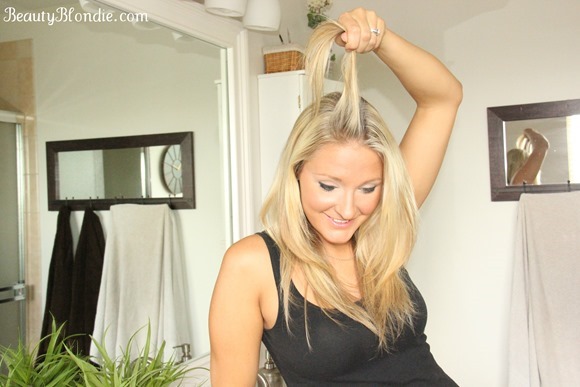
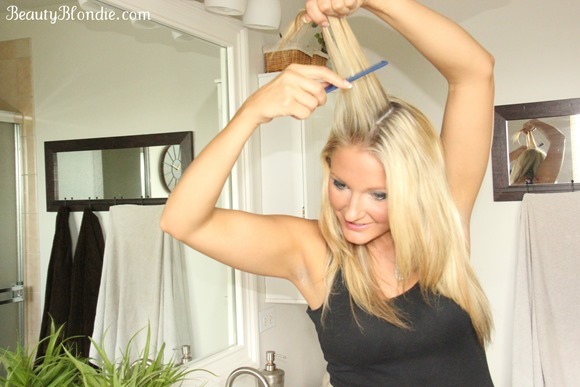
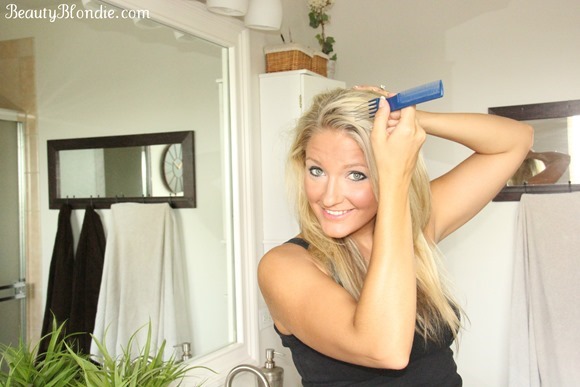
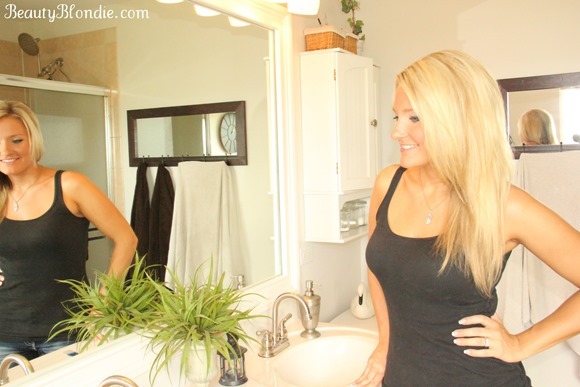
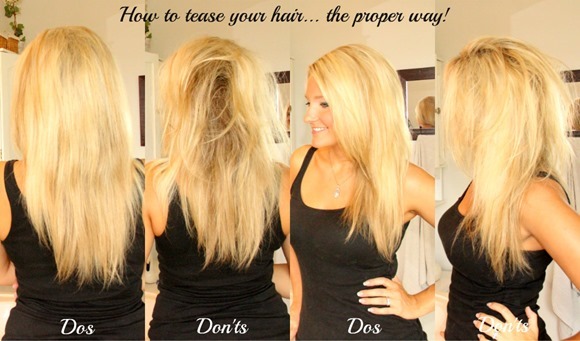
I can’t tell you how many people have asked me to teach them how to tease their hair. When it comes to adding a little height to your hair you want to make sure you don’t leave it looking messy. There is a big difference between teasing your hair and creating a rats nest. I really is a simple process of sectioning the hair, creating a cushion and smoothing it out.  

An Awesome Tutorial on how to teas your hair the right way!

Here is a video showing you how to tease your hair the proper way in under 4 minutes!

Take a section of hair around your part line that is about 1 inch wide and 3 inches long.

Take small sections oh hair

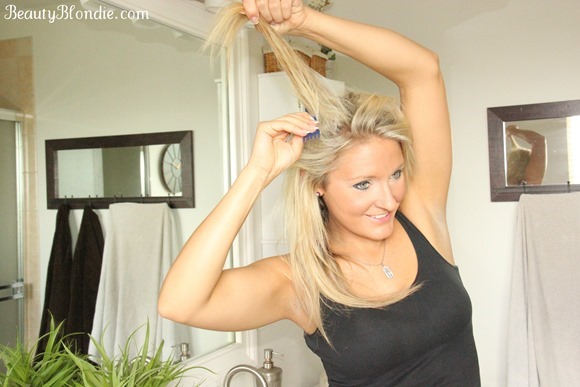
Insert your comb directly in the middle of your section of hair and comb downward.

Put the comb in the the hair half way and pul in down

Do this on both sides of your head.

Do the same to the other side of your hair

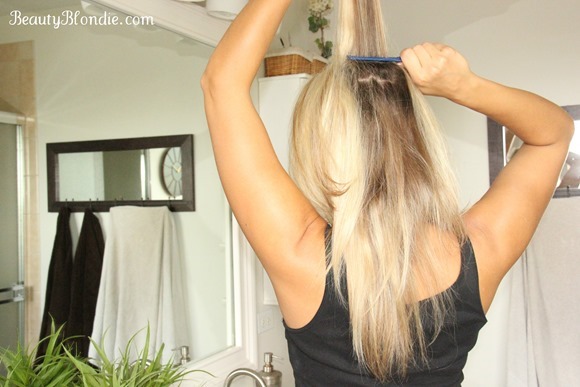
Don’t forget the back of your head. By now you should have teased the entire crown of the head. (Do you like my natural Ombre going on back there? I haven’t had a full highlight in, I don’t know how long But don’t worry I am getting a full before the wedding!)

Do the same with the back of your hair

As soon as you finish teasing to top of your head. Start to smooth out your hair with the end of your comb.

Smooth the hair with the back of your comb

Making sure you smooth out the top of your hair is one of the most important parts of teasing your hair. You want to make sure you don’t comb out all of your tease.

Teasing your hair

I personally think that with a proper tease you can not only create volume to your hair but you can also create fullness to thin or fine hair.

The dos and don'ts of teasing your hair


Have you ever had issues teasing your hair? Did you find this video helpful?

I would love to be able to make more videos on tutorials that you would like to see. So  please let me know anything that you would like me to share and I will put it at the top of the list to post.

Thank you so much for reading.

From the Dest of Elisabeth Heasley soon to be Elisabeth Johnson

Related Posts Plugin for WordPress, Blogger...