Posted on

Elsa’s French Braid {Hair Style Video}

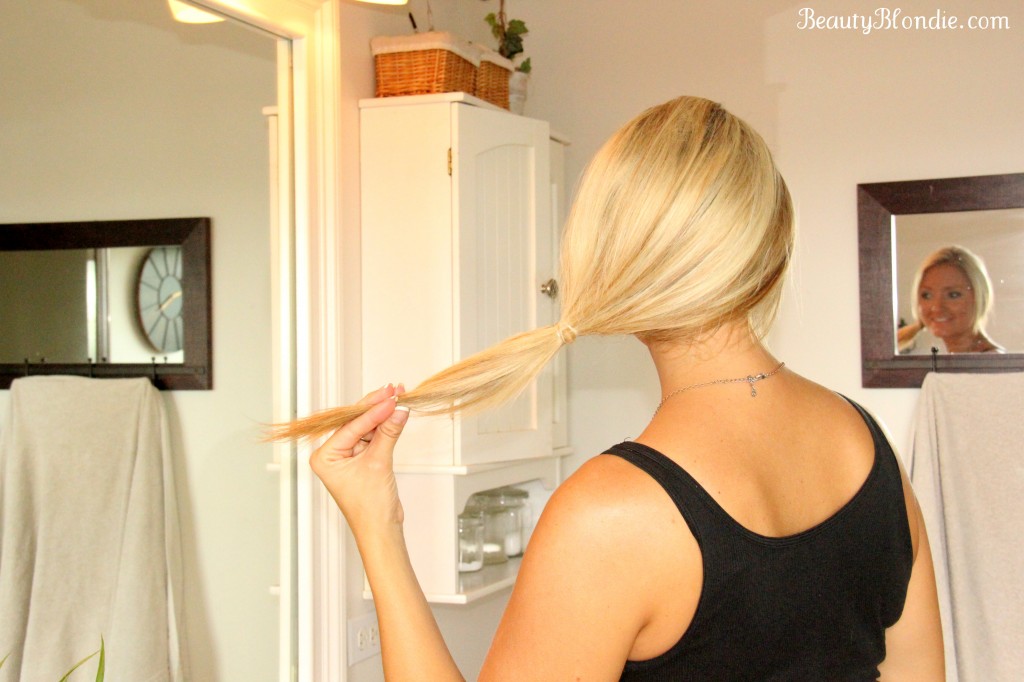
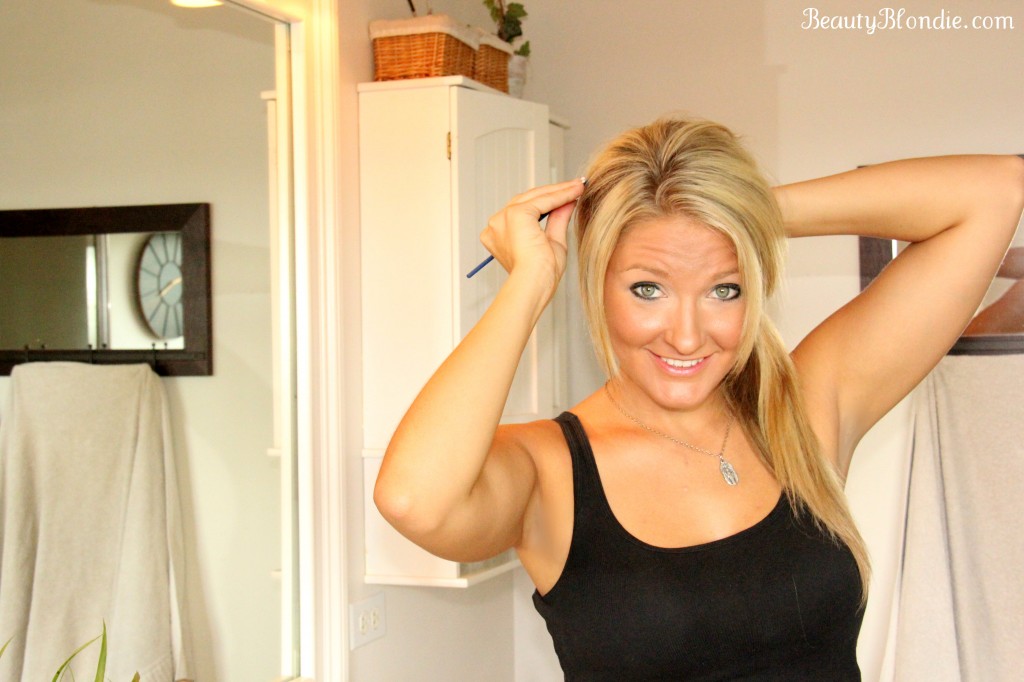
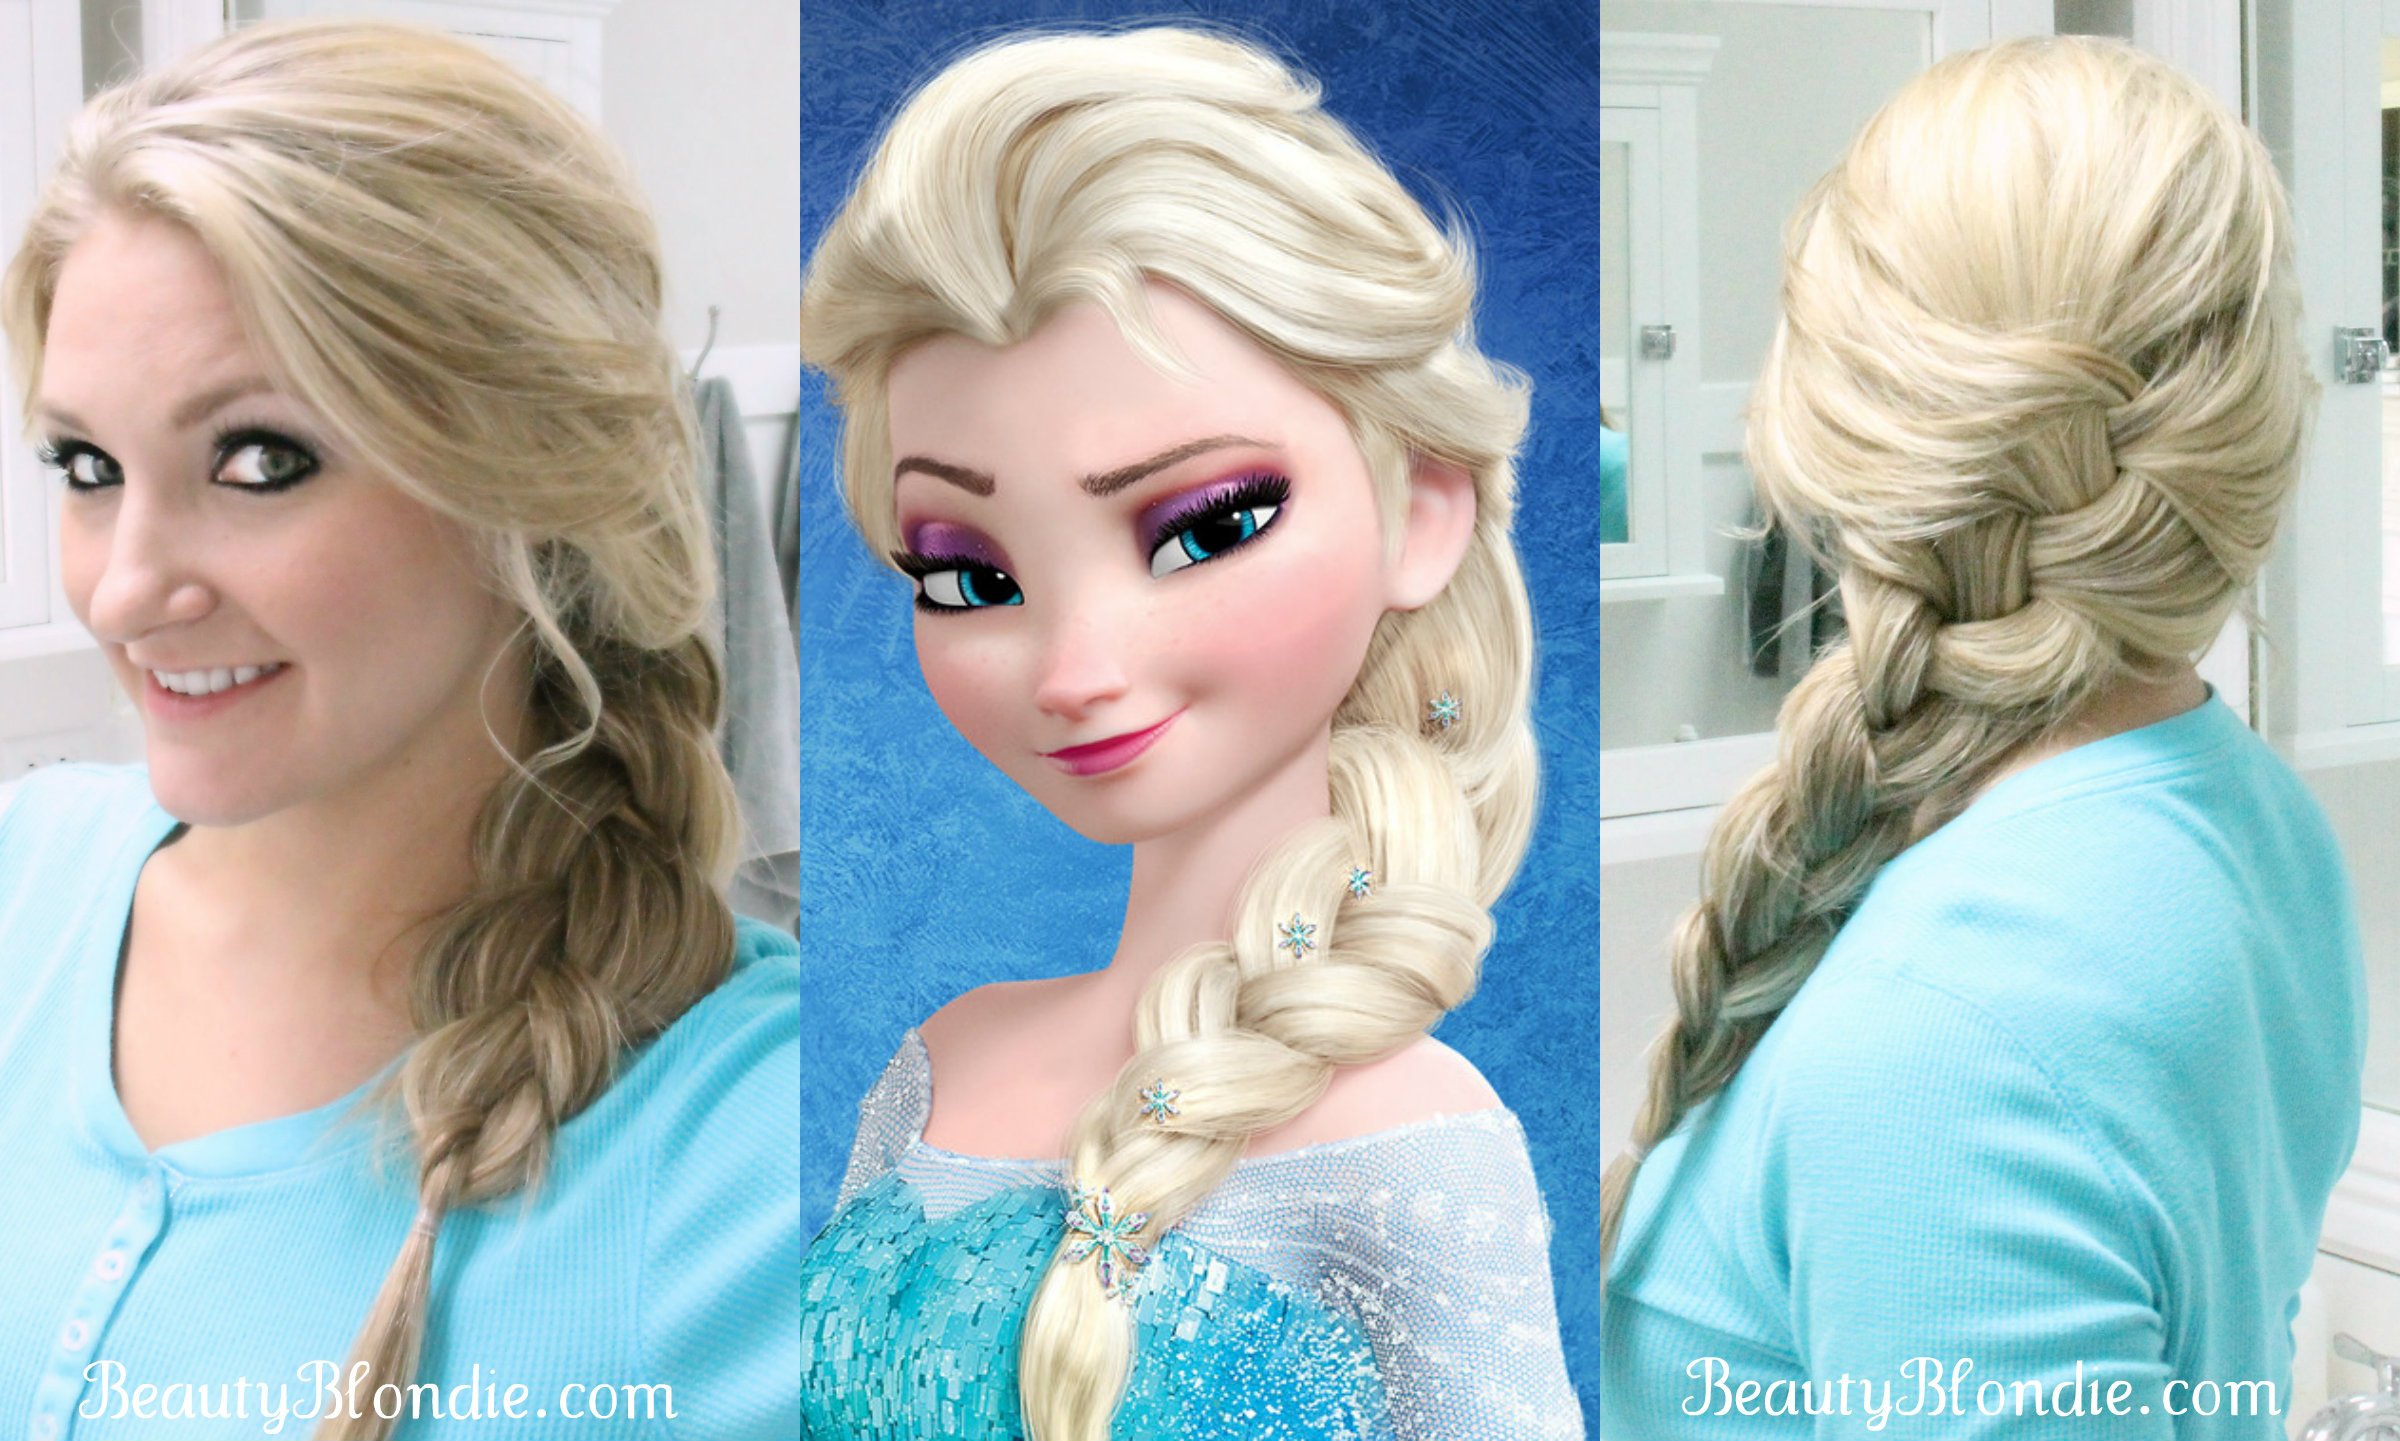
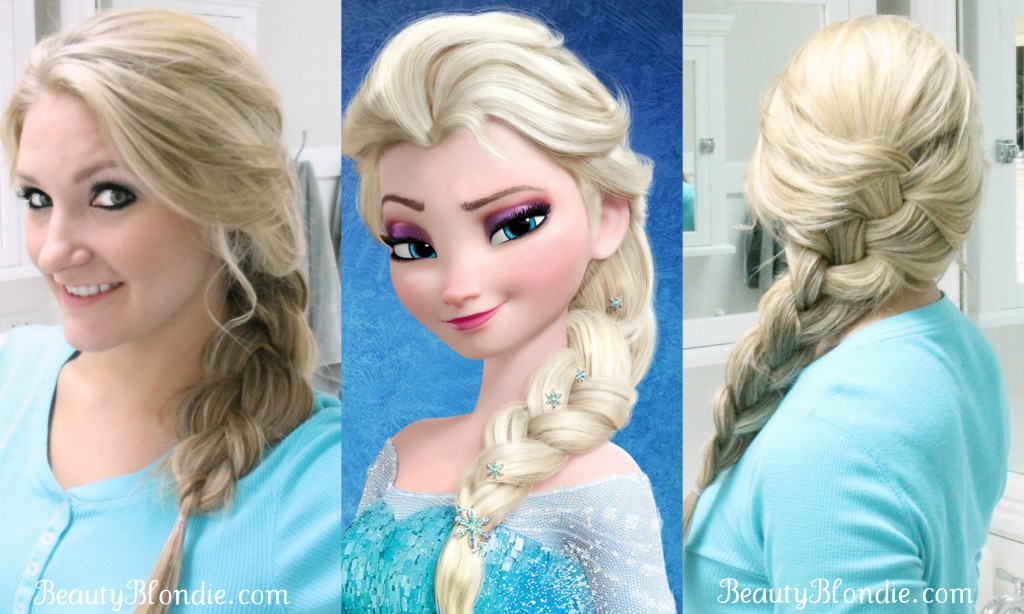
I know in the past I have showed you how to do a basic braid, a french braid, a braided updo and a messy bun with braids! Today I am excited to share with you how to do the Elsa braid from frozen!

I love the idea of wearing my hair in a braid for so many occasions! You can make it look more casual or elegant depending on how you style it.

Elsa's Braided Hair

I know that Elsa is all the rage for little girls and so many of them are asking their moms to do their hair like that. Well I am here to help! Here is a video showing you an easy way to braid your hair just like Elsa!

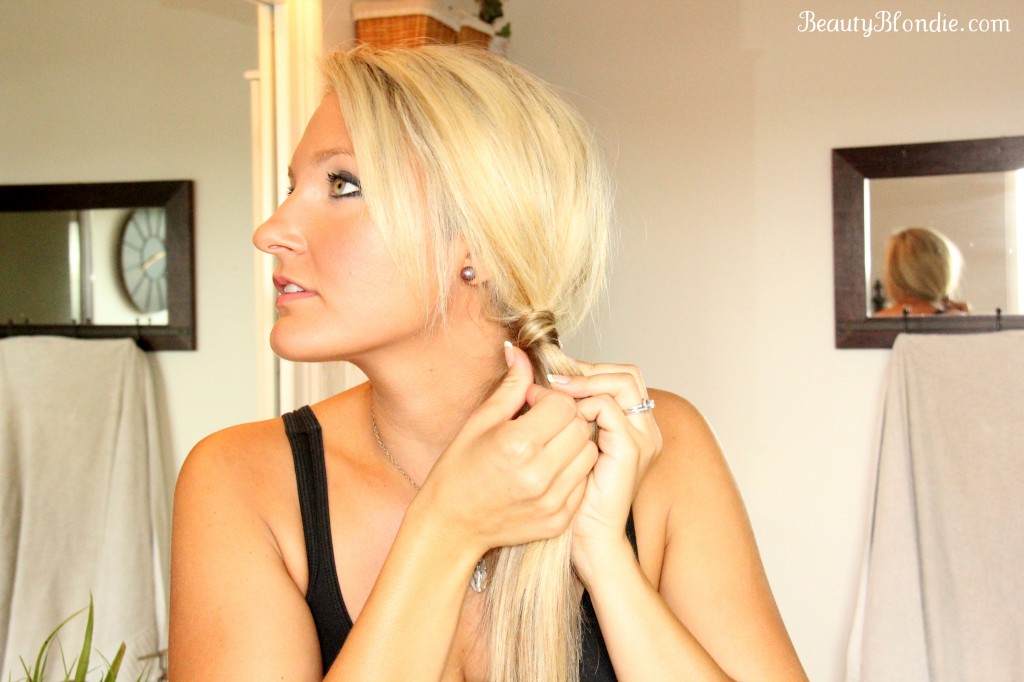
Some of you might be asking yourself, “Isn’t this just a french braid?”. The answer is yes although there are a few things that we do different here that you will have to remember when trying to get you hair to look like Elsa!

1.  Start with your hair strait, smooth and thick (Add extensions if necessary).
2. Tease the top of your hair for extra body and fullness.
3. Make sure you take big sections of hair when adding it to your braid.
4. Don’t forget to maneuver the hair to the side as you are braiding it.
5. Secure the braid with a clear elastic.
6. Loosen the braid by pulling at each little sections, starting at the bottom and working your way to the top.
7. Curl any fly-a-ways with a large curing iron.
8. Once you have the braid exactly how you like it, spray it with a long lasting hairspray.
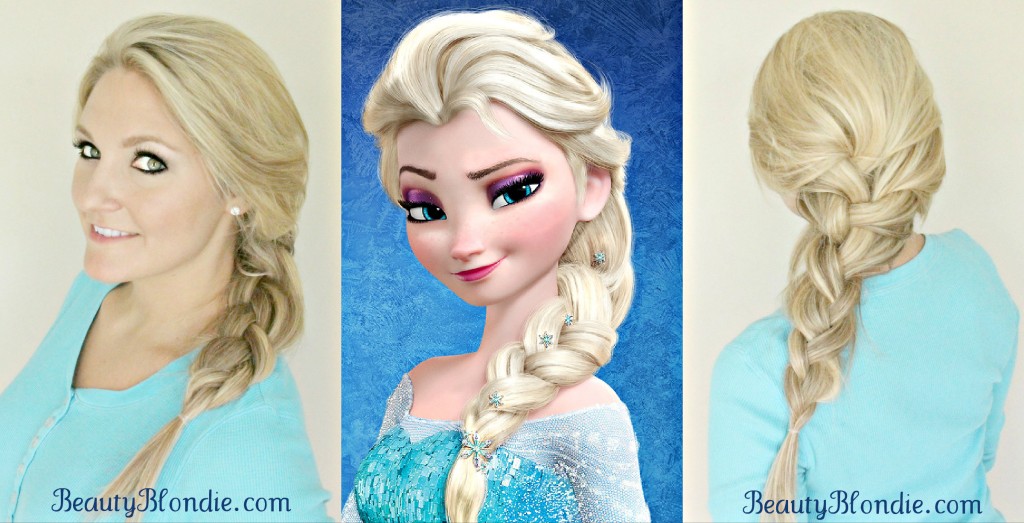
Elsa Inspired Hair Tutorial

This style is great for anyone at any age and for any occasion! It just depends on how clean or messy you make the braid. Personally I think that it would be awesome for summer because even if it gets a little messy, it looks like it should be that way!

See moms, it isn’t as hard as you thought, was it? Do you think that you will be able to achieve this style the next time some little one asks you? Or better yet the next time you want to try it on yourself?
Posted on 15 Comments

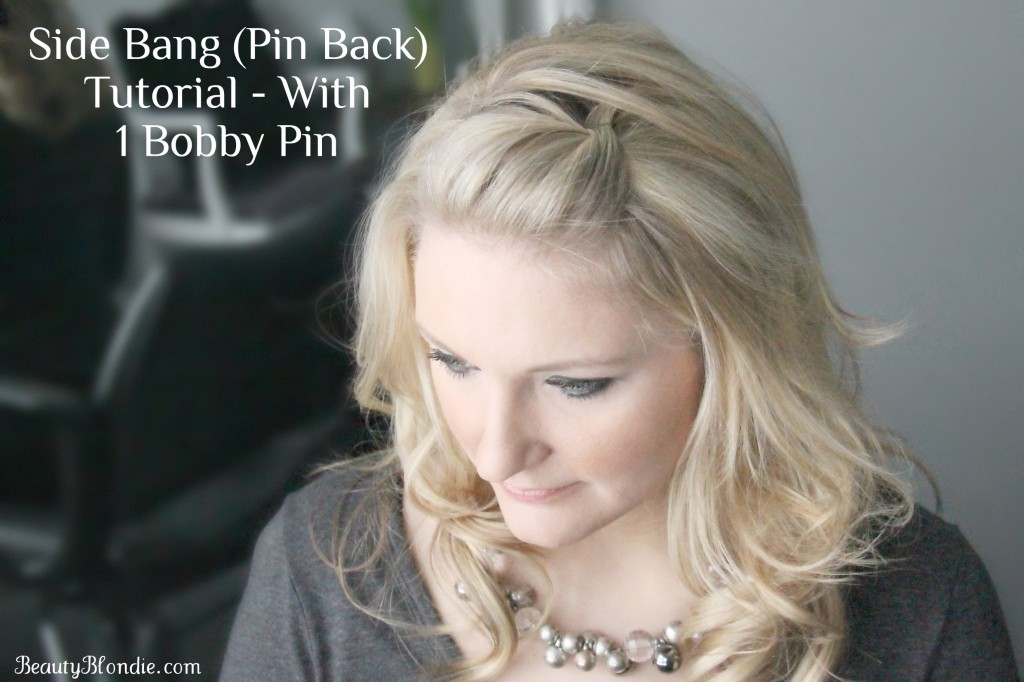
Side Bang, Pin Back Poof Using Just 1 Bobby Pin {Video}

I can’t tell you how many times in my life I have always gone back to some sort of side bang. I try to grow them and I always seem to cut them again.

Bangs and side bangs are awesome for so many reasons; I love how they can frame out a face and can change up a style without being too dramatic.  They look good styled up and down. You can also style them with curly hair or strait hair. 

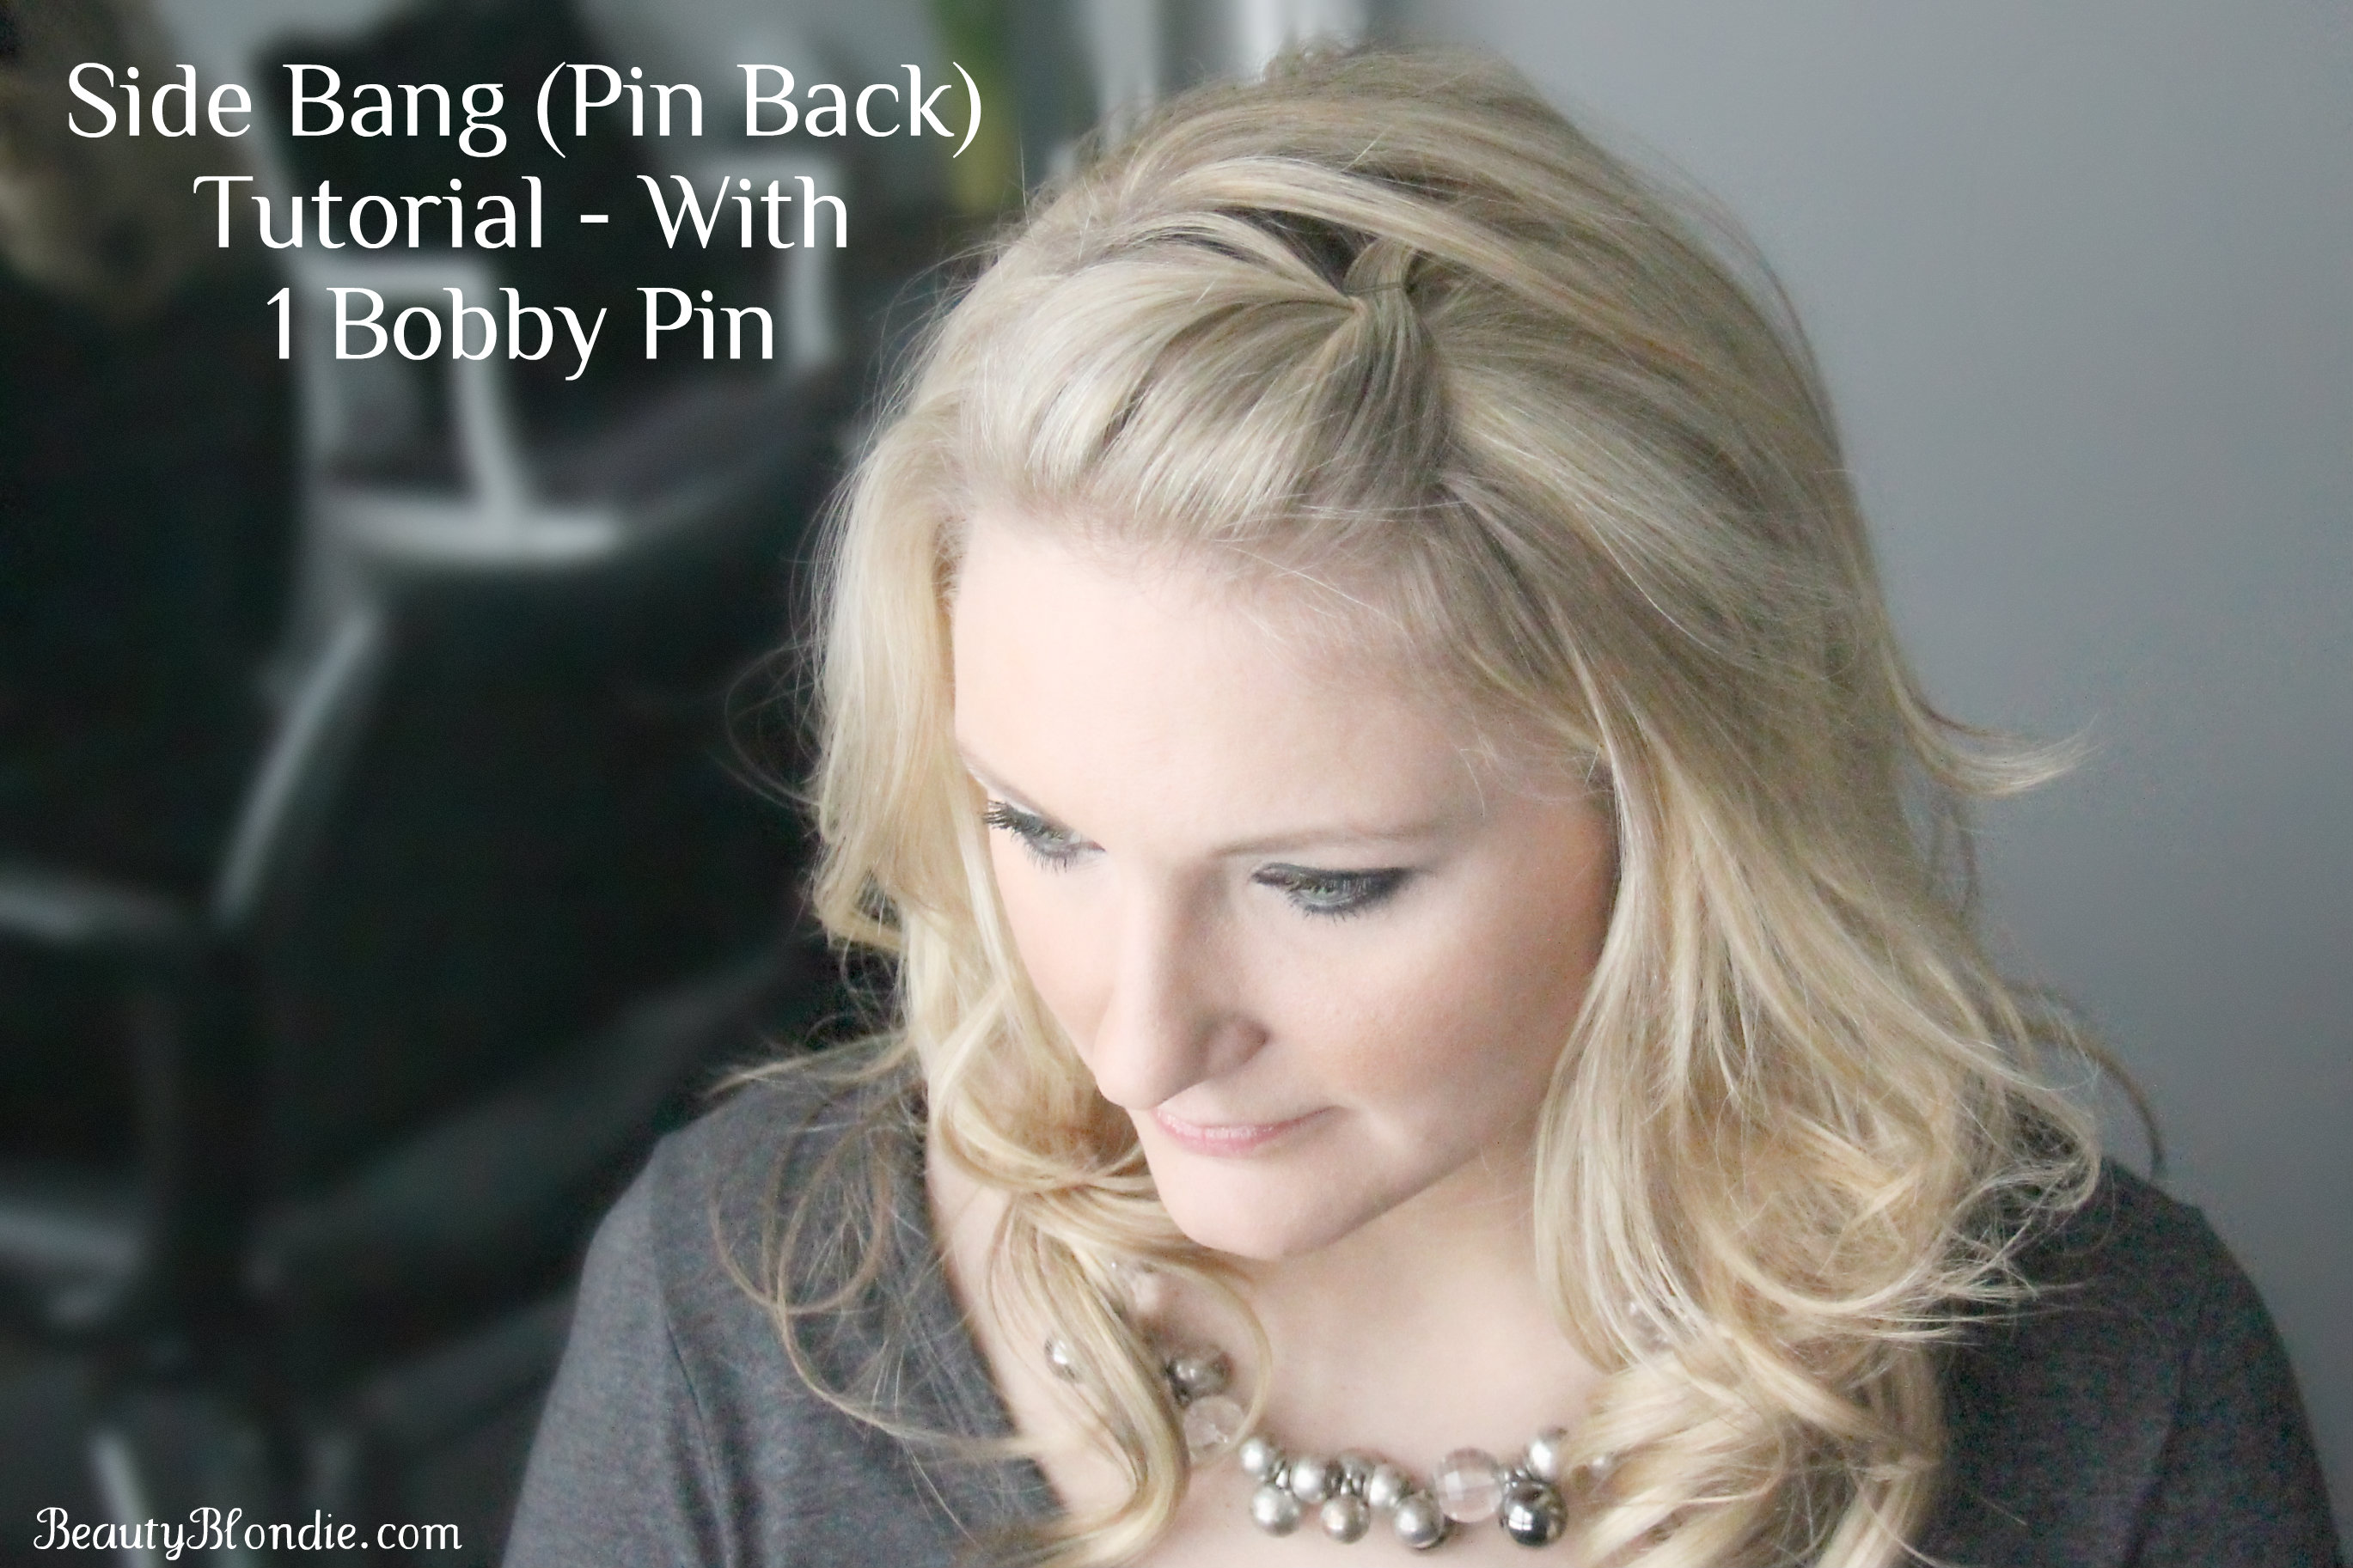
One of my favorite ways to style my bangs is in this pin back poof. It is the easiest way to style your bangs and anyone can achieve this poof with only one bobby pin… Yes you read that right, only one bobby pin!

Side Bang (Pin Back) Tutorial. With one bobby pin!

Here is a 2 minute tutorial showing you just how I achieve this style! (For all of my E-mail subscribers, Click Here to watch the video)


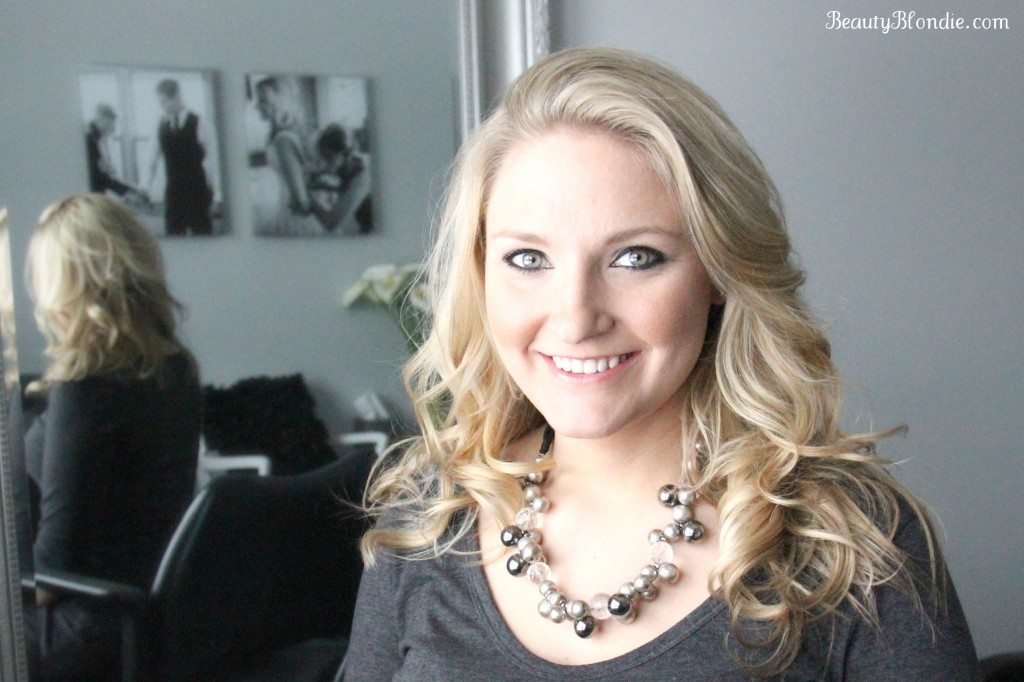
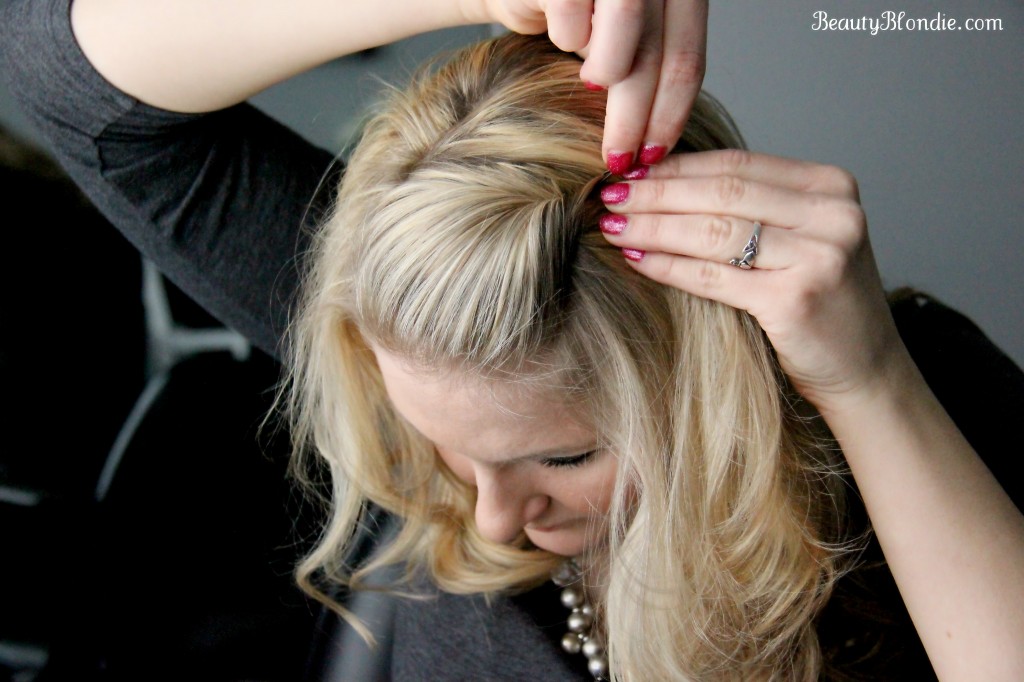
Start with any hair style where you want to pin back your bangs.

Start with any hair style where you want to pin back your bangs

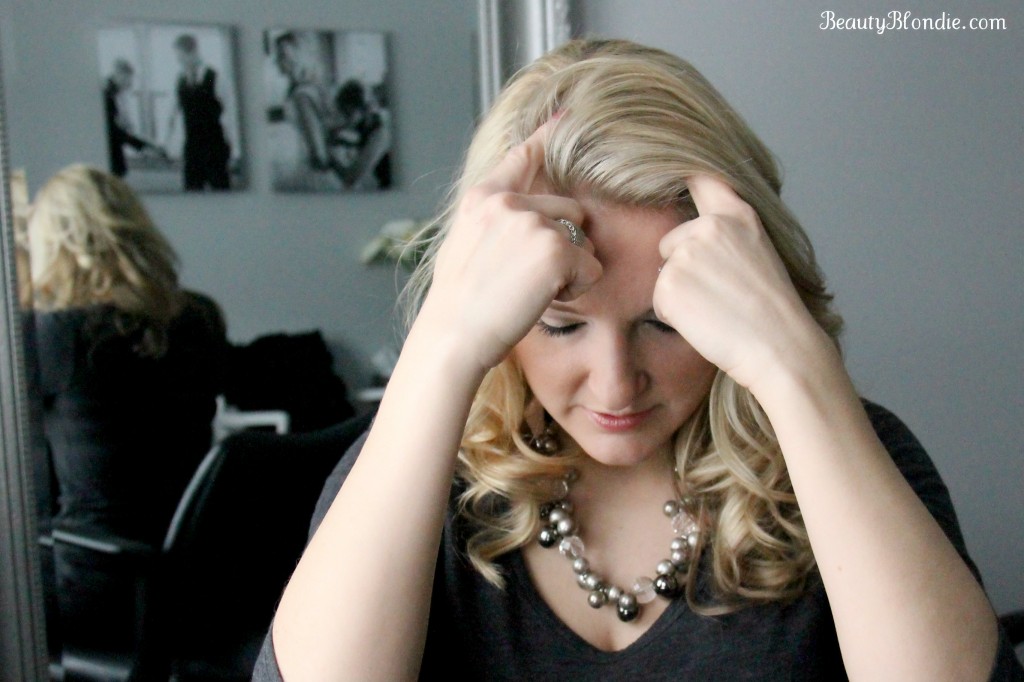
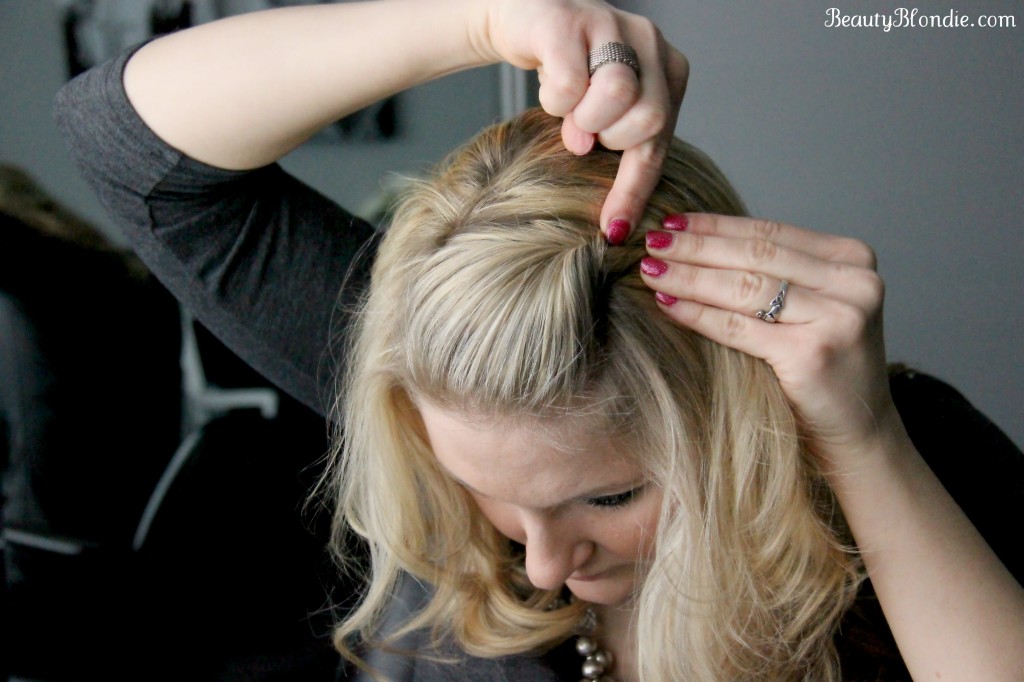
Grab a section of hair from the middle of one of your eyebrows to the middle of your other.

Grab a section of hair from the middle of your eyebrow to the middle of your eyebrow.

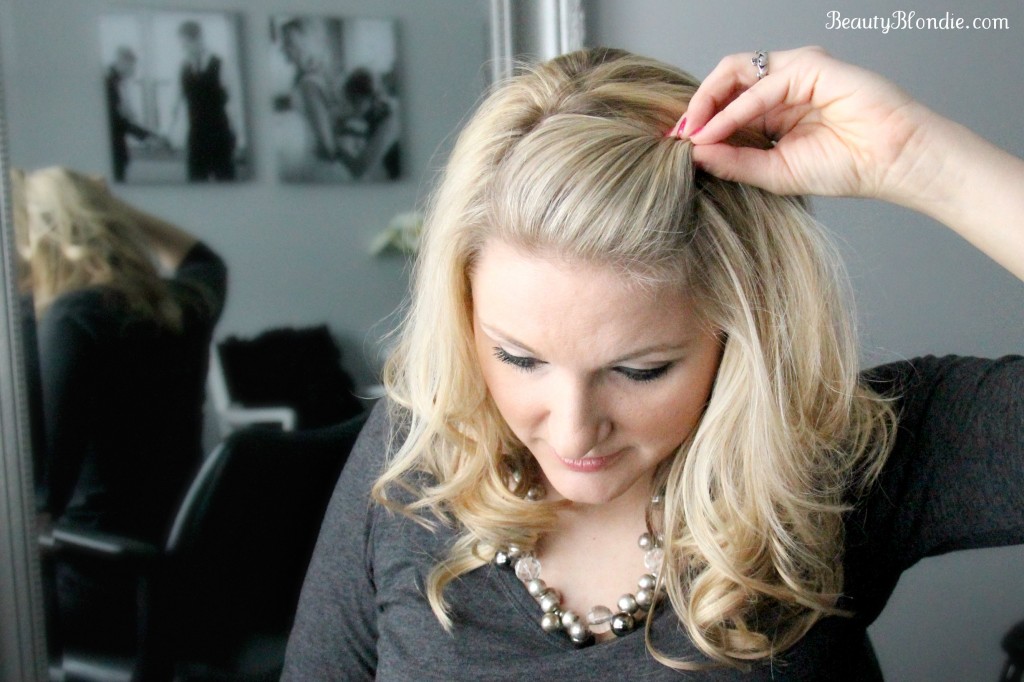
Pull the hair off to the side and twist it away from the face. (You can even pull it straight back and achieve the same type of look.)

Pull the hair off to the side and twist it away from the face.

With the open end of the bobby pin (facing the back of your head), grab a piece of hair and twist the bobby pin around so that the open end is facing the front of the head.

With the open end of the bobby pin facing the back of your head, grab a piece of hair and twist the bobby pin around so that the open end is facing the front of the head.

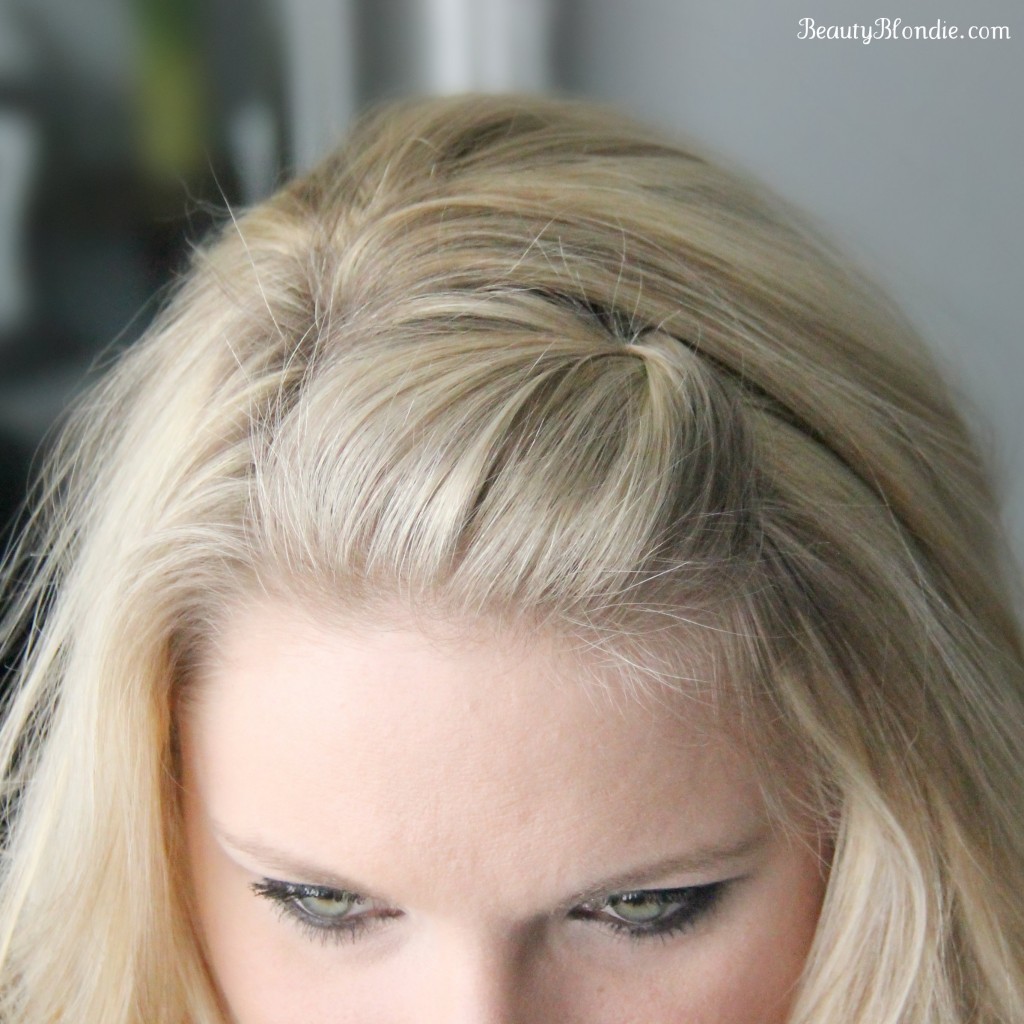
With the opened end of the bobby pin facing the front of the head, insert it into the poof.

With the opened end of the bobby pin facing the front of the head and insert it into the poof.

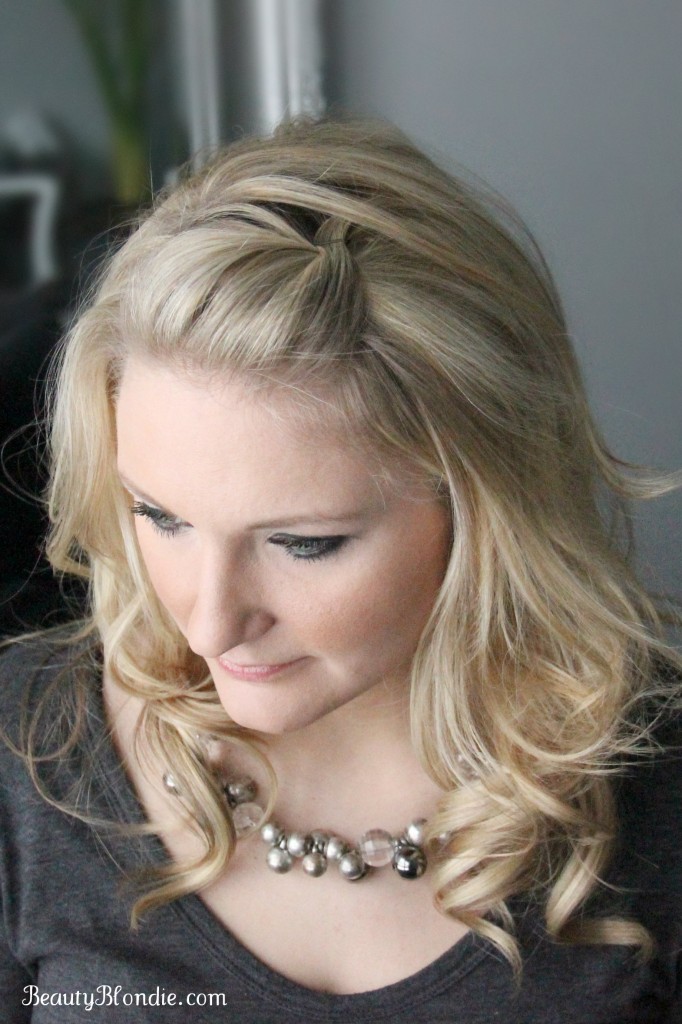
 There you have it!

The perfect side bang pin back tutorial

This is seriously a super easy way to pin back your side bangs or bangs and it looks great every time!

This is a super easy way to pin back your side bangs

It is really that easy. Never underestimate the power of a professional bobby pin! This is only one of the many ways you can style your bangs. 

 Is there a particular way you like to style your bangs?

Make sure you subscribe to blog so you will get all of the up coming video hair tutorials.

Enter your email address…

Posted on 2 Comments

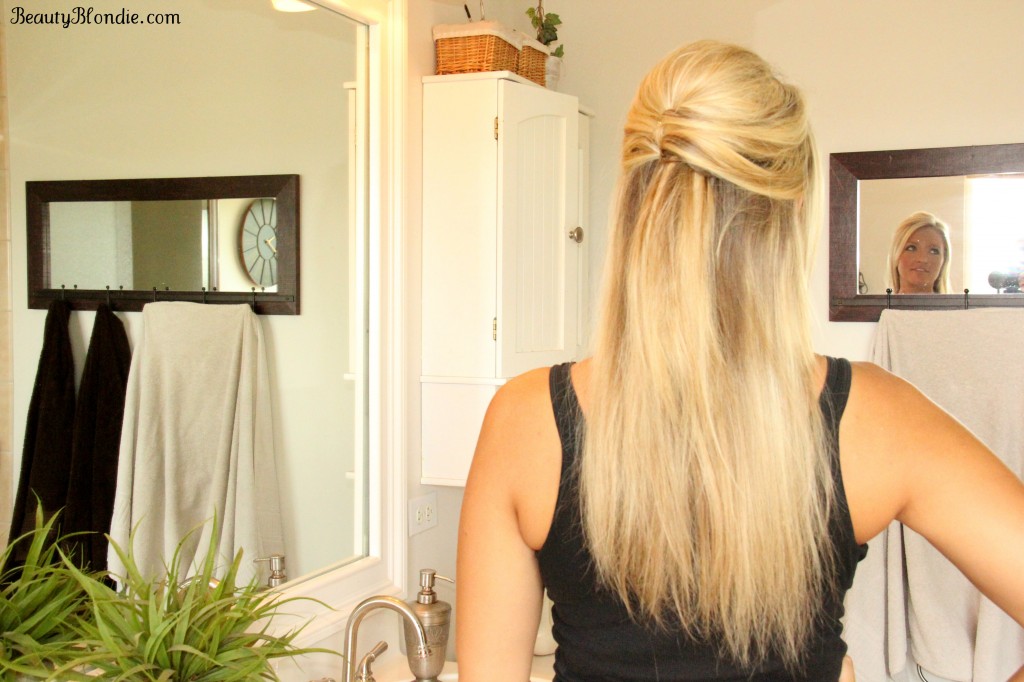
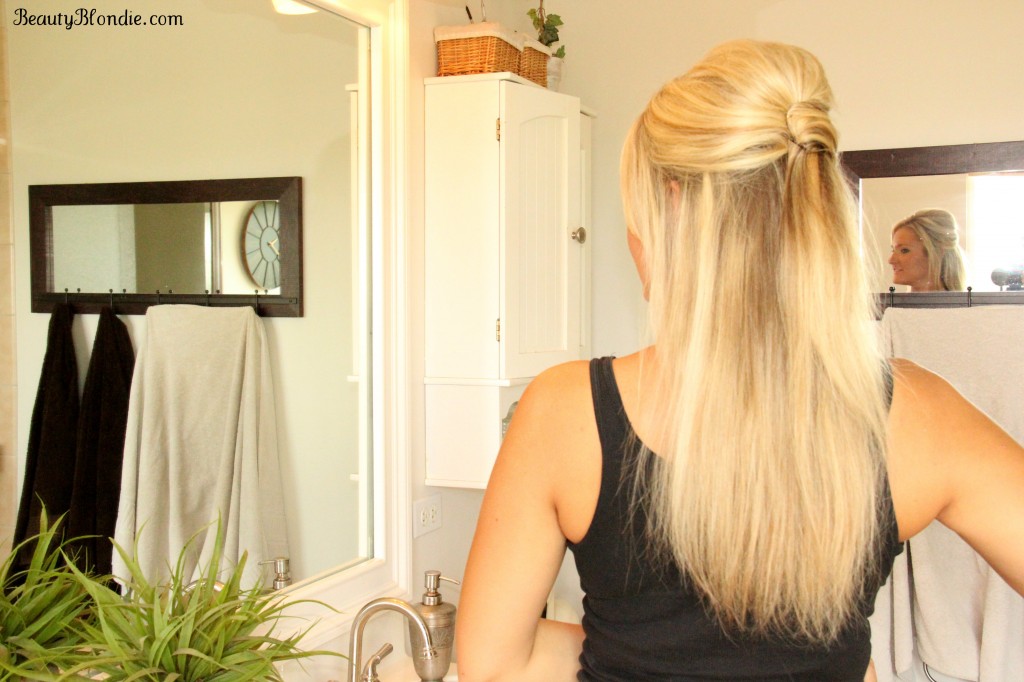
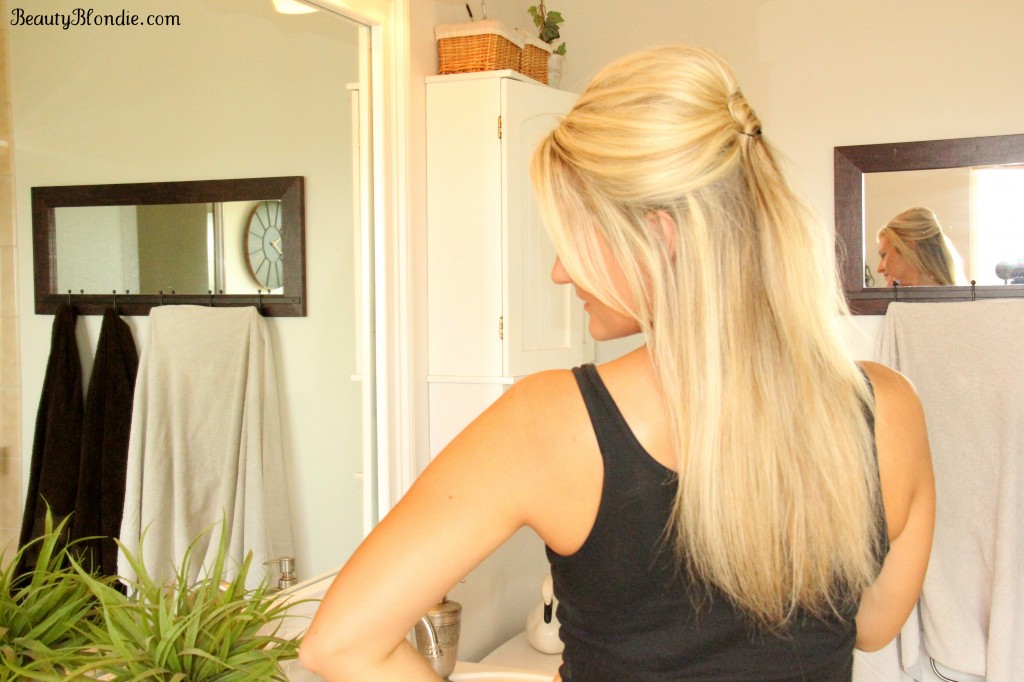
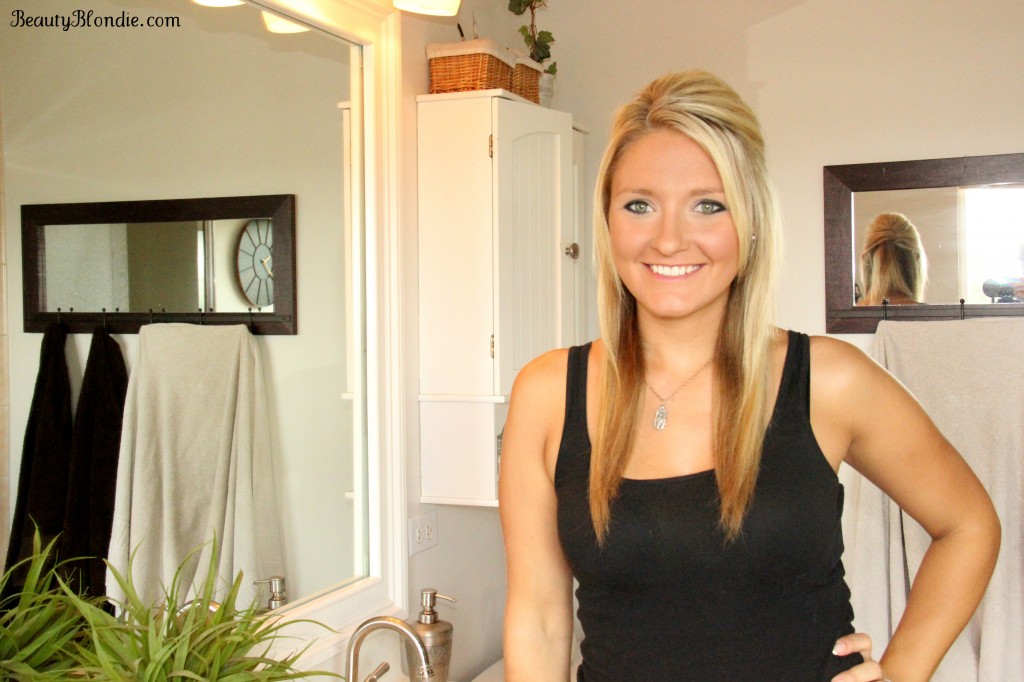
Half-up Half-down, Upside Down French Twist Hair Tutorial {With Video}

You are probably starting to realize that lately I have been on a kick of wearing my hair half up and half down or all the way up. My life, like so many others, is busy beyond belief. If you have misses anything, you can get the recap of my last month here.

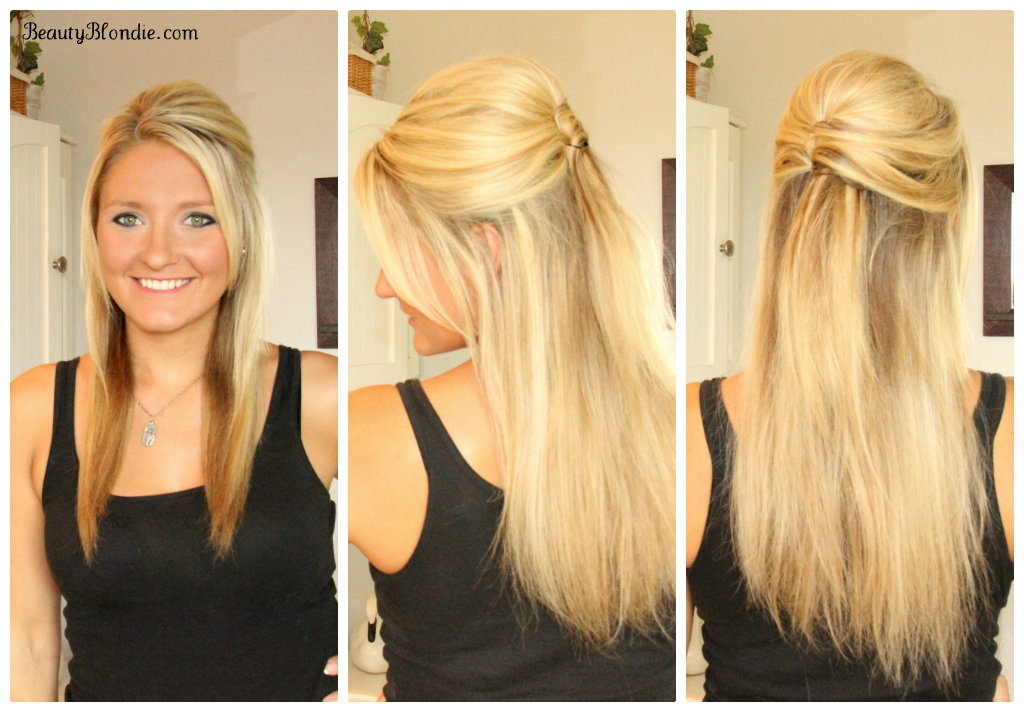
I would like to share with you one of my go to styles, one that I believe is one of the easiest hairstyles to achieve. I like to call this one, my half-up, half-down, upside-down french twist. (try saying that 10 times fast, lol)

For this style, you will only need a teasing comb, a few bobby pins and some hairspray.

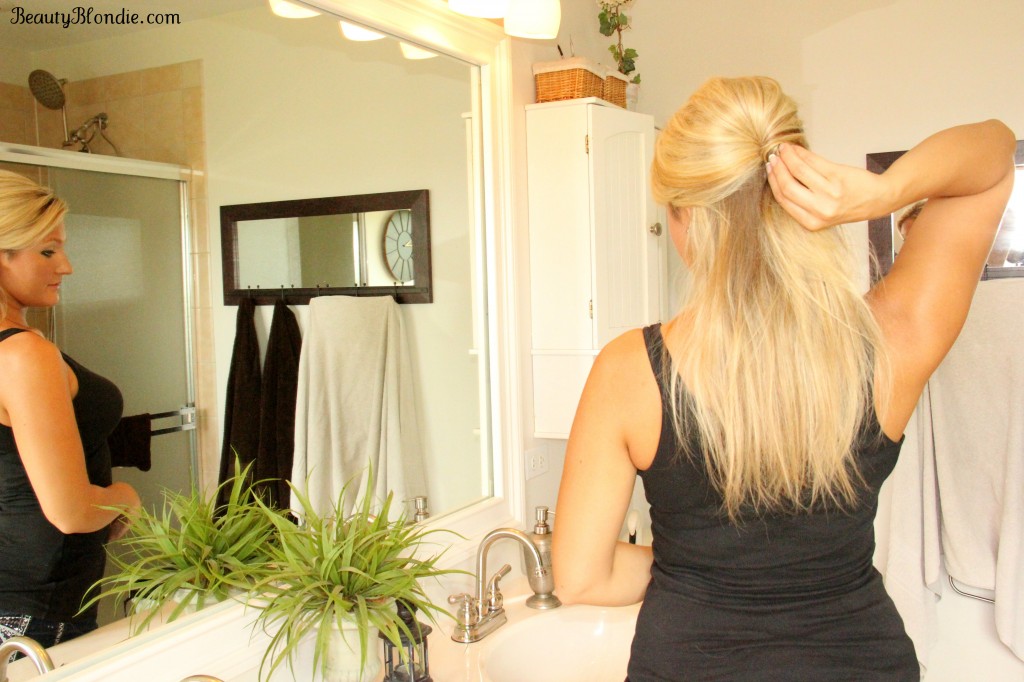
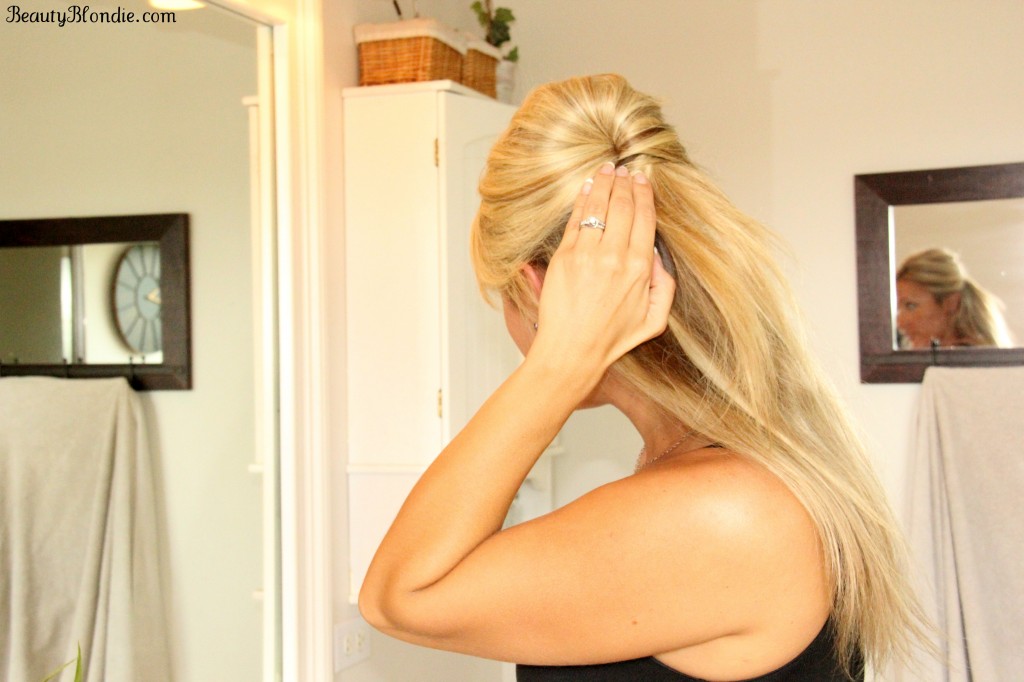
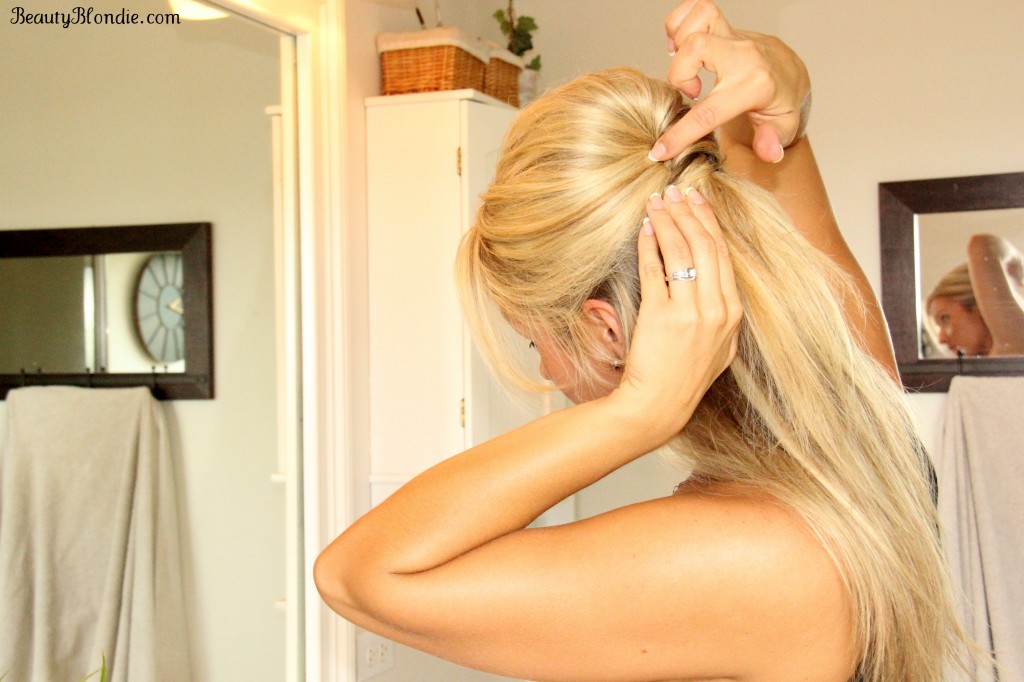
Half-up Half-down Upside Down Frech Twist Different Angles

For all of my email subscribers you can watch the video on how I achieved this style here!

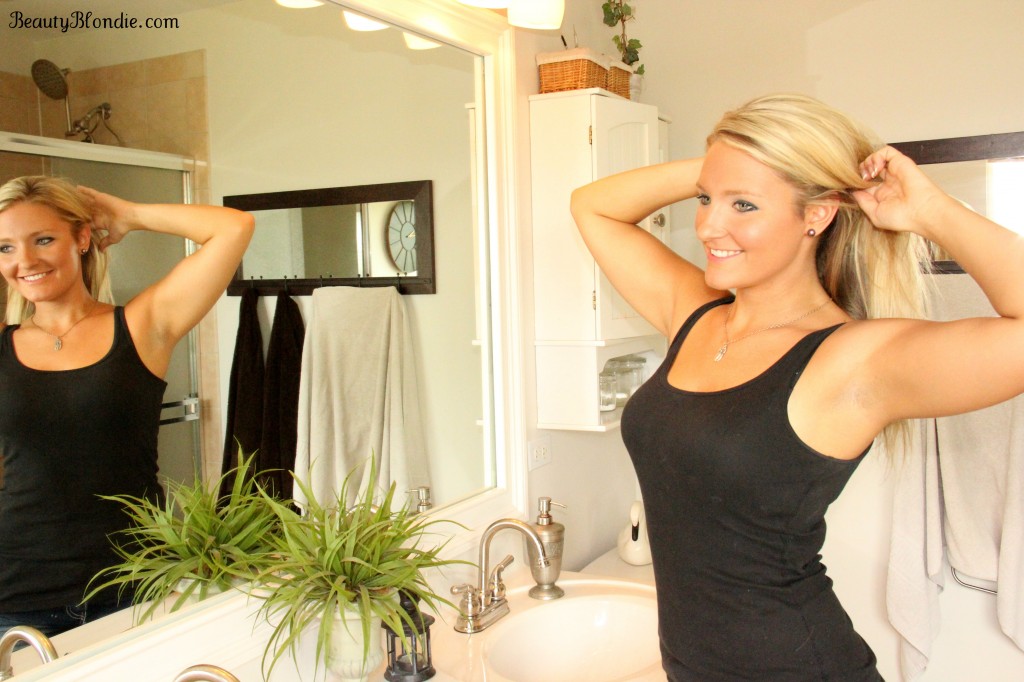
To start, you will need your hair to be teased. It can be straight or curly for this style.
Start with teased hair

Section the hair in two sections, from the top of your ear to the top of your other ear.

Section Your hair from ear to ear.

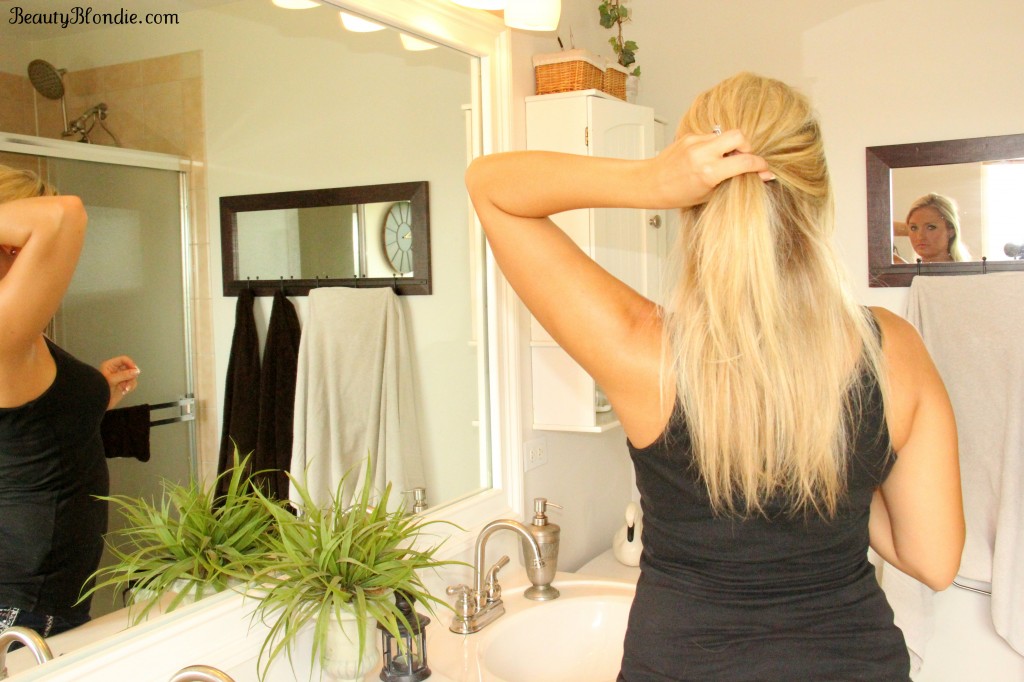
Grab the hair with one hand as if you were going to put it into a pony tail.

Hold on to your section of hair.

Take that section of hair and twist it just like you would a french twist.

Twist your section on hair

Hold the bottom part of the twisted hair with one hand.

Hold onto the swisted section with your left hand.

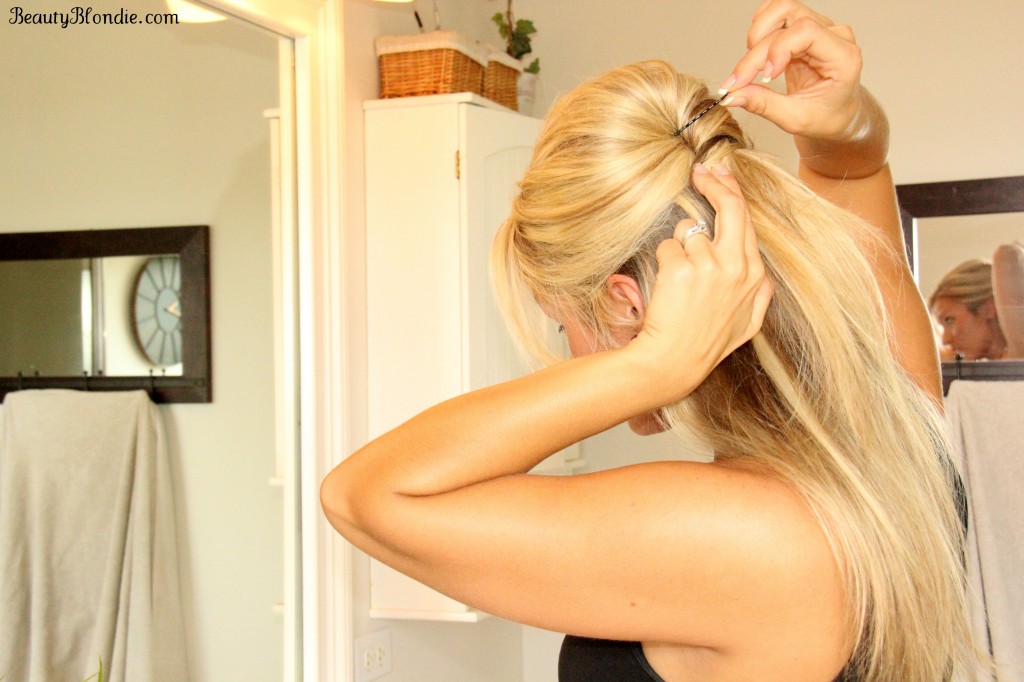
With your other hand open the bobby pin up and grab a section of the hair from the twisted hair whit the bobby pin.

Insert the Bobby pin into the crease of the twisted part of the hair

Than tuck the bobby pin into the fold of the hair.

Make sure the bobby pin is secure.

Use as many bobby pins as you need to secure your hair. I use between 3 and 5.

Half-up half-down upside down french twist Upside down half-up half-down french twist Half-up Half-down hair style Half-up half-down style

That is all there is to it. It is truly that easy. This style can be warn somewhere fancy or just for everyday.

Do you think that this is a style that you would be able to not only achieve but wear?

Are-you-ready-to-do-a-180.jpg

Posted on 5 Comments

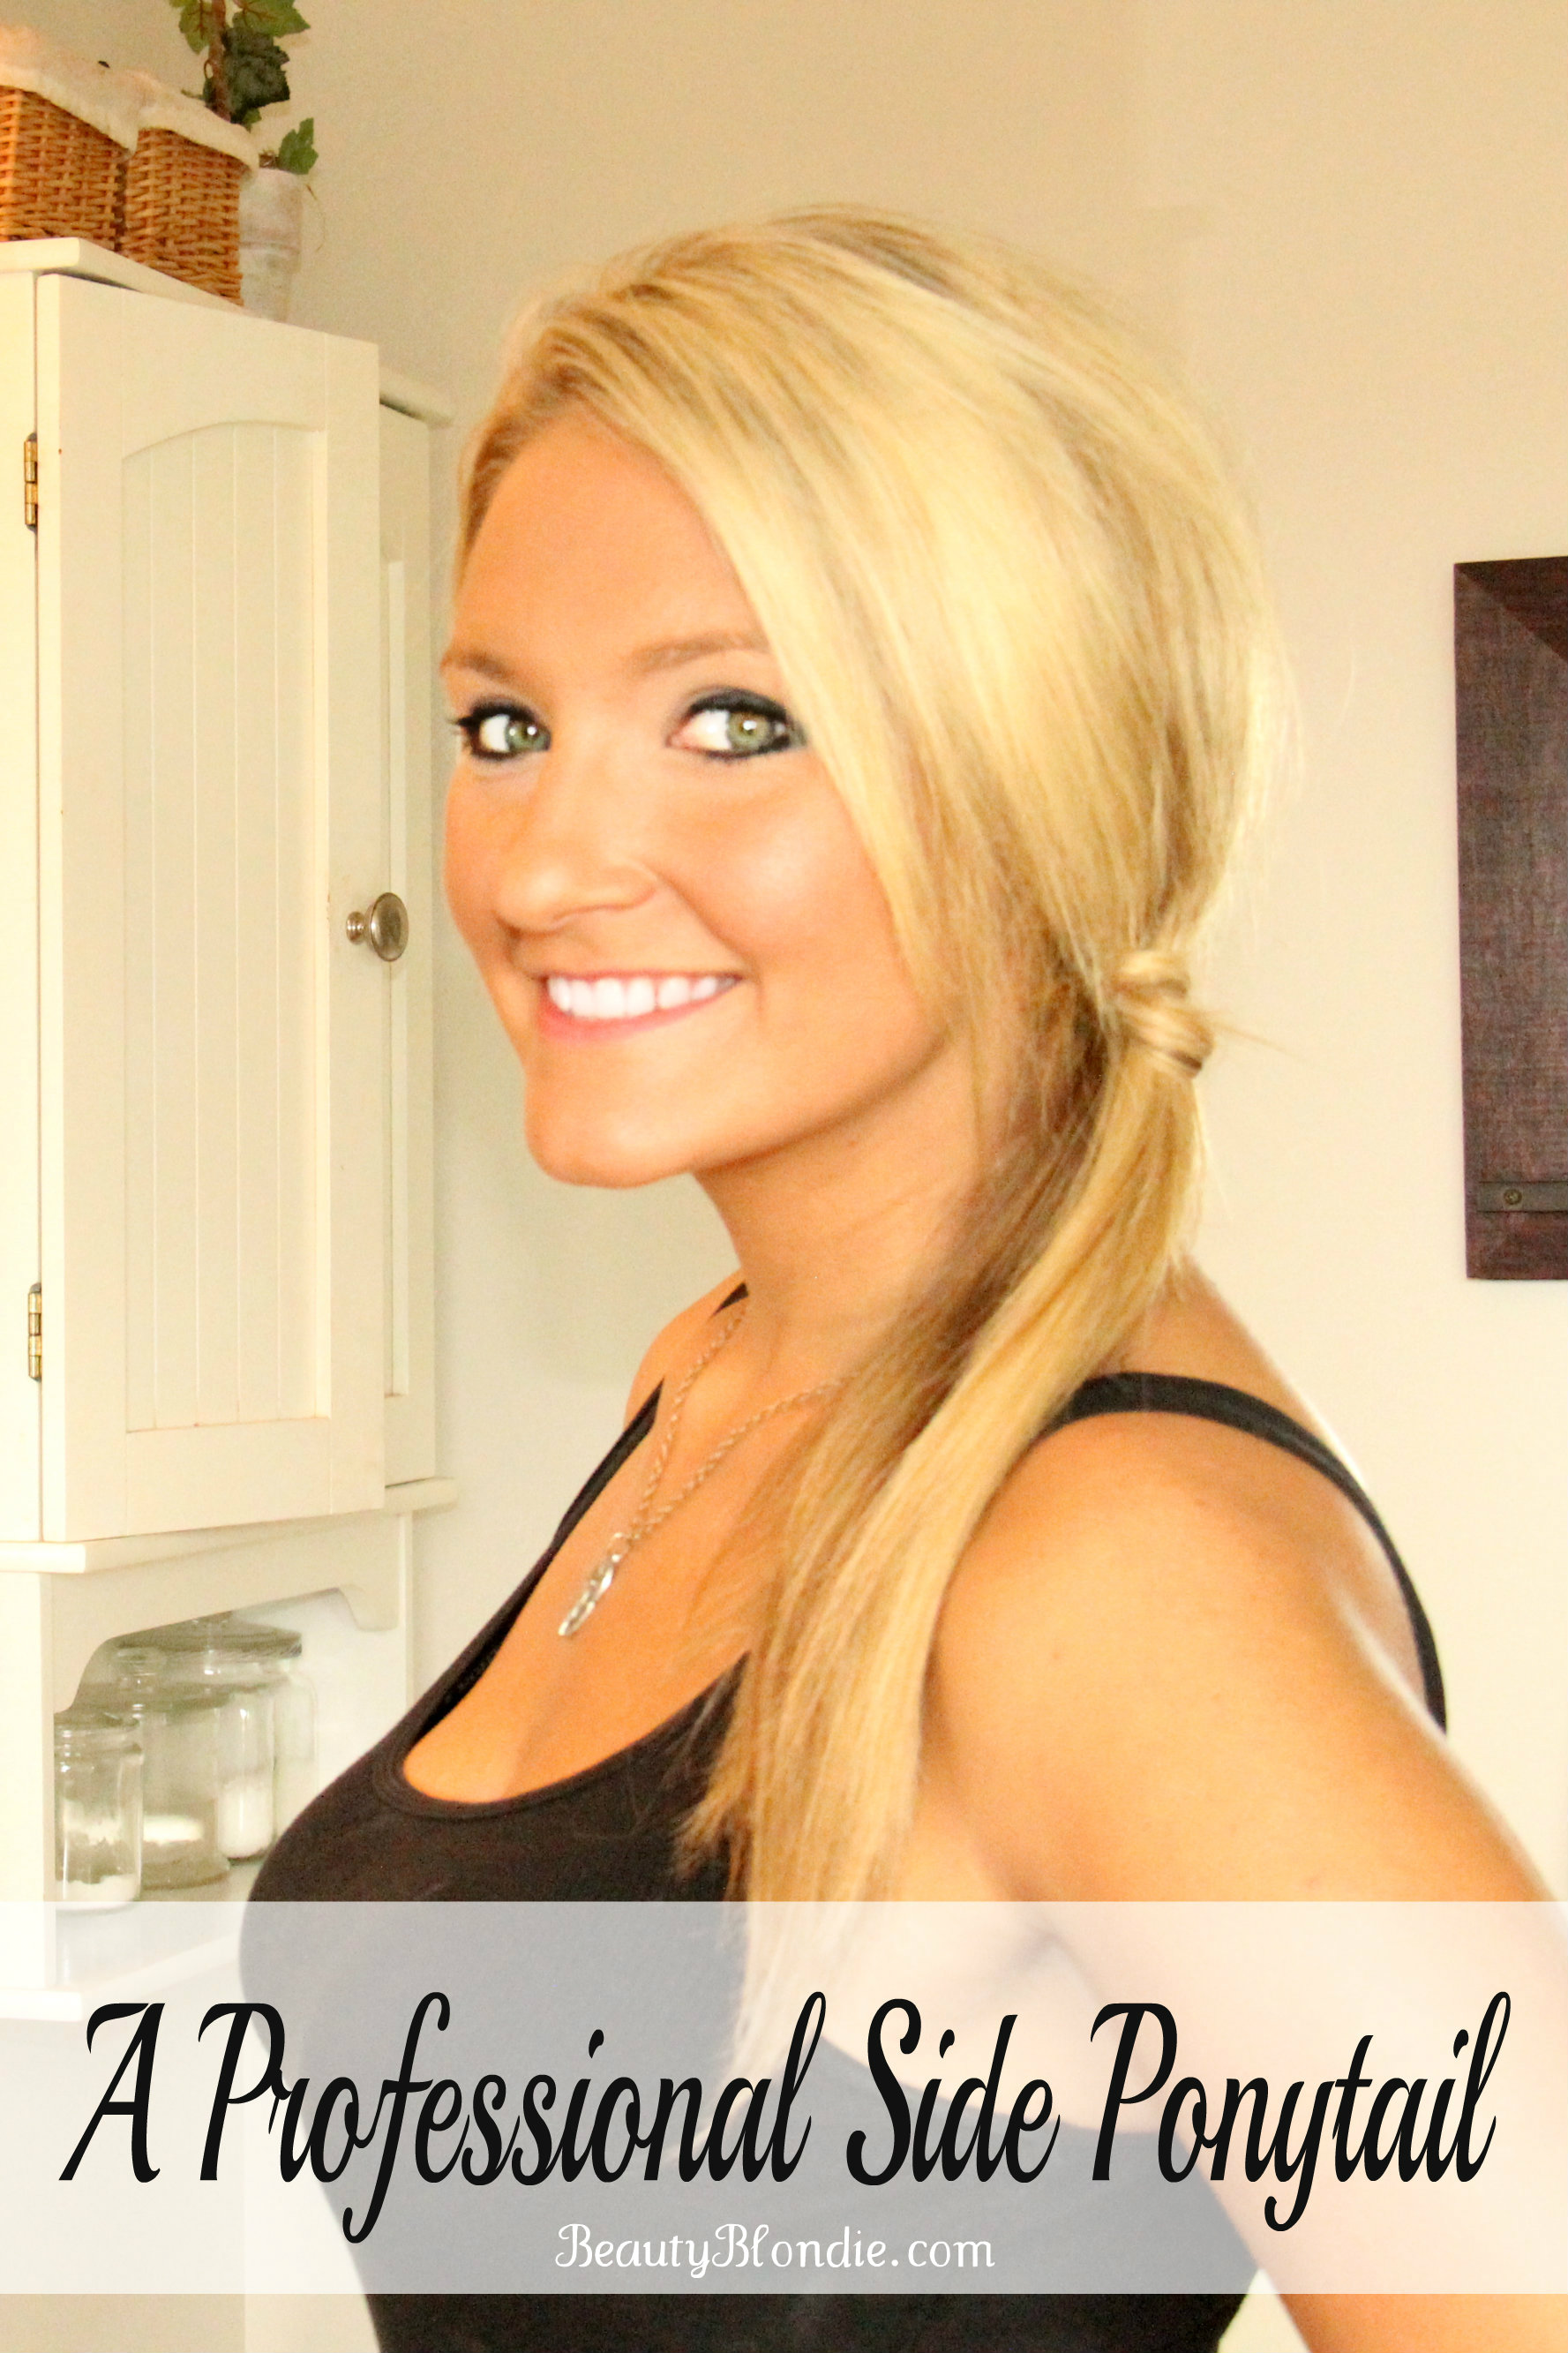
Professional Side Ponytail {2 Minute Style with Video}

There are so many days out of the summer where I like to wear my hair up or off of my neck. This is one of the easiest and fastest styles that I know.

This is one of my go to styles that takes less than 2 minutes.  It is so easy that anyone could achieve this style.  

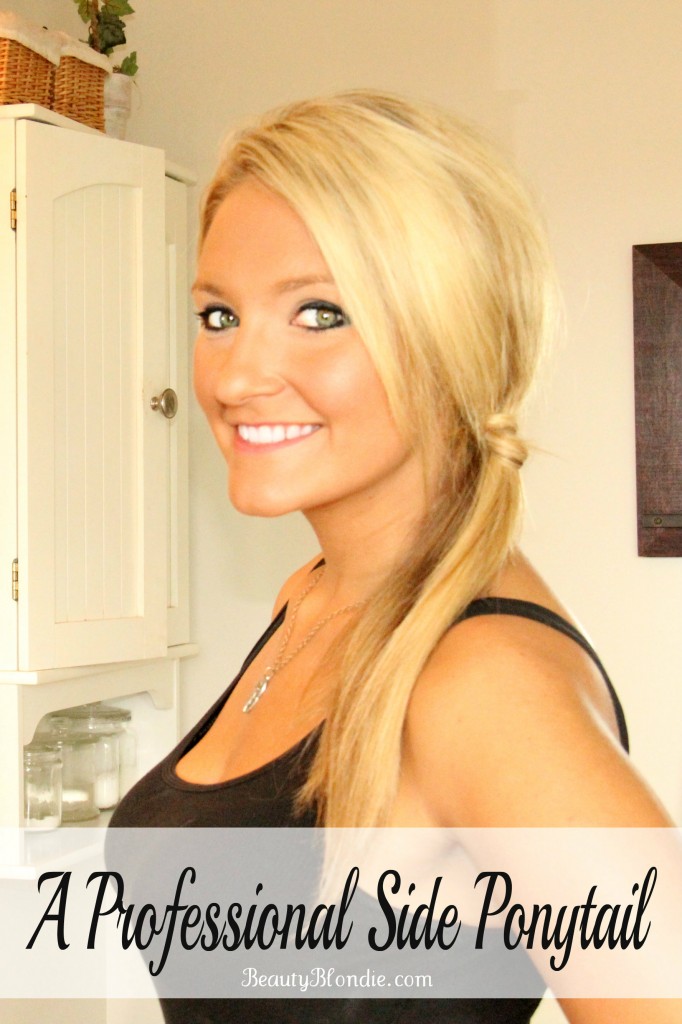
A Professional Side Ponytail

Here is a short video showing you just how I achieve this style in under 2 minutes.

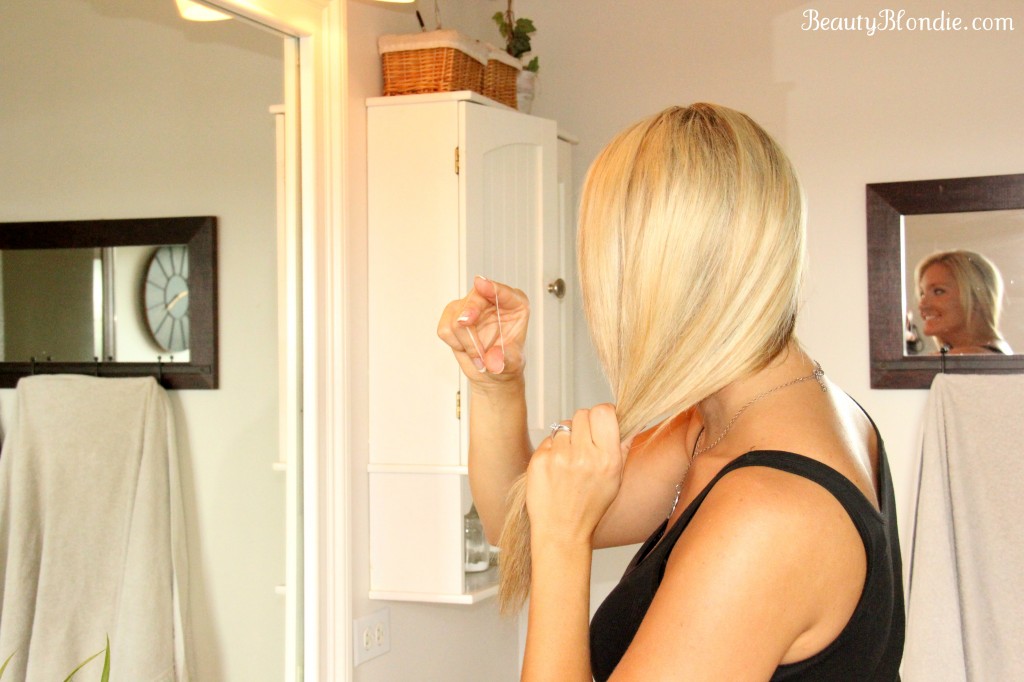
 You are only going to need 3 things to complete this hairstyle: A comb, a clear elastic and a bobby pin. First you need to tease your hair and pull it all off to one side. 

Take your clear elastic and secure your hair

Take your clear elastic and tie it around your hair.

Secure your hair with an elastic hair tie


After it is secure, separate  the ponytail in half and pull them in opposite directions to tighten then ponytail.


ta da... you have a side ponytail


Once you have your hair pony in place, use the back of your teasing comb to lift up the hair away from the head.  I love to have extra volume!


Pull some of your hair up for extra volmue

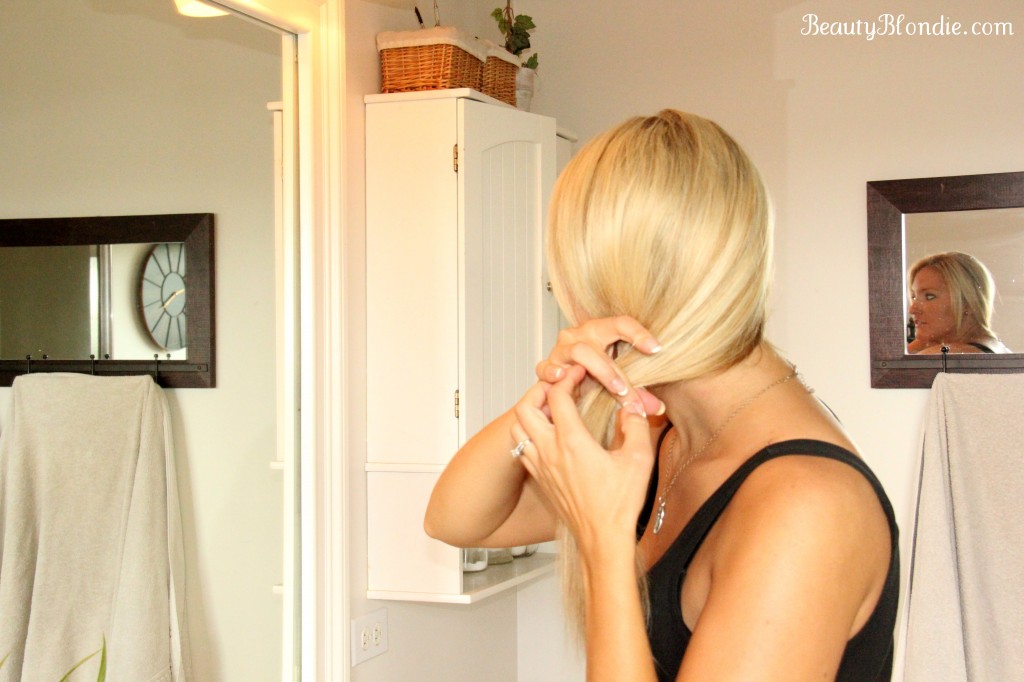
Last but not least, take a small section of hair from the ponytail, wrap it around the clear elastic and secure with a bobby pin.


Secure the hair with a bobby pin


I hope that this helps and that it makes sense. Do you find yourself running out of quick hair styles and end up wearing the same old ponytail every single day?

You can get more of my 2 minute styles here!

From-the-Dest-of-Elisabeth-Heasley-soon-to-be-Elisabeth-Johnson_thumb.jpg

Related Posts Plugin for WordPress, Blogger...