Posted on 2 Comments

Cleaning Your Nail Polish Bottle

When you are working with nail polish you need to be very careful so you don’t spill any polish on pretty much anything. I hope I am not telling you anything you haven’t herd already. Nail polish is the one thing that you don’t want to spill on anything because it is so hard to get out. Even Shaklee Get Clean products might have a hard time cleaning up nail polish and they can get out everything!

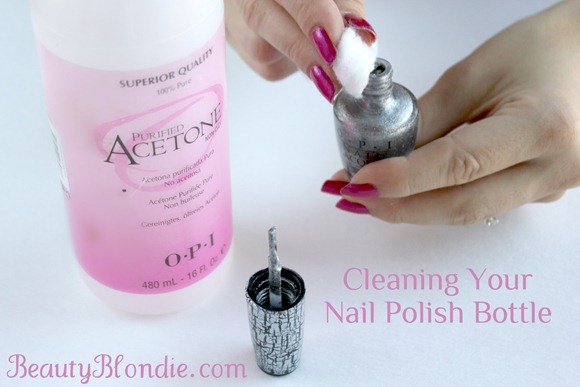
So what happens to you nail polish bottle when you get nail polish all over the top? The top gets stuck to the bottle and it is next to imposable to get open. Unless you use this technique that I am about to show you.


Cleaning Your Nail Polish Bottles at BeautyBlondie.com

Here is a short video showing you just how to open a bottle after it is suck shut as well as a way to keep it from getting stuck again.

You might want to also check out my post on painting you nails to look professional every time.

Perfectly Painted Professional Nails at BeautyBlondie.com

I am telling you that this works, try it and see! Let me know how it goes. Good luck and happy painting.
Elisabeth at BeautyBlondie.com Signature

Posted on

Play Make-Up!


I can remember back when I was little and I loved to watch my mom put on make up. I used to dream about the day where I was old enough to be able to wear make up of my own. This is the easiest way to make a little girls dream come true even faster.

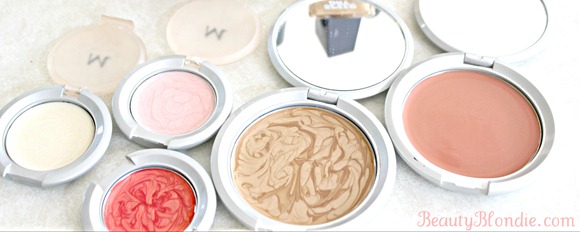
Learn How To Make Kids Play Make Up at BeautyBlondie.com

Here is a short DIY video on how to make kids play make up!

Here is what you need:

Old make up containers, cleaned and dried.

Old nail polish colors; any colors you like!

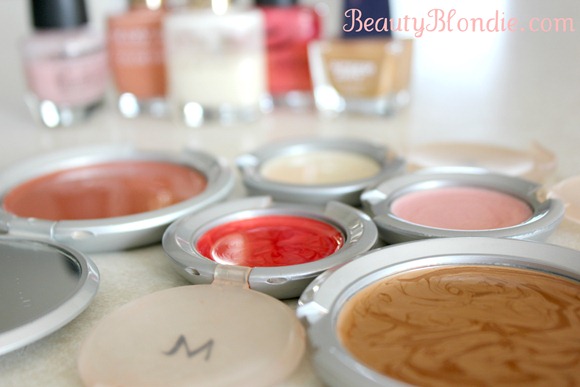
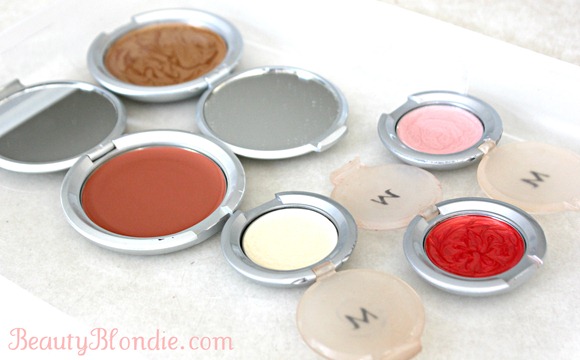
How to Make Kids Play Make Up From Old Nail Polish Colors at BeautyBlondie.com


Let the nail polish dry over night and if it needs it, maybe 2 nights.


Store Your Home Make Kids Make Up Over Night To Dry at BeautyBlondie.com

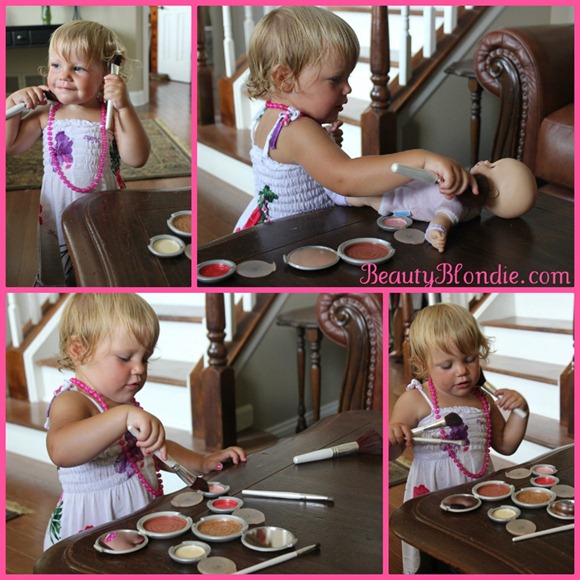
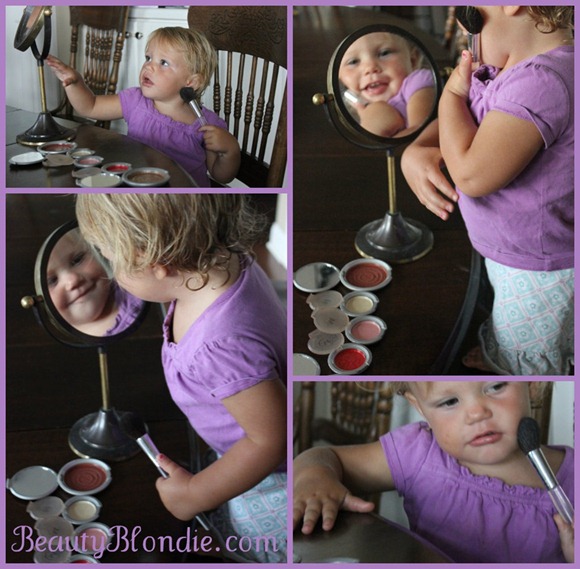
Here is my little sister playing with the make up I gave her. She LOVES it! She is such a girly, girl.


Little Girl Playing with Home Made Kids Play Make Up at BeautyBlondie.comLittle Girl Playing with Home Made Make Up at BeautyBlondie.com


Would you say that you were a girly, girl growing up or more of a tom boy?

Posted on

From Old to New! DIY Gold Necklace

There is something about jewelry that can help define who you are or where you are going.  Think of the difference between the delicacy of a single strand of pearls compared to brighter and bulkier beads. If you were going to a black tie affair you most likely would be wearing the pearls than the beads. That strand of pearls is every elegant and beautiful, it is to be worn by a stunning lady going to a meaningful event.

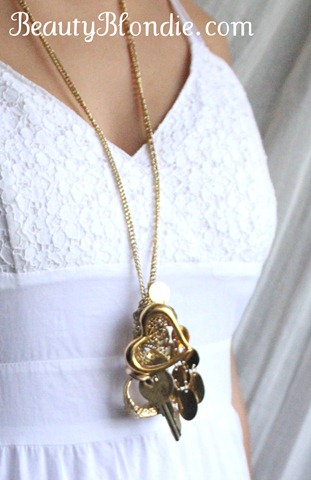
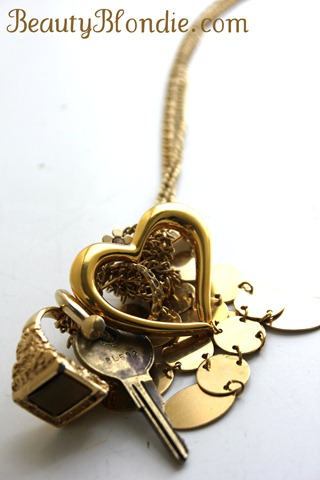
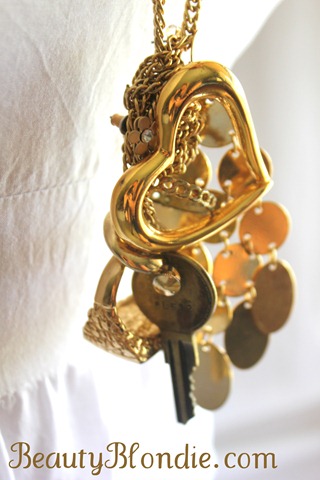
The necklace I am wearing here really brings out a lot of my personality.  Start with the simplicity of the chain and how it works its way down to a big knot, LOL. Inside that knot holds the key to my heart as well as my love towards my family.  It also shows not only my commitment to life bound by a ring but my love for life found in a dangling earing. 

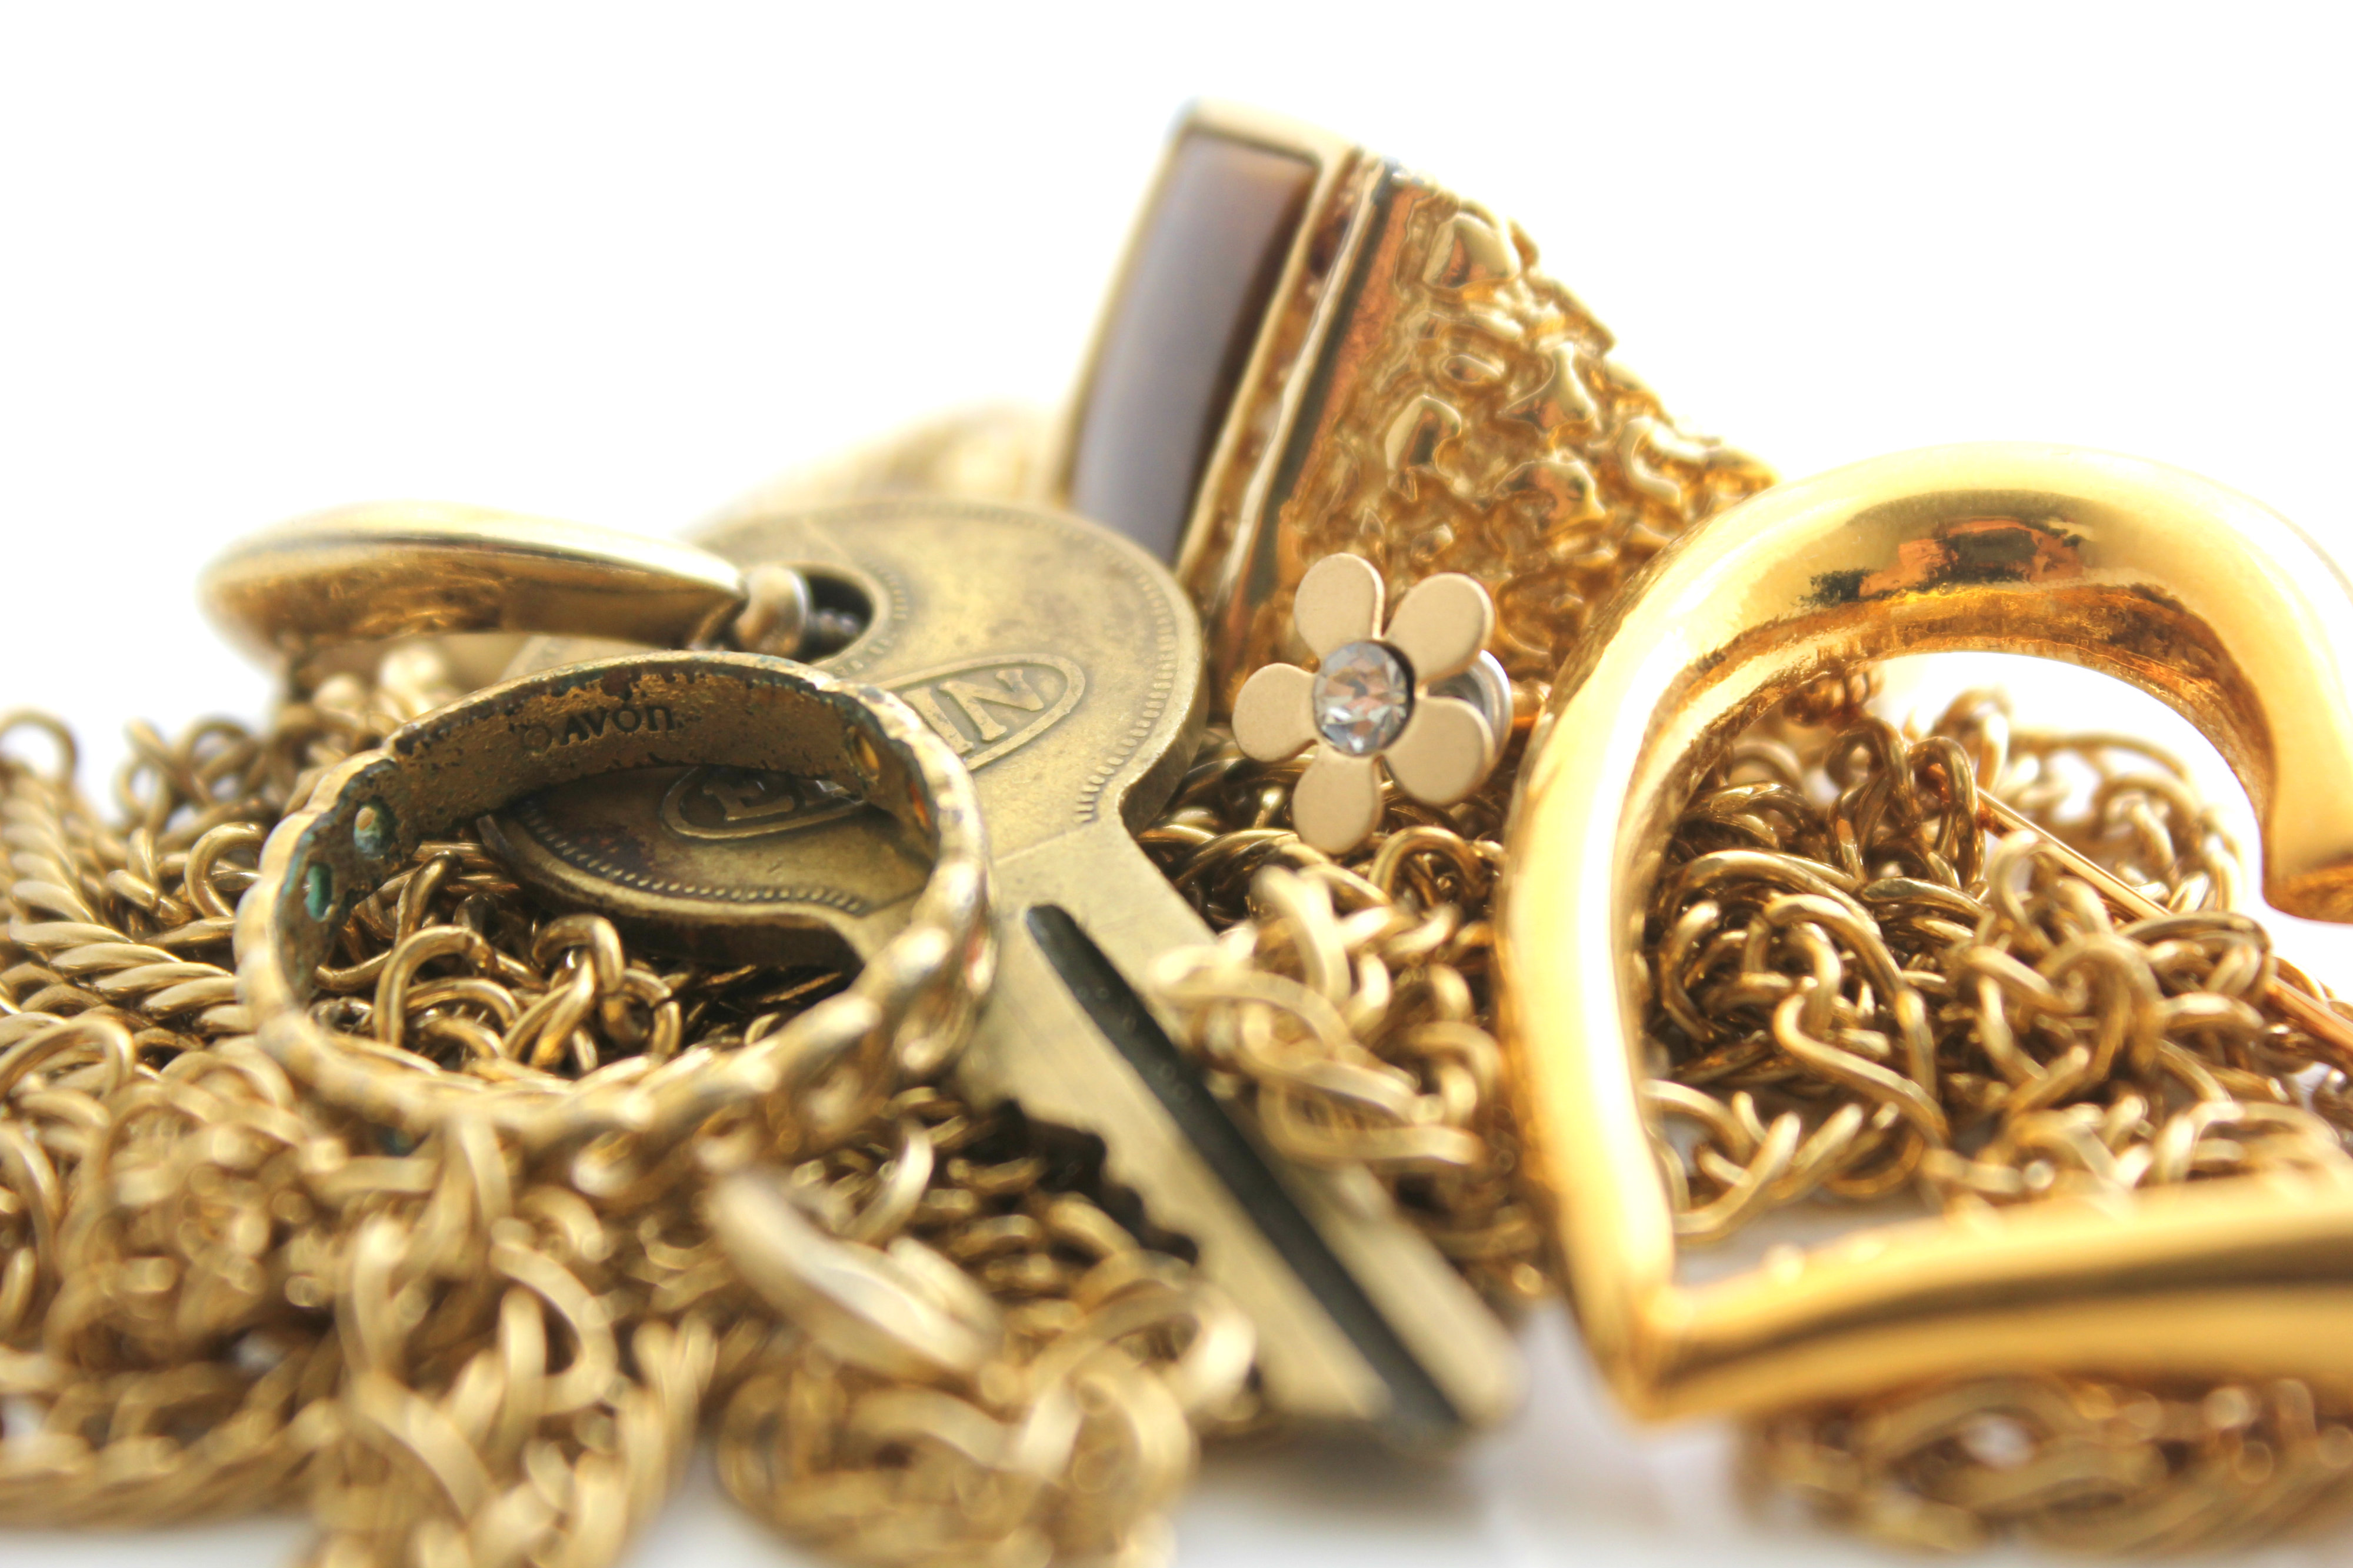
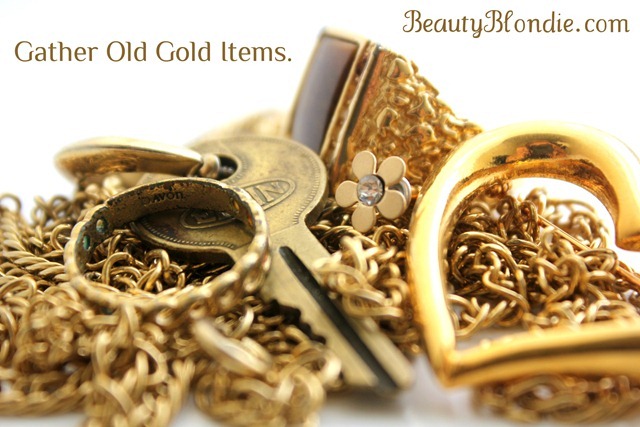
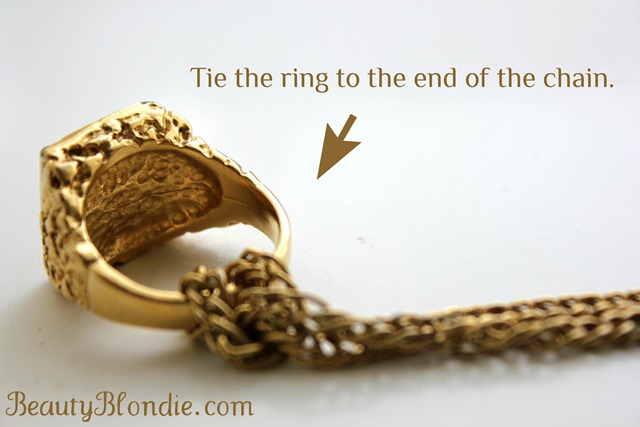
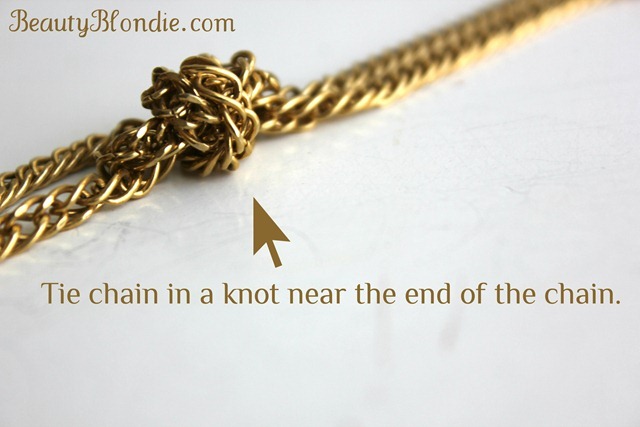
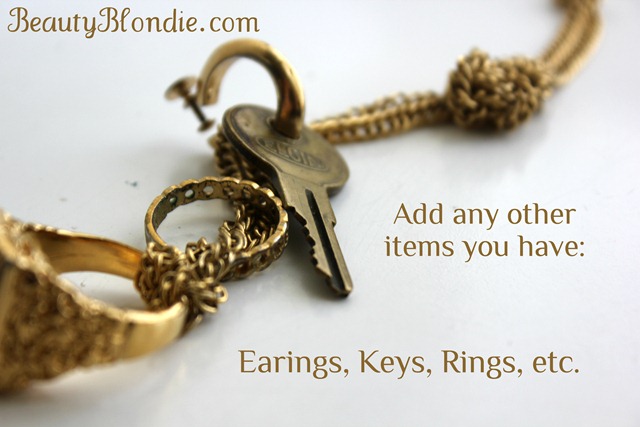
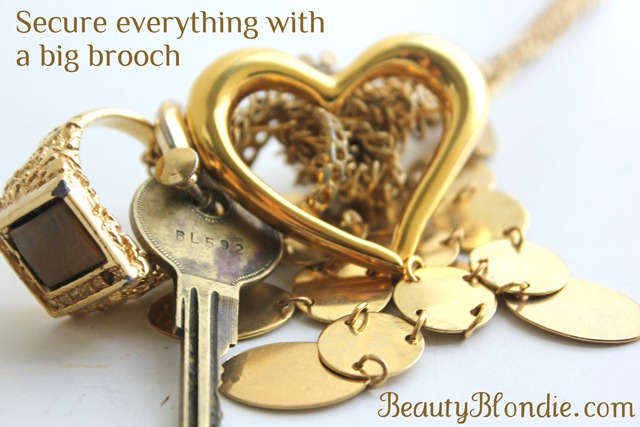
DIY Gold Necklace From Things You Have Laying Around The House At BeautyBlondie.comThis had to have been one of the most fun necklaces I have made in a long time. The first thing I did was find old gold pieces from my grandmother, Goodwill or pieces of jewelry laying around the house. Gather old gold items for your gold necklace at BeautyBlondie.comThe first thing you will need to do is tie the ring to the end of the chain. Tie the ring to the end of the chain at BeautyBlondie.comThen tie a knot near the end of the chain. Tie chain in a knot near the end of the chain at beautyblondie.comAdd any extra items.Add any other items you have to your gold necklace at BeautyBlondie.comLast but not lease secure everything with a big statement brooch.Secure everything on your gold necklace with a big brooch at BeautyBlondie.comDIY Gold Necklace From Things You Have Laying Around The House At BeautyBlondie.com The Finished ProjectI just love the way it all came together.DIY Gold Necklace From Things You Have Laying Around The House At BeautyBlondie.com Up Close

I am sure there are times where we all go through different phases within our life where we like to change up our jewelry. Don’t believe me? Just check out my necklace collection.
If there is one thing you love right to wear right now what would it be and why?

Thanks for reading don’t forget to subscribe so you don’t miss a thing.

Elisabeth the writer of BeautyBlondie.com

Parties I am at:

Creative Blog

Posted on 2 Comments

How To: Organize Your Bobby Pins

I get a lot of questions about how I organize all of my beauty supplies.  Over the past 5 years of doing hair and working at a number of salons I have seen things organized and displayed in every way imaginable. What I have done is taken all of those ideas and found the best and most efficient way to store and organize all of these products. Today I wanted to share with you one of the ways I like to store my bobby pins.

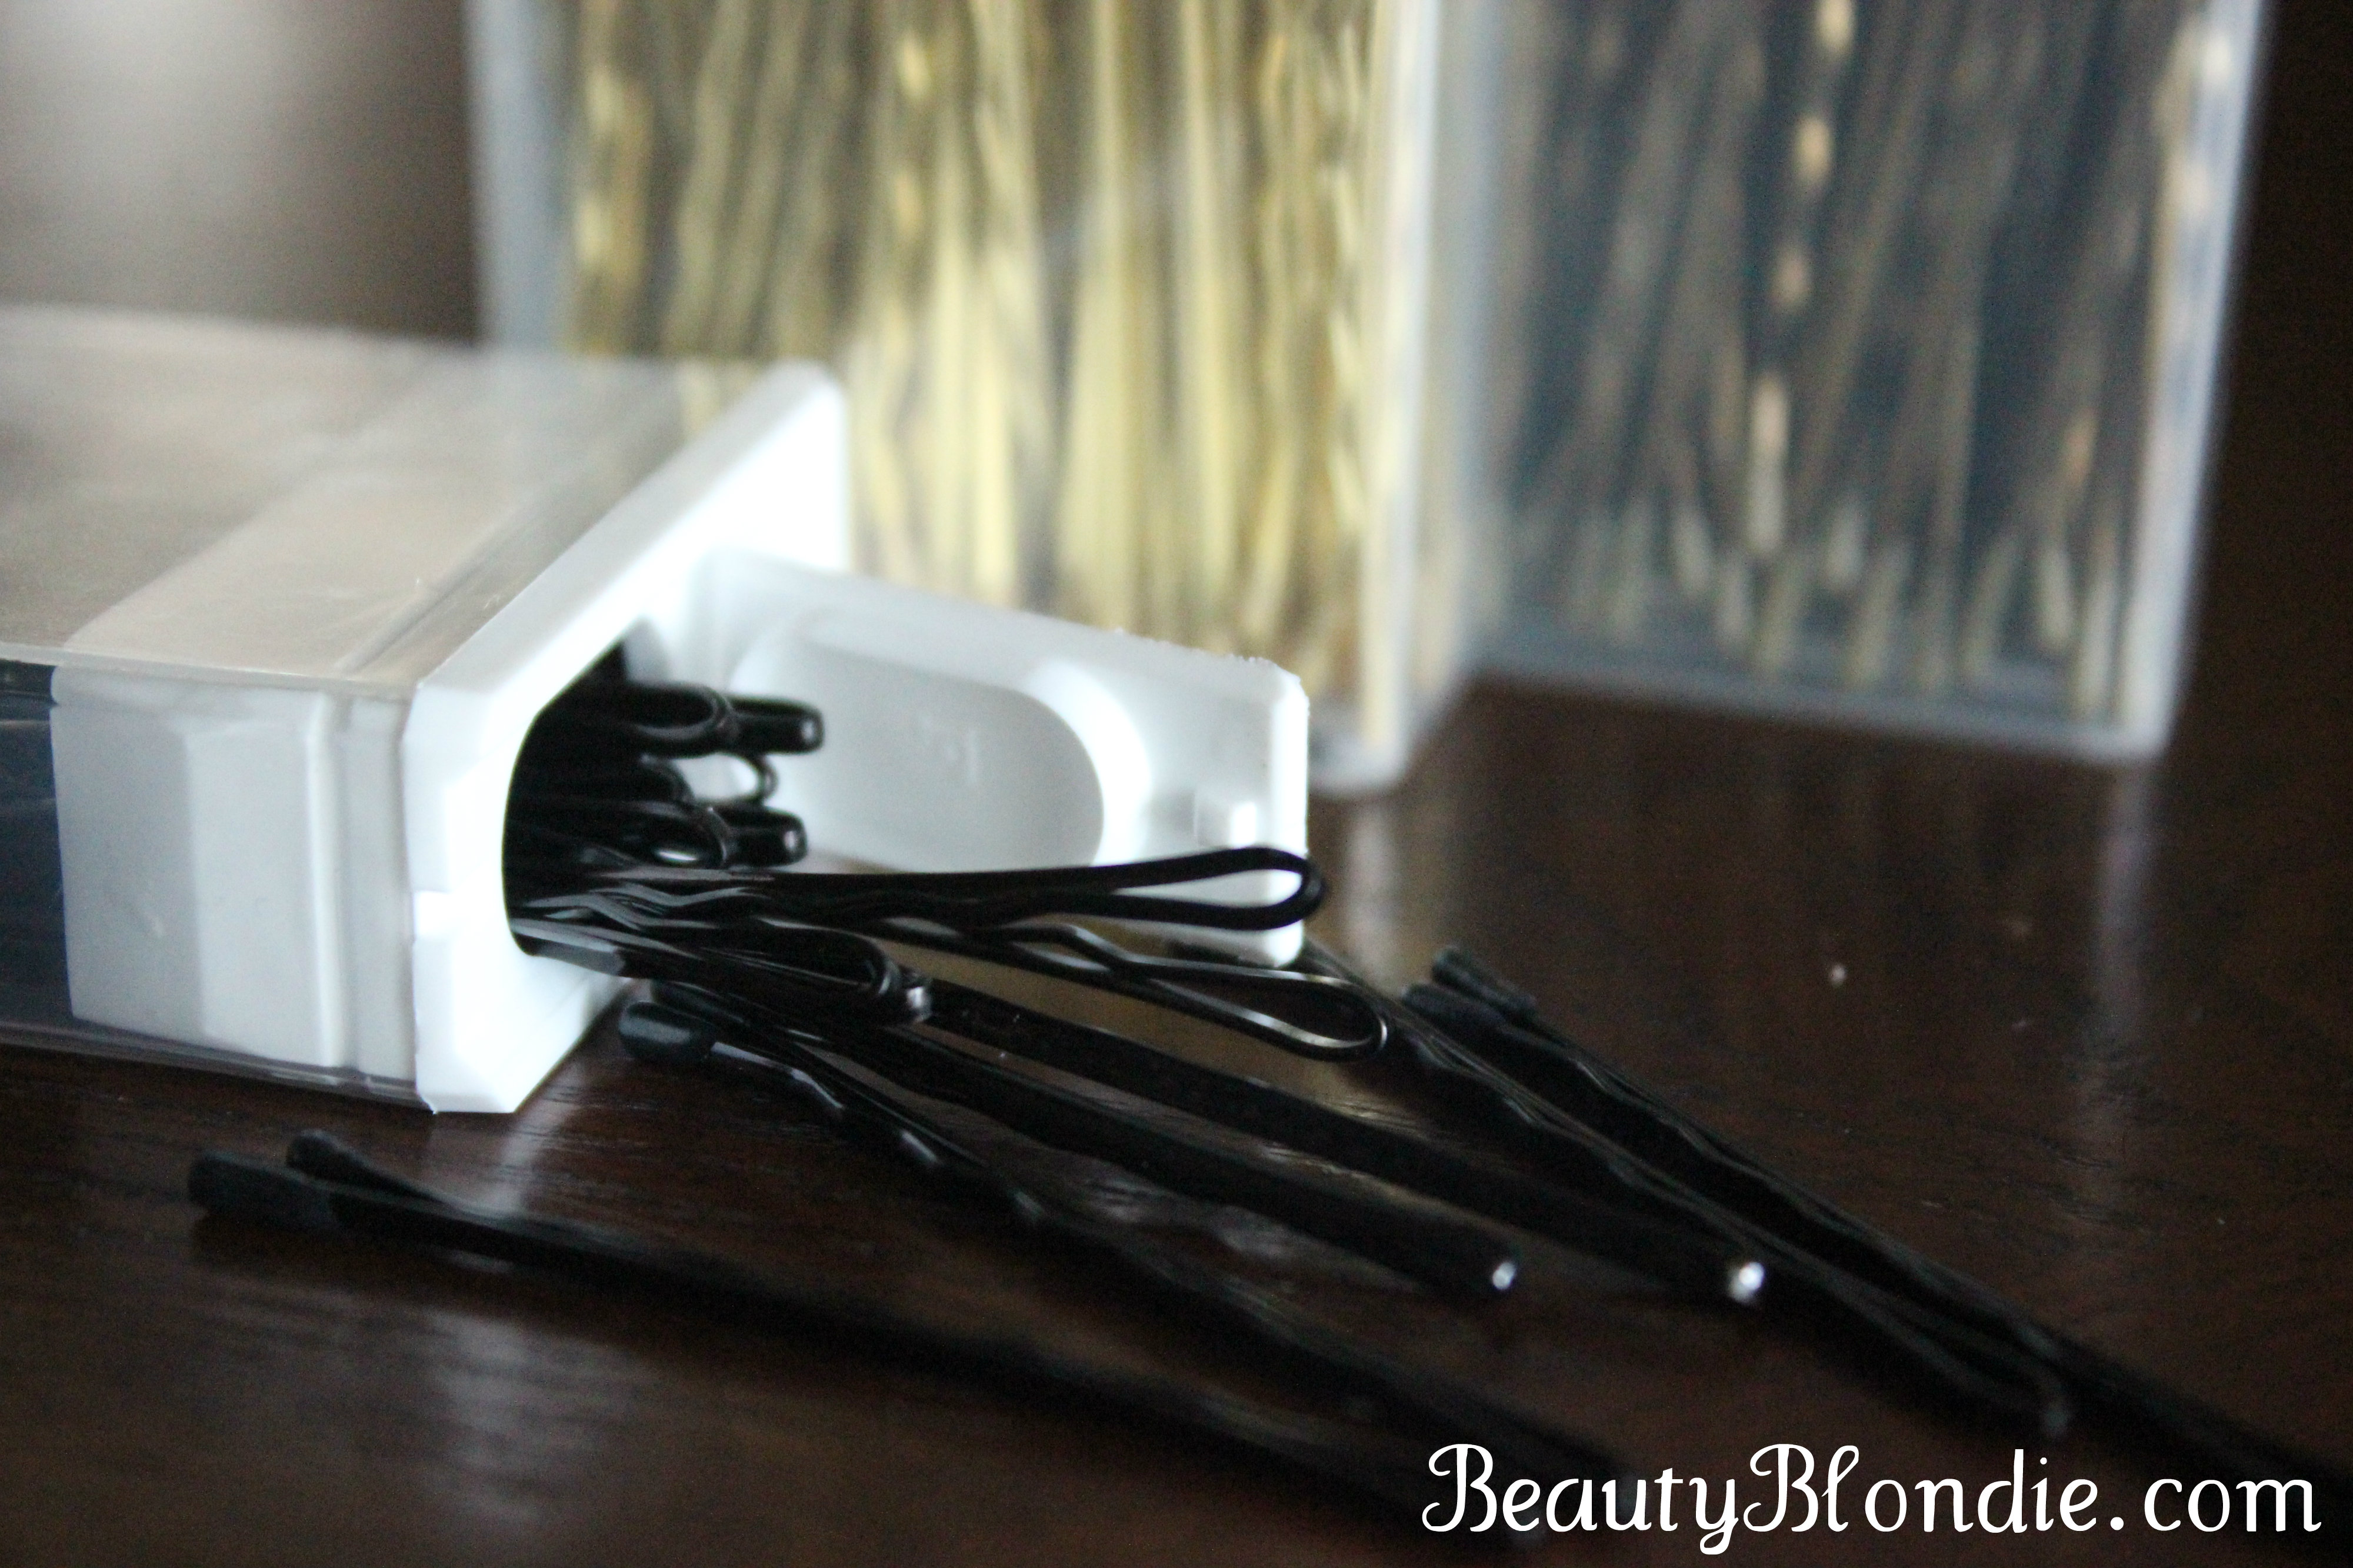
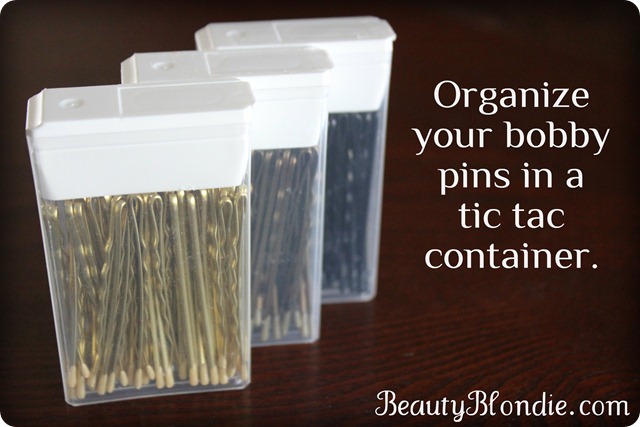
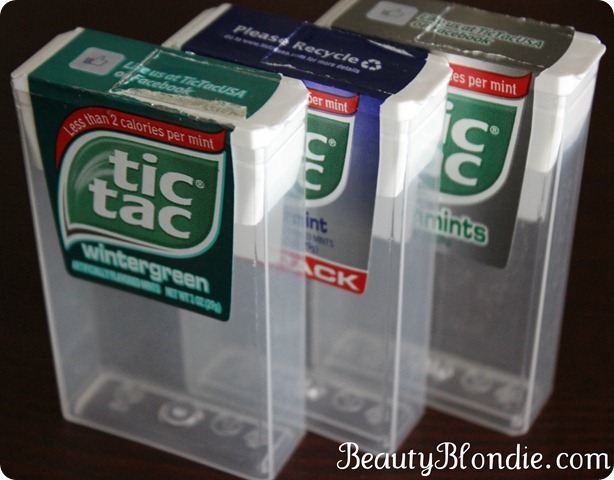
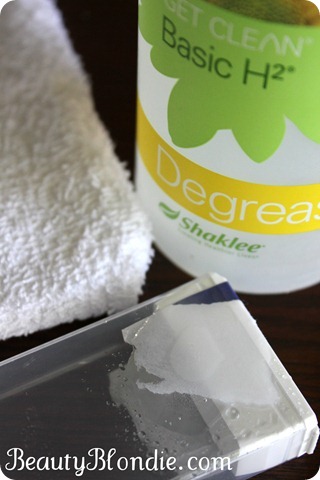
Organize your bobby pins in a tic tac container The first thing I did was saved all of my old Tic Tac containers.Tic Toc Containers Used For Organizing At BeautyBlondie.comThen I remove the sticker. If it doesn’t come off, spray with Basic H2 degreaser and it will come right off.Cleaning Tic Tac Case With Shaklee Basic HLast but not least, I separated my bobby pins by color and filled the containers.    Storing Bobby Pins in a Tic Tac Container at BeautyBlondie.com
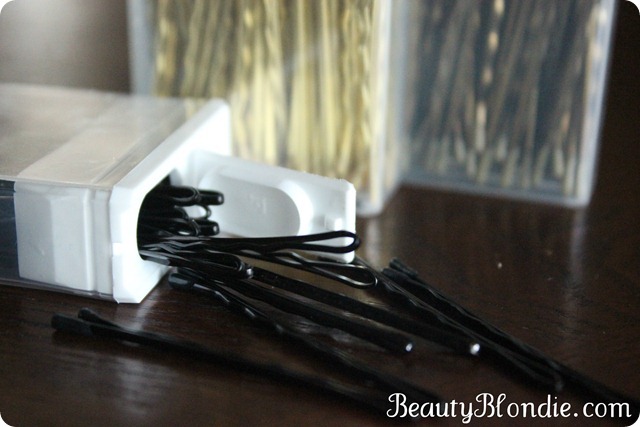
One of my favorite thing about the Tic Tac container is that you can easily throw it into your purse without a big mess! It is simple and easy!  Like I said before, there are so many different ways to store your bobby pins. This is just one way that has been working for me.
I am always looking for new ideas and I just have to ask, how do you store your bobby pins?

Related Posts Plugin for WordPress, Blogger...