Posted on 2 Comments

2 Minute Iced Coffee for Less Than 1 Dollar {Better & Cheaper than Starbucks}

I come to you once again with another one of my favorite drinks. I shared with you the most amazing pomegranate lemonade and my favorite smoothies. Today I am going to share with you an iced coffee that is better than Starbucks!!

As most of you know, have had a lot on my plate the last few months. I am planning a wedding working as a stylist, running my own business and buying a house! Therefor I have needed a little pick me up every once in a while. I love to drink tea and I am not much of a coffee drinker although I don’t mind it every once in a while. Mainly when we have left over that we can’t let go to waste.  So… Here it is: English Toffee Iced Coffee!

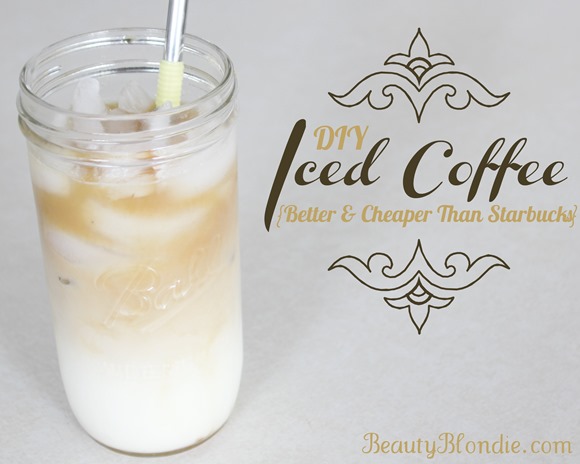
DIY Iced Coffee that is better than Starbucks and Cheaper too!

This is a very easy recipe that you can alter at any time. This one is my favorite although you can change the flavor of stevia and have a different flavor drink everyday!

Here is a short video showing you just how I make this Iced coffee!

You will need:

Ice

Milk

Cold Coffee

Maple Syrup

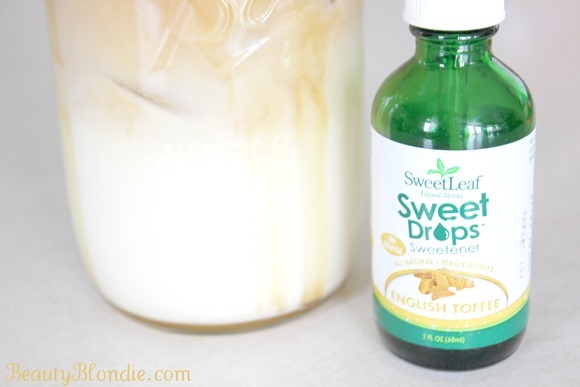
English Toffee Stevia

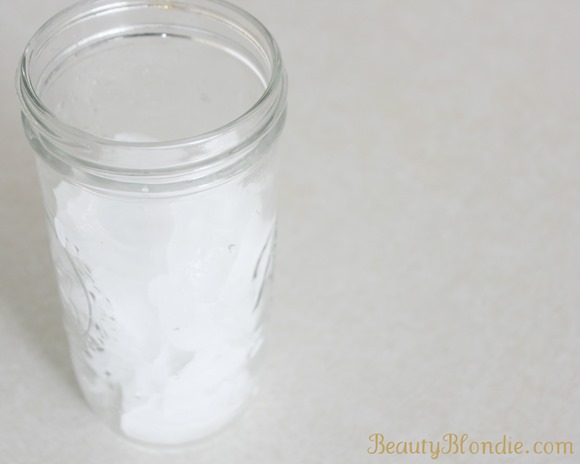
Fill your glass 3/4 of the way with ice.

Fill the Mason Jar three fourths of the way up with Ice

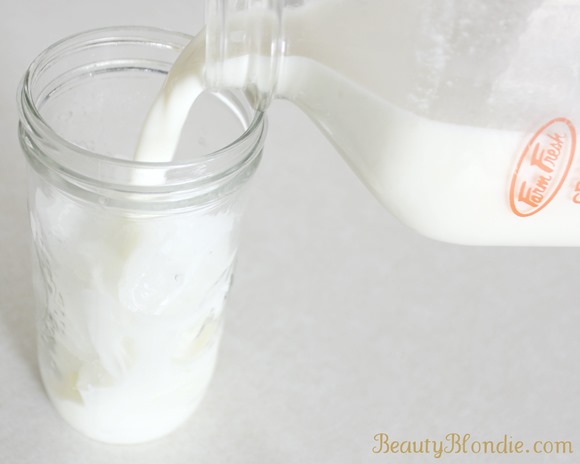
Pour your milk into your glass just until it covers the ice.

Iced Milk in a Mason Jar

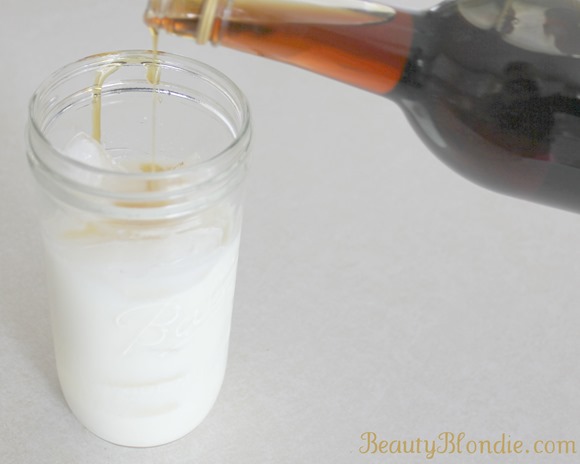
Drizzle the maple syrup over the ice milk.

Pour Maple Syrup on the Iced Milk in the Mason Jar

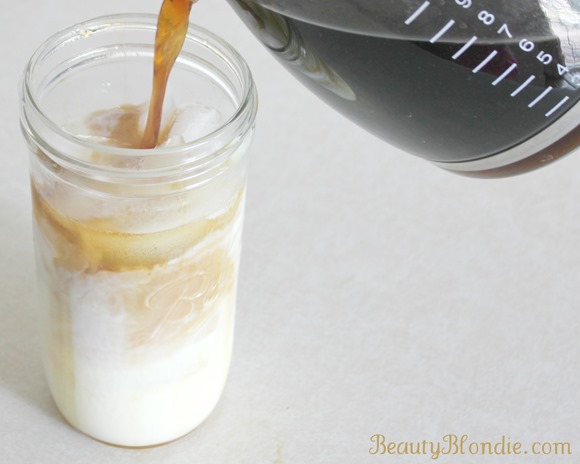
Then you fill the rest of your glass up with the cool coffee.

Pour Cilled Coffee on the Maple Iced Milk in the Mason Jar

Last but certainly not least, add your favorite flavor of stevia. In this case I used English Toffee. Give it a little stir and you are set to go!

I love adding Stevias to your drinks to add different flavors

This really is a great treat that you don’t have to spend a fortune on. This whole drink cost less than $1.00. That is a lot better than the $4.00 something you would have spent at Starbucks and it only took 2 minutes.

Are you a coffee drinker?
Posted on 37 Comments

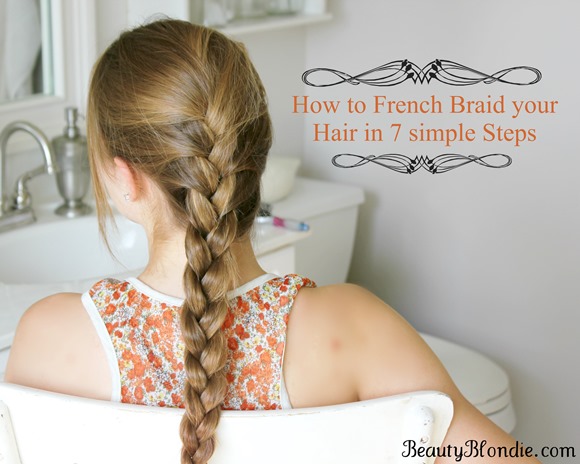
French Braid your hair in 7 Simple Steps {With a Video}

I am republishing this post because I realized that I didn’t make my video public on Youtube. So…. here it is!

Last week I showed you how to Master the art of Braiding so for this week I decided to show you how to turn that basic braid into a French Braid. It is easier than you might think. So many people get discouraged with a French braid and they shouldn’t.

If there is one thing that I would suggest to you it would be this. Make sure you feel completely comfortable with a regular braid before you go onto a French braid.  The motions are the same except you are picking up and adding hair to the French braid as you go along.

This is the easiest way to learn how to french braid

In this video I show you just how to take a basic braid and turn it into a French braid with only adding 2 steps.

1. Grab a good size section of hair on the top of your head

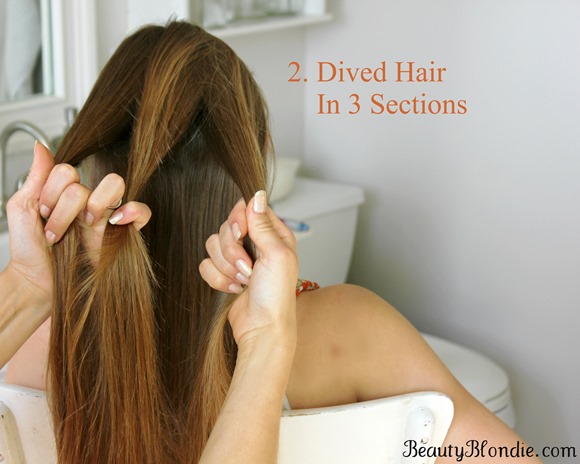
2. Dived Hair in 3 Sections

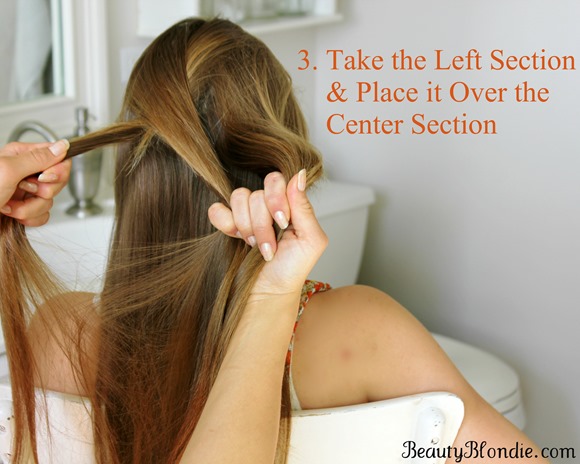
3. Take the Left Section and Place it Over the Center Section

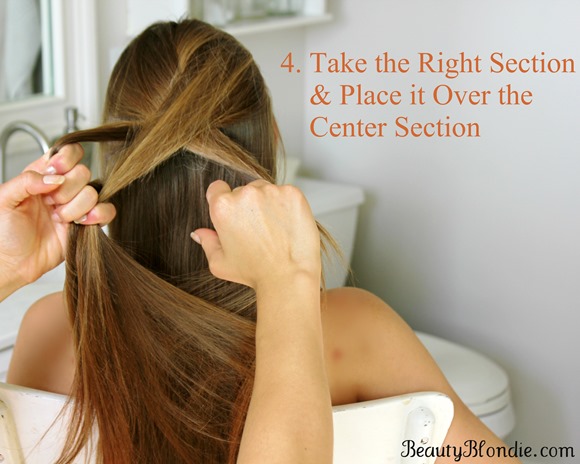
4. Take the Right Section and Place it Over the Center Section

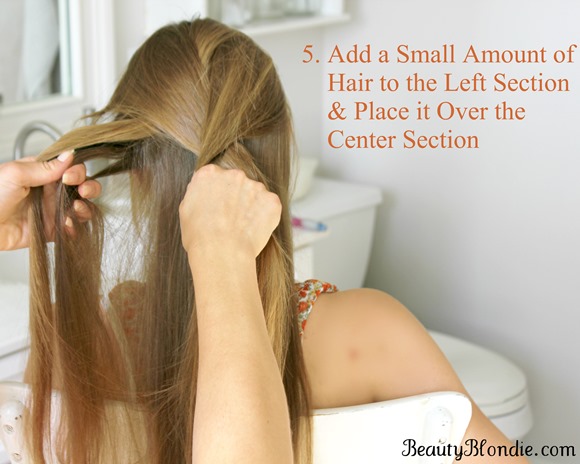
5. Add a Small Amount of Hair to the Left Section and Place it Over the Center Section

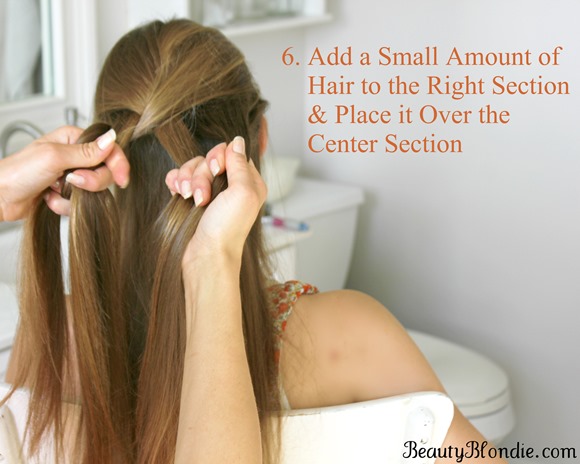
6. Add a Small Amount of Hair to the Right Section and Place it Over the Center Section

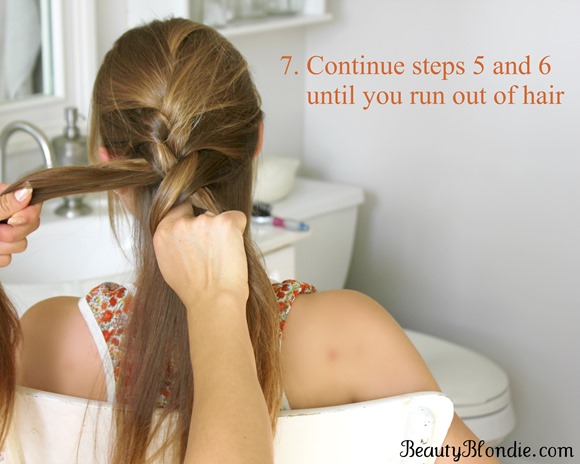
7. Continue steps 5 and 6 until you run out of hair

1.Grab a good size section of hair on the top of your head to start a French Braid2.Dived Hair in 3 Sections for a French Braid3.Take the Left Section and Place it Over the Center Section to achieve a French Braid 4.Take the Right Section and Place it Over the Center Section for a French Braid

Adding hair to your braid to make it a french braidAdd hair to your braid to make it a french braidContinue adding hair to your french braid until you run out of hair.

I remember when I first learned how to braid, I wouldn’t give up until I mastered it. Let me tell you, I was so excited once I finally got it and I know you will feel the same way.

I am confident that with a little practice you will be able to French braid in not time at all. I hope that this video is helpful for you.

Do you know how to French braid? Do you remember how you felt when you mastered it? I would love to hear about it.

Let me know how it goes for you!

From the Dest of Elisabeth Heasley soon to be Elisabeth Johnson


Posted on 3 Comments

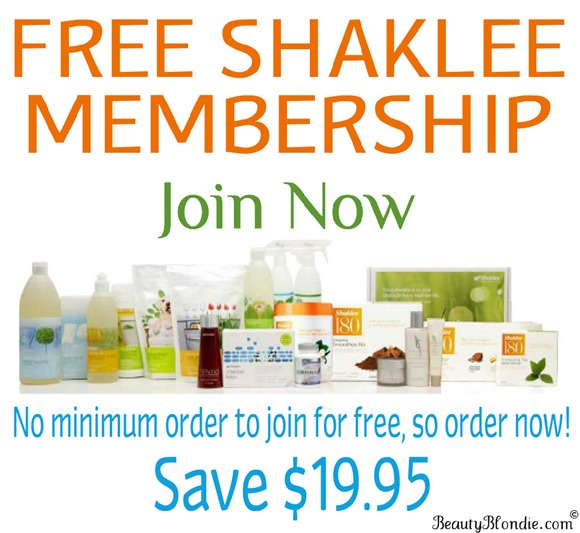
Join Shaklee for Free!!!

I can’t believe that it is already the 11th of July, the time is flying by! As most of you know, I use and love all of the Shaklee products!! I can honestly say that I don’t know where I would be without most of these products. I start every morning off with a delicious smoothie, the energy tea and Vitalizer gets me through each and every day and Shaklee 180 changed my life!

The reason I am tell you all of this is because back when my family decided to give Shaklee a try (almost 15 years ago) we joined as a member to receive a %15 discount. We paid a one time fee of $19.95 and received a lifetime membership and it has been well worth the money!

Although for this month only, Shaklee is offering a FREE membership with any purchase! 

Join Shaklee for FREE with any purchase! Shaklee Product Special!


This Shaklee Membership gives you more than a 15% discount on premium products. But you also get …

  • An unconditional money back guarantee
  • Access to Shaklee Health Sciences Research and information
  • A new Member information pack (mailed to you), with the most recent Shaklee Product Guide, and a Welcome to Shaklee DVD
  • The ability to "subscribe" to regularly product shipments, putting them on repeat delivery (AutoShip)
  • Secure online (via this site) and toll free ordering at 1-800-SHAKLEE
  • Exclusive product promotions, offers and discounts
  • Affordable health insurance plans
  • Discounts and benefits from Shaklee partner companies
  • The potential to have your own business and earn bonus income when you upgrade to Distributor

Shaklee believe that nature holds the answers to a long, healthy, and productive life. They make sure that they produce only the purest products possible for your health, your family, your home, and the planet. They have put produced over 350 products and have categorized them into 4 different healthy groups.

Banner Healthy Beauty

I love the entire Enfuselle Skin Care Line! It is amazing how good your face feels when you are finished washing it. I am not kidding, your face will be thanking you after you are done washing it! 

Banner Healthy Home

These cleaning products were the reason my mom (Sharon from ParentsofaDozen.com) started using the Shaklee products in the first place. After trying them, we were hooked. I guess you can say we became life long users. (would that be considered lifers?)

Banner Healthy Nutrition

Although the cleaners may have brought us to Shaklee, their nutrition supplements is what kept us here. I am one of 12 children and all of my brothers and sisters under the age of 14 (So 5 of them) have never been on an antibiotic before. They are as healthy as can be!

Banner Healthy Weight

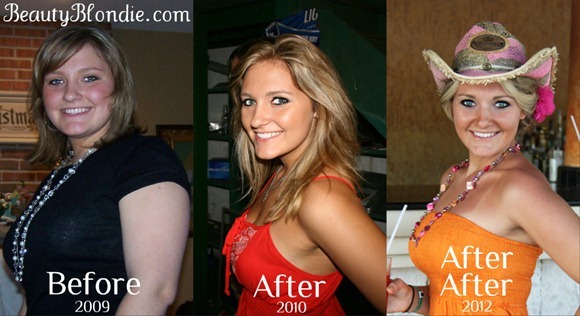
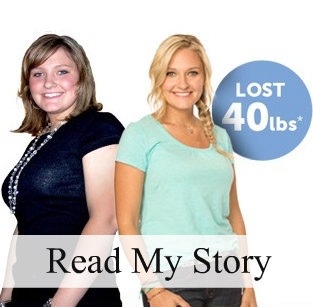
As far as the weight management program, once you have done a 180 you never go back! Here is my Before, After and After-After! Without Shaklee 180 I don’t know where I would be.


Elisabeth Heasley's Happily Ever After After

I decided a long time ago that I am going to take care of my body because it is the only place I have to live in!

Are you taking care of your body?

Have you been thinking about trying some of the Shaklee products but have been putting it off> Well there is no better time to give them a try when you get a Free membership!!!

From the Dest of Elisabeth Heasley soon to be Elisabeth Johnson


Posted on

Carrying Your Color Scheme Throughout the Wedding Reception {Wedding Update}

I can’t believe that the wedding is only 2 months away. I feel like I have gotten so much done and yet there is still so much to do. I love the idea of DIY’s although they do take up a little more time than if you just bought things outright. I just have to think about the amount of money that I am saving and and have to see if it out ways the time that I am putting into it.

The best thing about doing things myself is that I am able to do everything exactly the way that I want and in the exact color that I want. I am looking forward to adding a pop of color throughout my entire wedding day, I feel as though this really ties everything together.

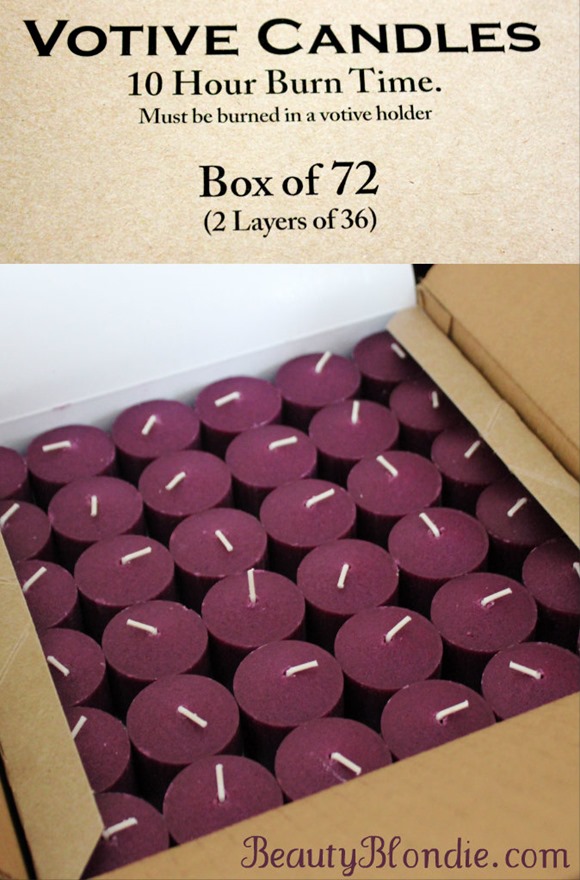
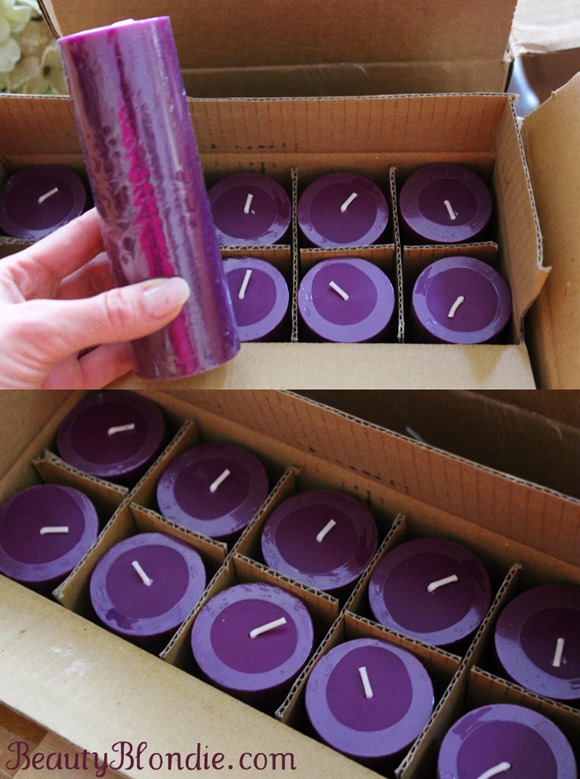
I am going to be using a lot of candles throughout the entire reception and I wanted to make sure that I not only were they the right color but that they would burn all night long as well. I ended up finding both and for a very reasonable cost as well. I ended up ordering them online at QuickCandles.com. They were well priced, deviled fast and when I burned them they lasted the full 10 hours.


These Votive Candles are such a pretty color and they were super inexpencive!

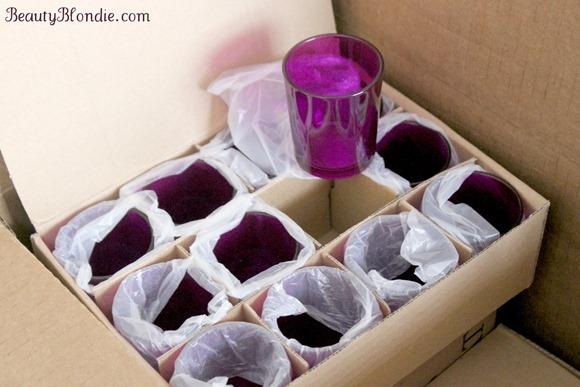
I love the color and size of these candles Purple Votive candle holders

I seriously can’t wait to show you how I use all of these candles come the bid day! I hope that it is everything that I have dreamt it to be.

Now, I have to ask, did you use candles for your reception and did it look good with all of the mood lighting? Oh, and did you go with white of colored candles?

Until next time!

From the Dest of Elisabeth Heasley soon to be Elisabeth Johnson

Related Posts Plugin for WordPress, Blogger...